project finished
Lamps
Designing a wall-mounted lamp — material tests with translucent PETG and wood-finish PLA, and learning not to over-plan.
Initial material testing
I started out by testing lighting effects of different materials. I was choosing between white PLA, clear PETG and PLA wood.
Bench model credit: BENCHY Shared by JayRay
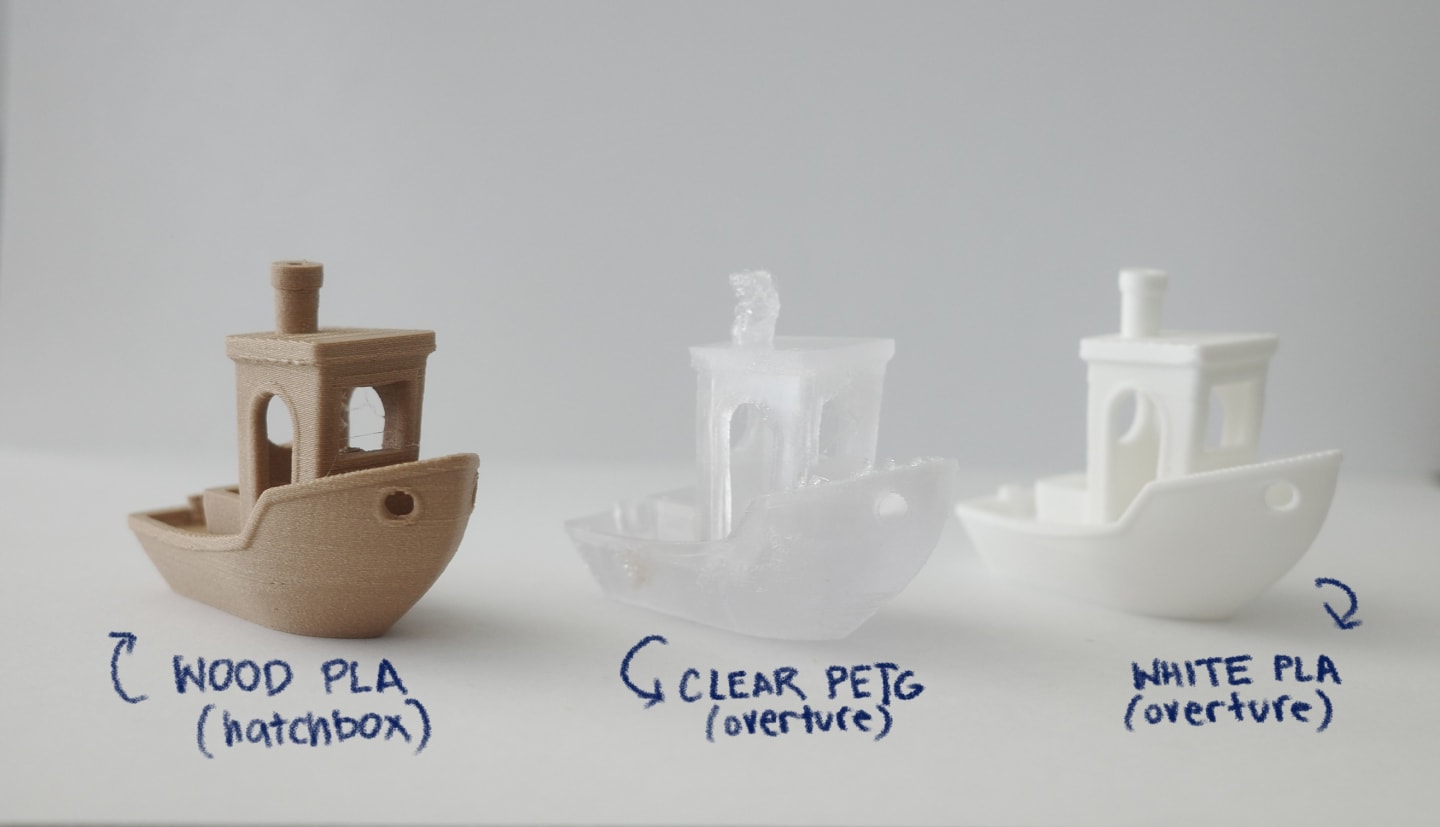
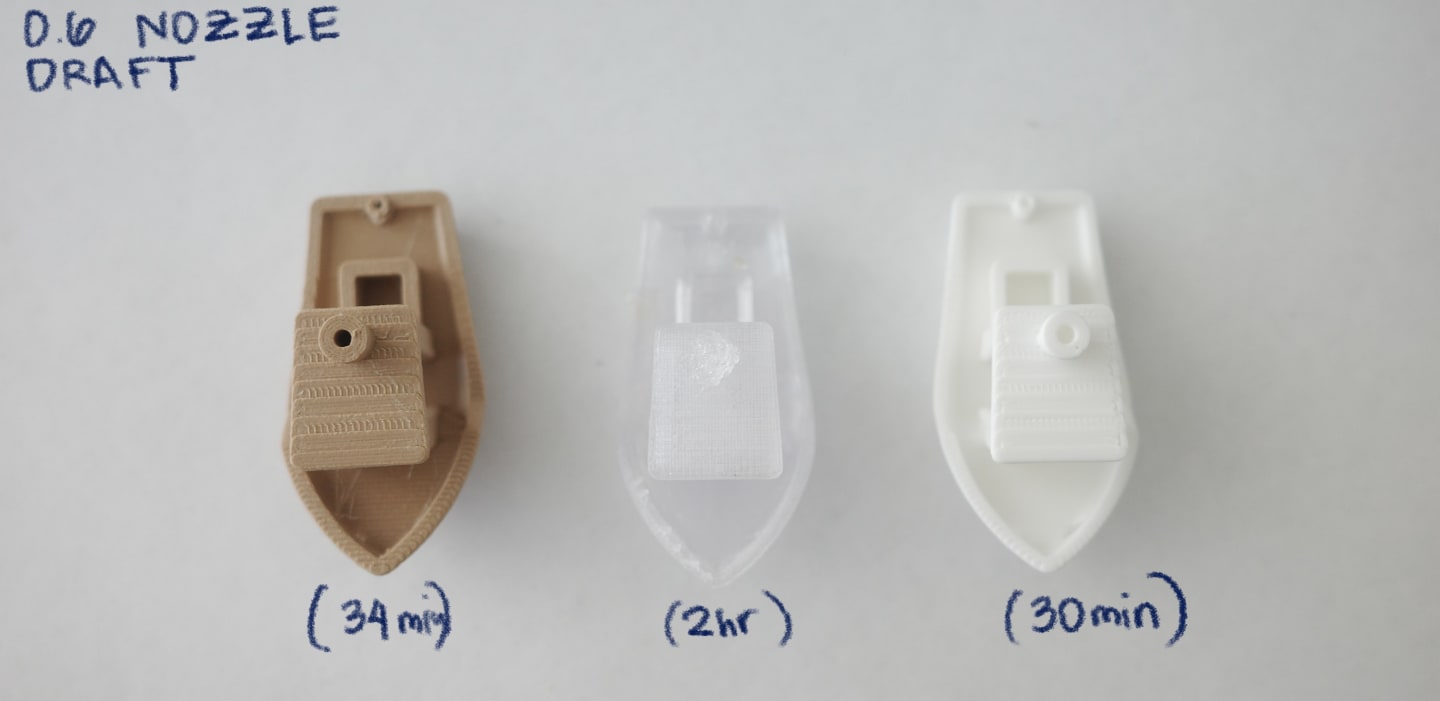
I printed all of them with a 0.6 nozzle, as recommended in online forums. As expected, the clear PETG didn’t end up so clear.
Clear PETG woes
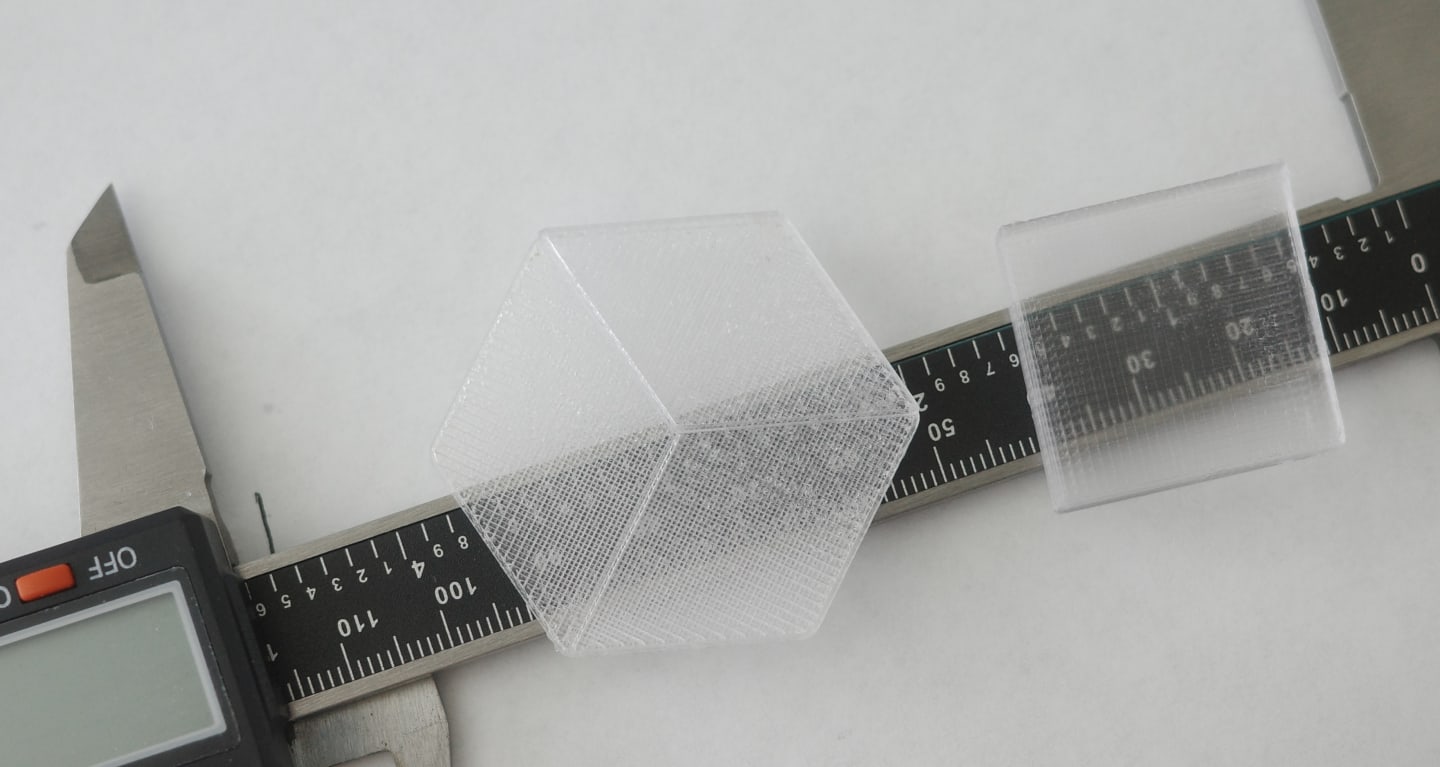
Printing clear / translucent was as complicated as I expected. I followed these tutorials and was able to get something closer to clear. The tradeoff was how long it took to print these - even though I did use the 0.6 nozzle, these small ice cube samples took over 3 hours to print.
Factors affecting clear PETG print:
- Slicer settings (fan, print speed, nozzle)
- PETG quality
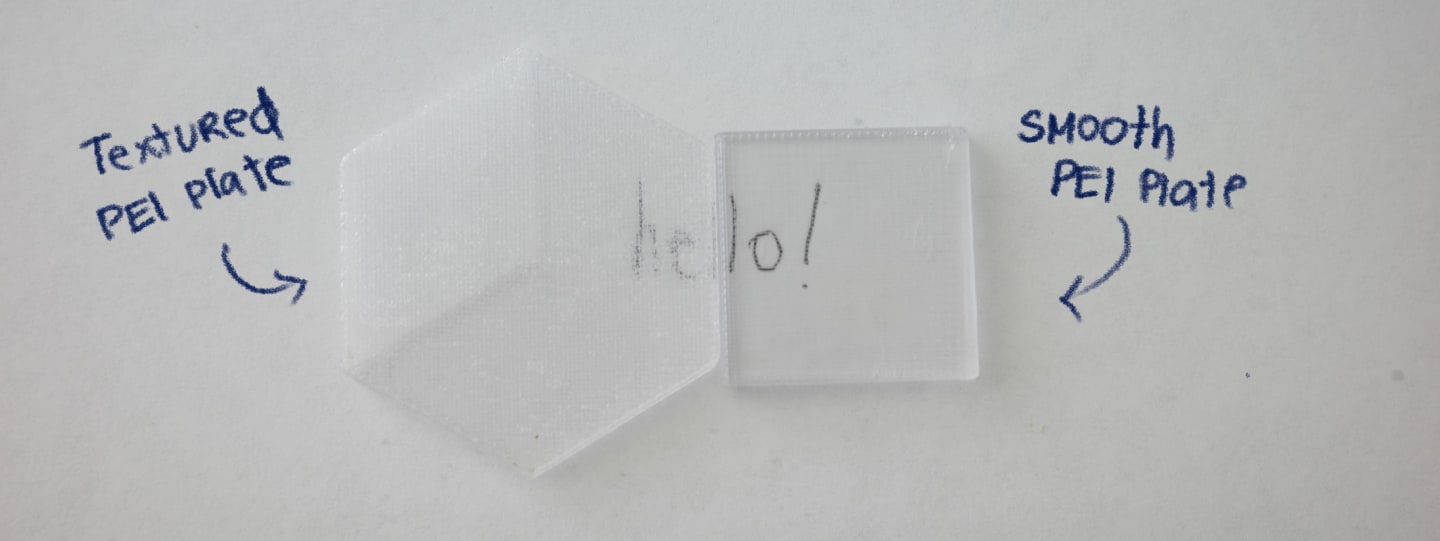
- Bed plate material (textured PEI gave a more frosty look vs. the smooth PEI plate)
- Time
Even though I was able to get some prints closer to clear, I realized for the tight deadline it wouldn’t be a top priority material given how long it takes to print and how many mistakes I probably would make.
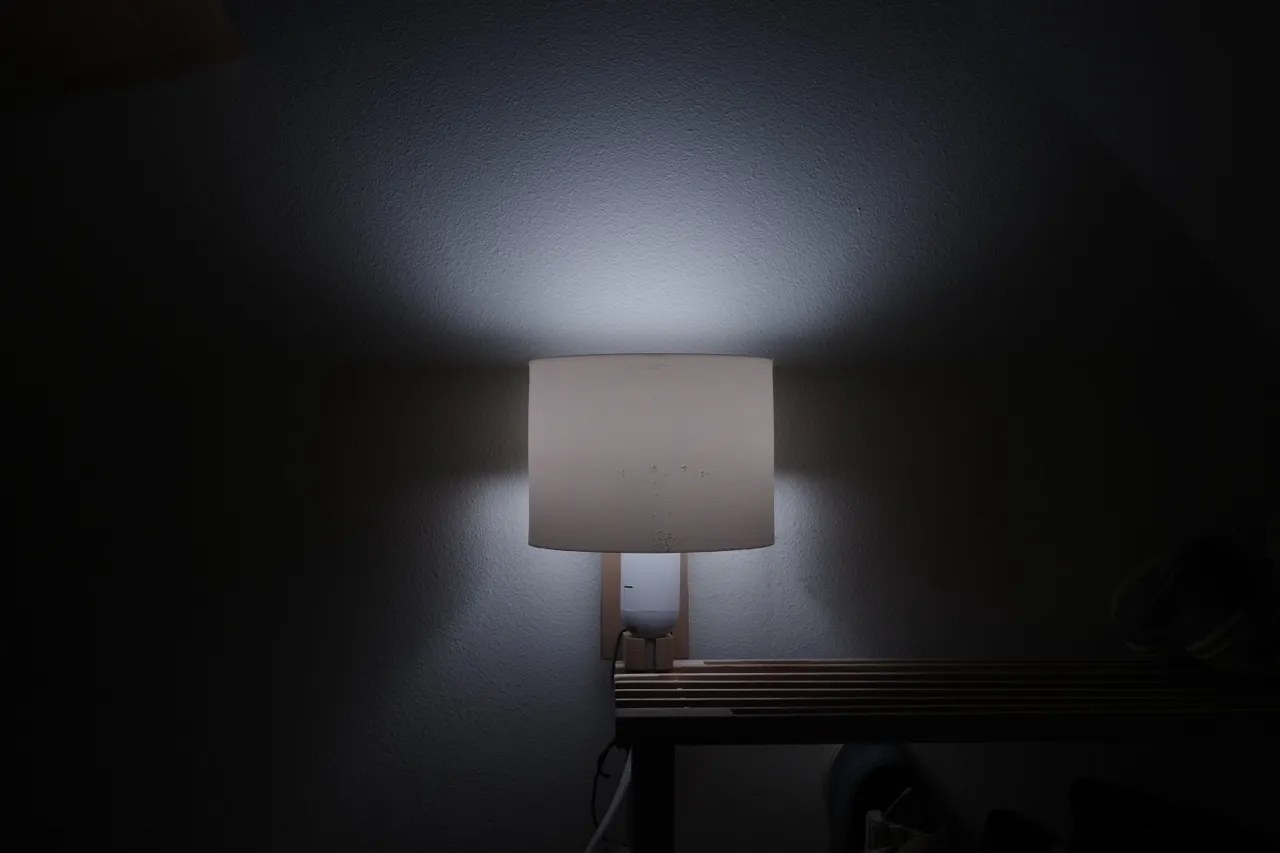
Testing lighting effects
After printing out a few samples of material (frosty PETG, 1mm thin white PLA, 2mm thin white PLA), I tested how it might look layered together and on it’ own with my light source. At the beginning of my project, I set out to make a garlic lamp but realized I wanted to concentrate on lighting effect vs. form factor for the lamp (which is why I probably shouldn’t do so much planning for future projects - almost always I never follow the detailed plan).
(It’s in this video I’m reminded I have no space left for another desk lamp and pushed me to consider a wall mounted lamp)
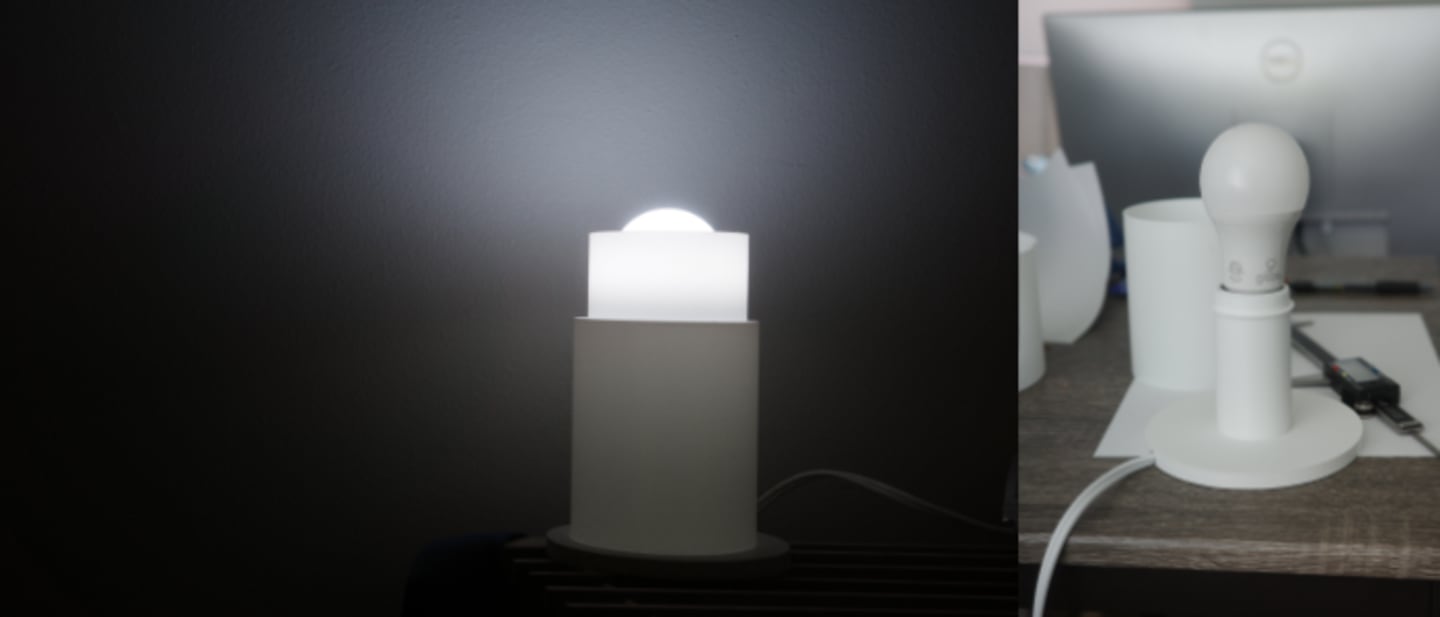
Prototype 1 (Desk Lamp)
I used this template from printables as a lamp holder, and ended up going back and forth between designs (big mistake). I wasn’t very happy with the standing lamp setup, but it at least fulfilled the lamp requirement for this assignment without fasteners.
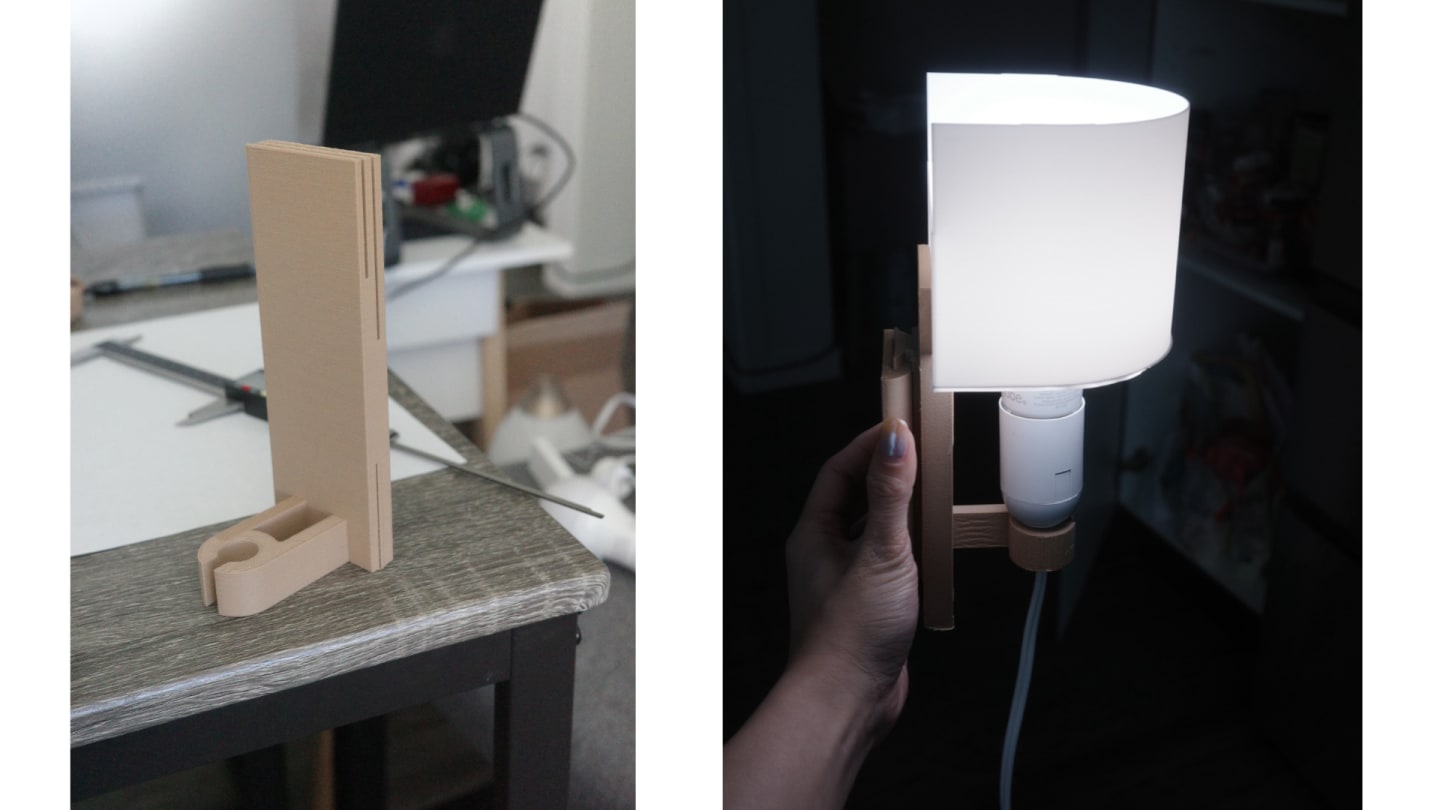
Prototype 2 (Wall Lamp)
Iteration 1
A lamp I actually need is a bedside lamp. After seeing how the light diffused on the desk lamp setup, I decided to give a wall lamp a go. I used this simple wall lamp mount from thingiverse that I ended up remixing. I was also facing issues with the small size of my printer, and it did become a huge limitation I had to design around. Since I couldn’t decide what kind of cover I wanted to do, I decided to make the cover interchangeable / replaceable so I could make different versions of the lamp shade in different shapes and materials.
Iteration 2
 I printed out a modified version of the wall mount with a snap-fit attachment. Initially I thought it might be useful to make things removable etc., but I realized for this lamp, it doesn’t have to be entirely modular.
Iteration 3
I decided to use 3m double sided tape to mount to the wall, when I realized that it probably counts as a “fastener” which we weren’t supposed to use for this assignment. I figured since the first lamp passed the test, I could just do what I wanted with this second prototype. The lamp technically isn’t held together by the double sided tape, it’s just used to mount on the wall.
After seeing how nice the wood PLA finish was, I decided to try and use Blender to add a 3d texture to the lamp holder (for fun). I watched this tutorial and followed all the steps, and used this free 3d grain to create a wood grain effect on my holder. I did have to decimate it a few times because the file was too large for my slicer to process.

Takeaways
- Clear PETG is a pain, I would only use it if I had multiple printers at the ready.
- Don’t reinvent the wheel - one of the things I did right from the get go was using someone else’s stl file and building on that. Why make things harder when more prototyping can be done in a shorter amount of time?
- Pinterest is a great place to get ideas from, but I won’t be looking at Pinterest anymore if I’m using a material I haven’t worked with before. Focusing on form can make the perfectionist itch take over.
- Don’t plan too much! I got too caught up trying to execute what I had in mind. I realized I prefer to go straight into making things with a general design idea and just tweaking it through multiple iterations.