project finished created updated
jenna buttondown
Sewing Jenna by Closet Core and other adventures
- Pattern: Jenna by Closet Core
- Size: XXS
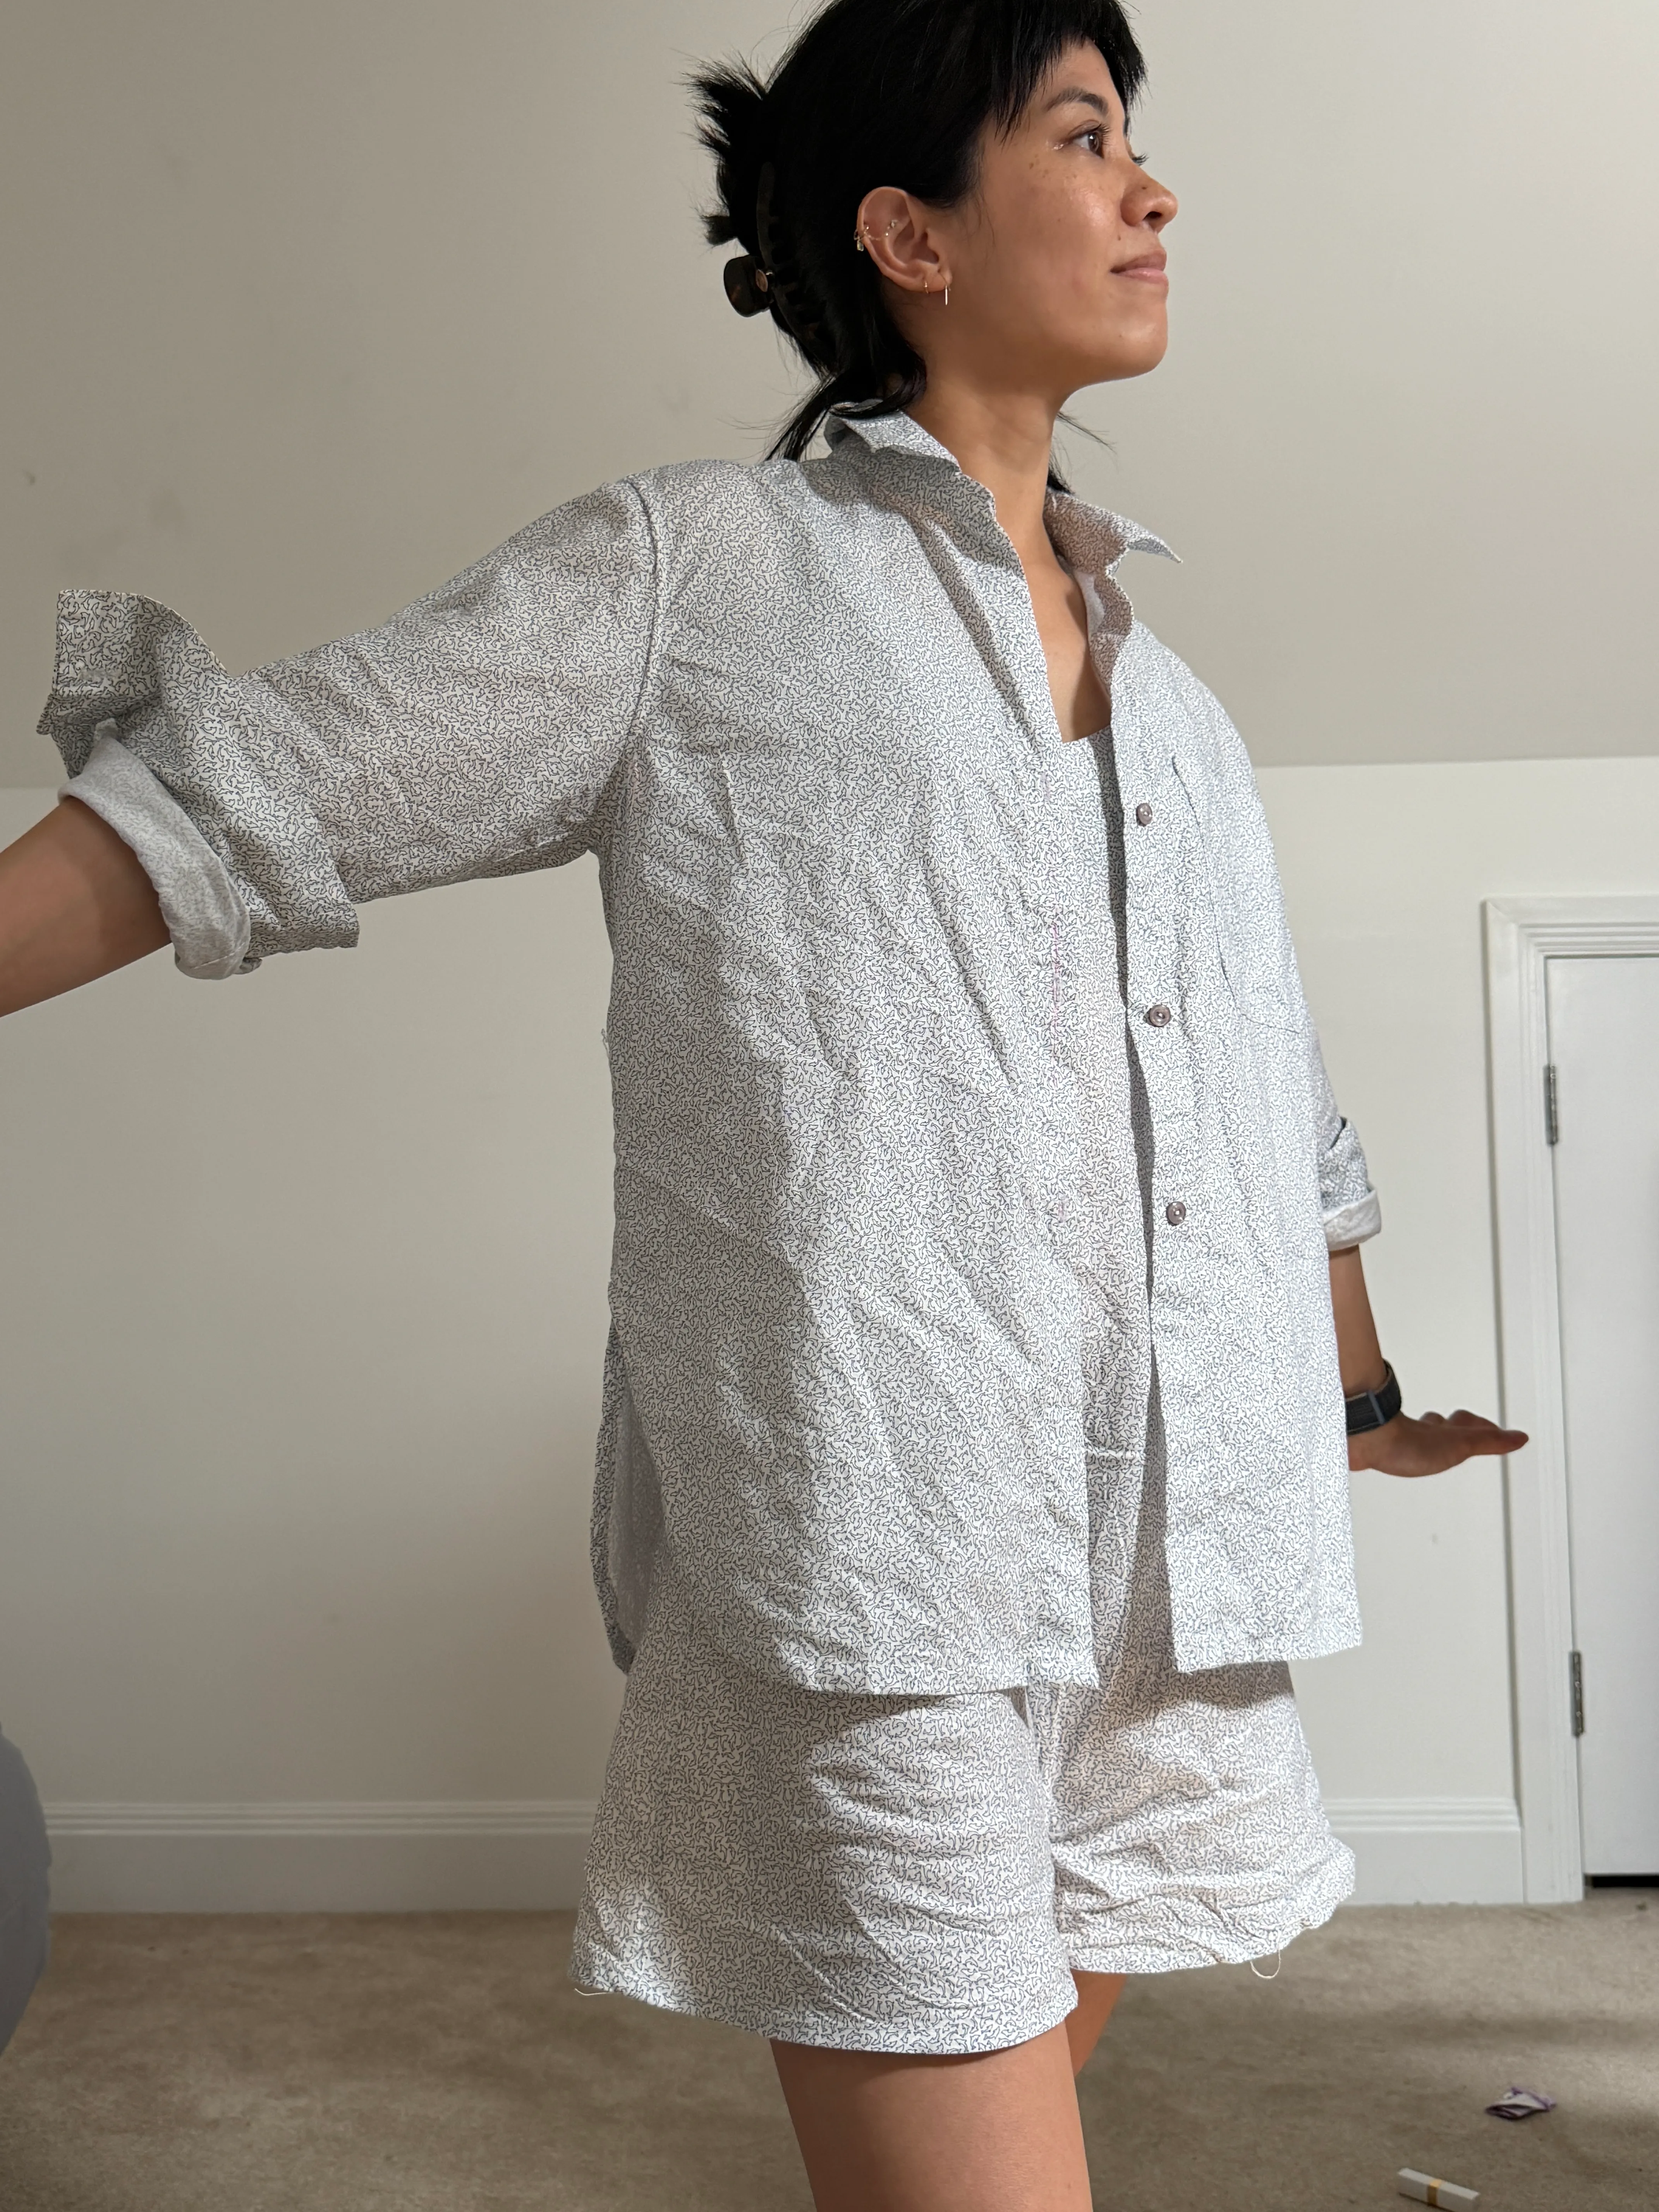
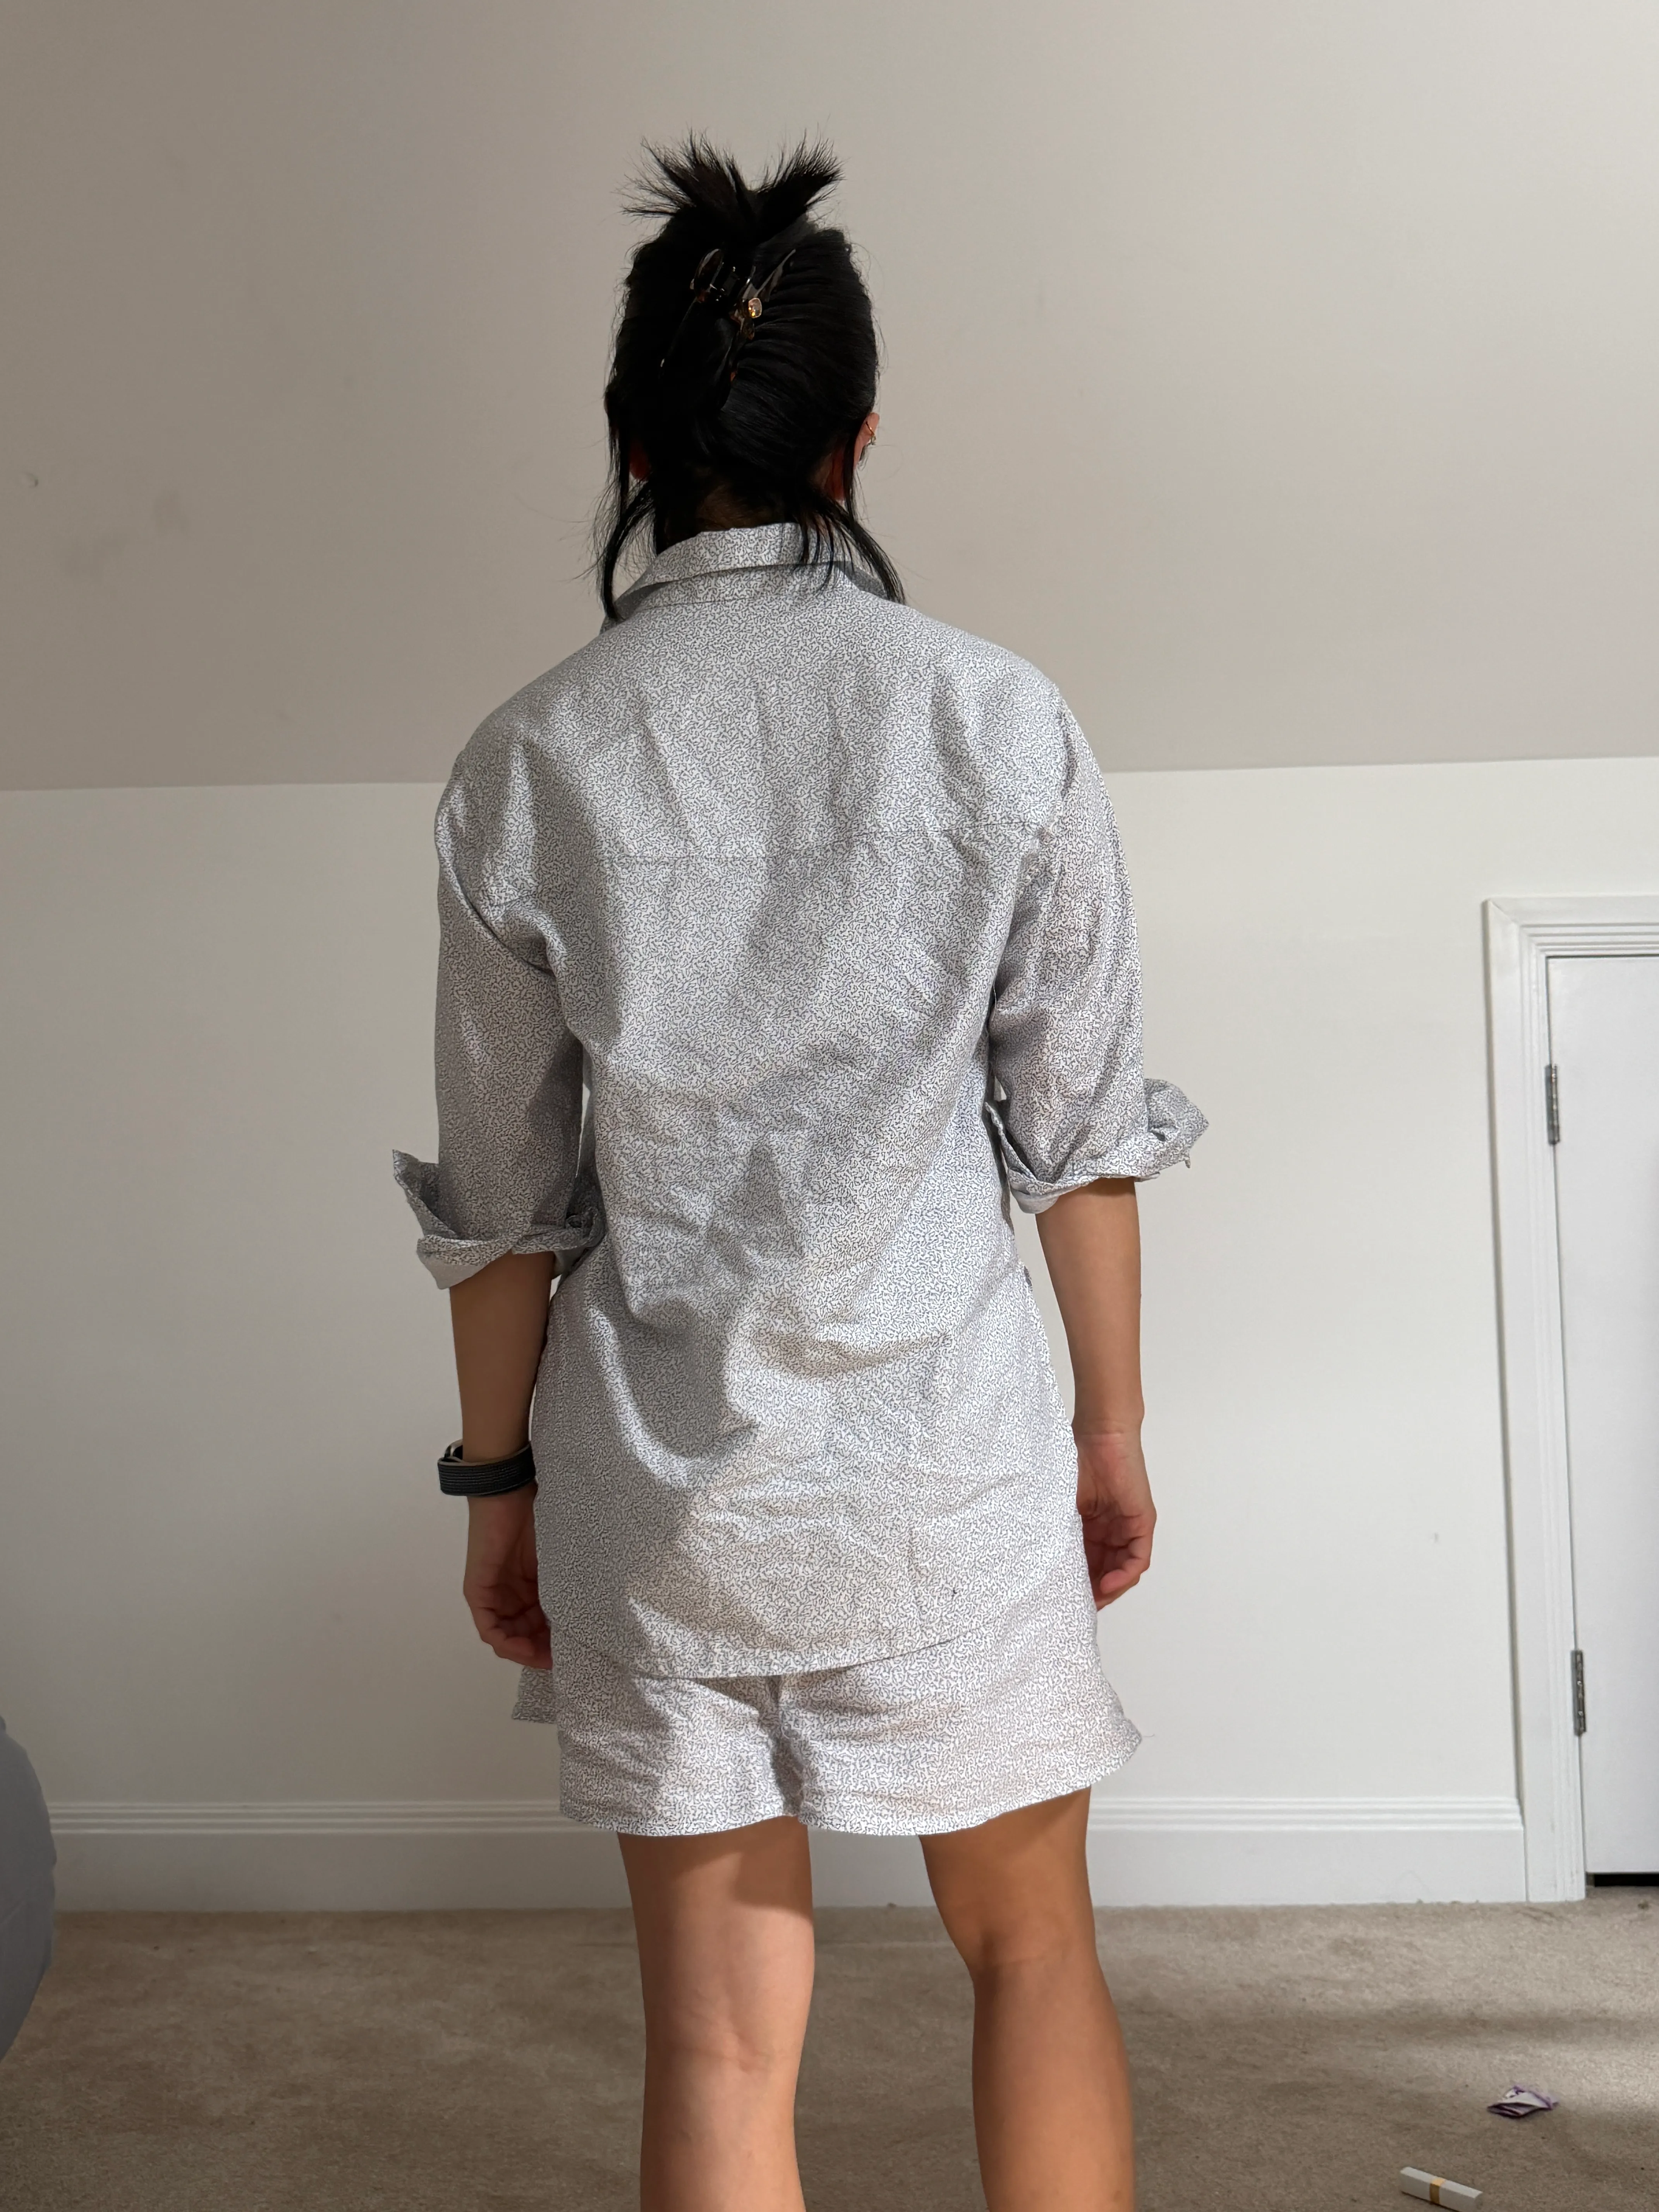
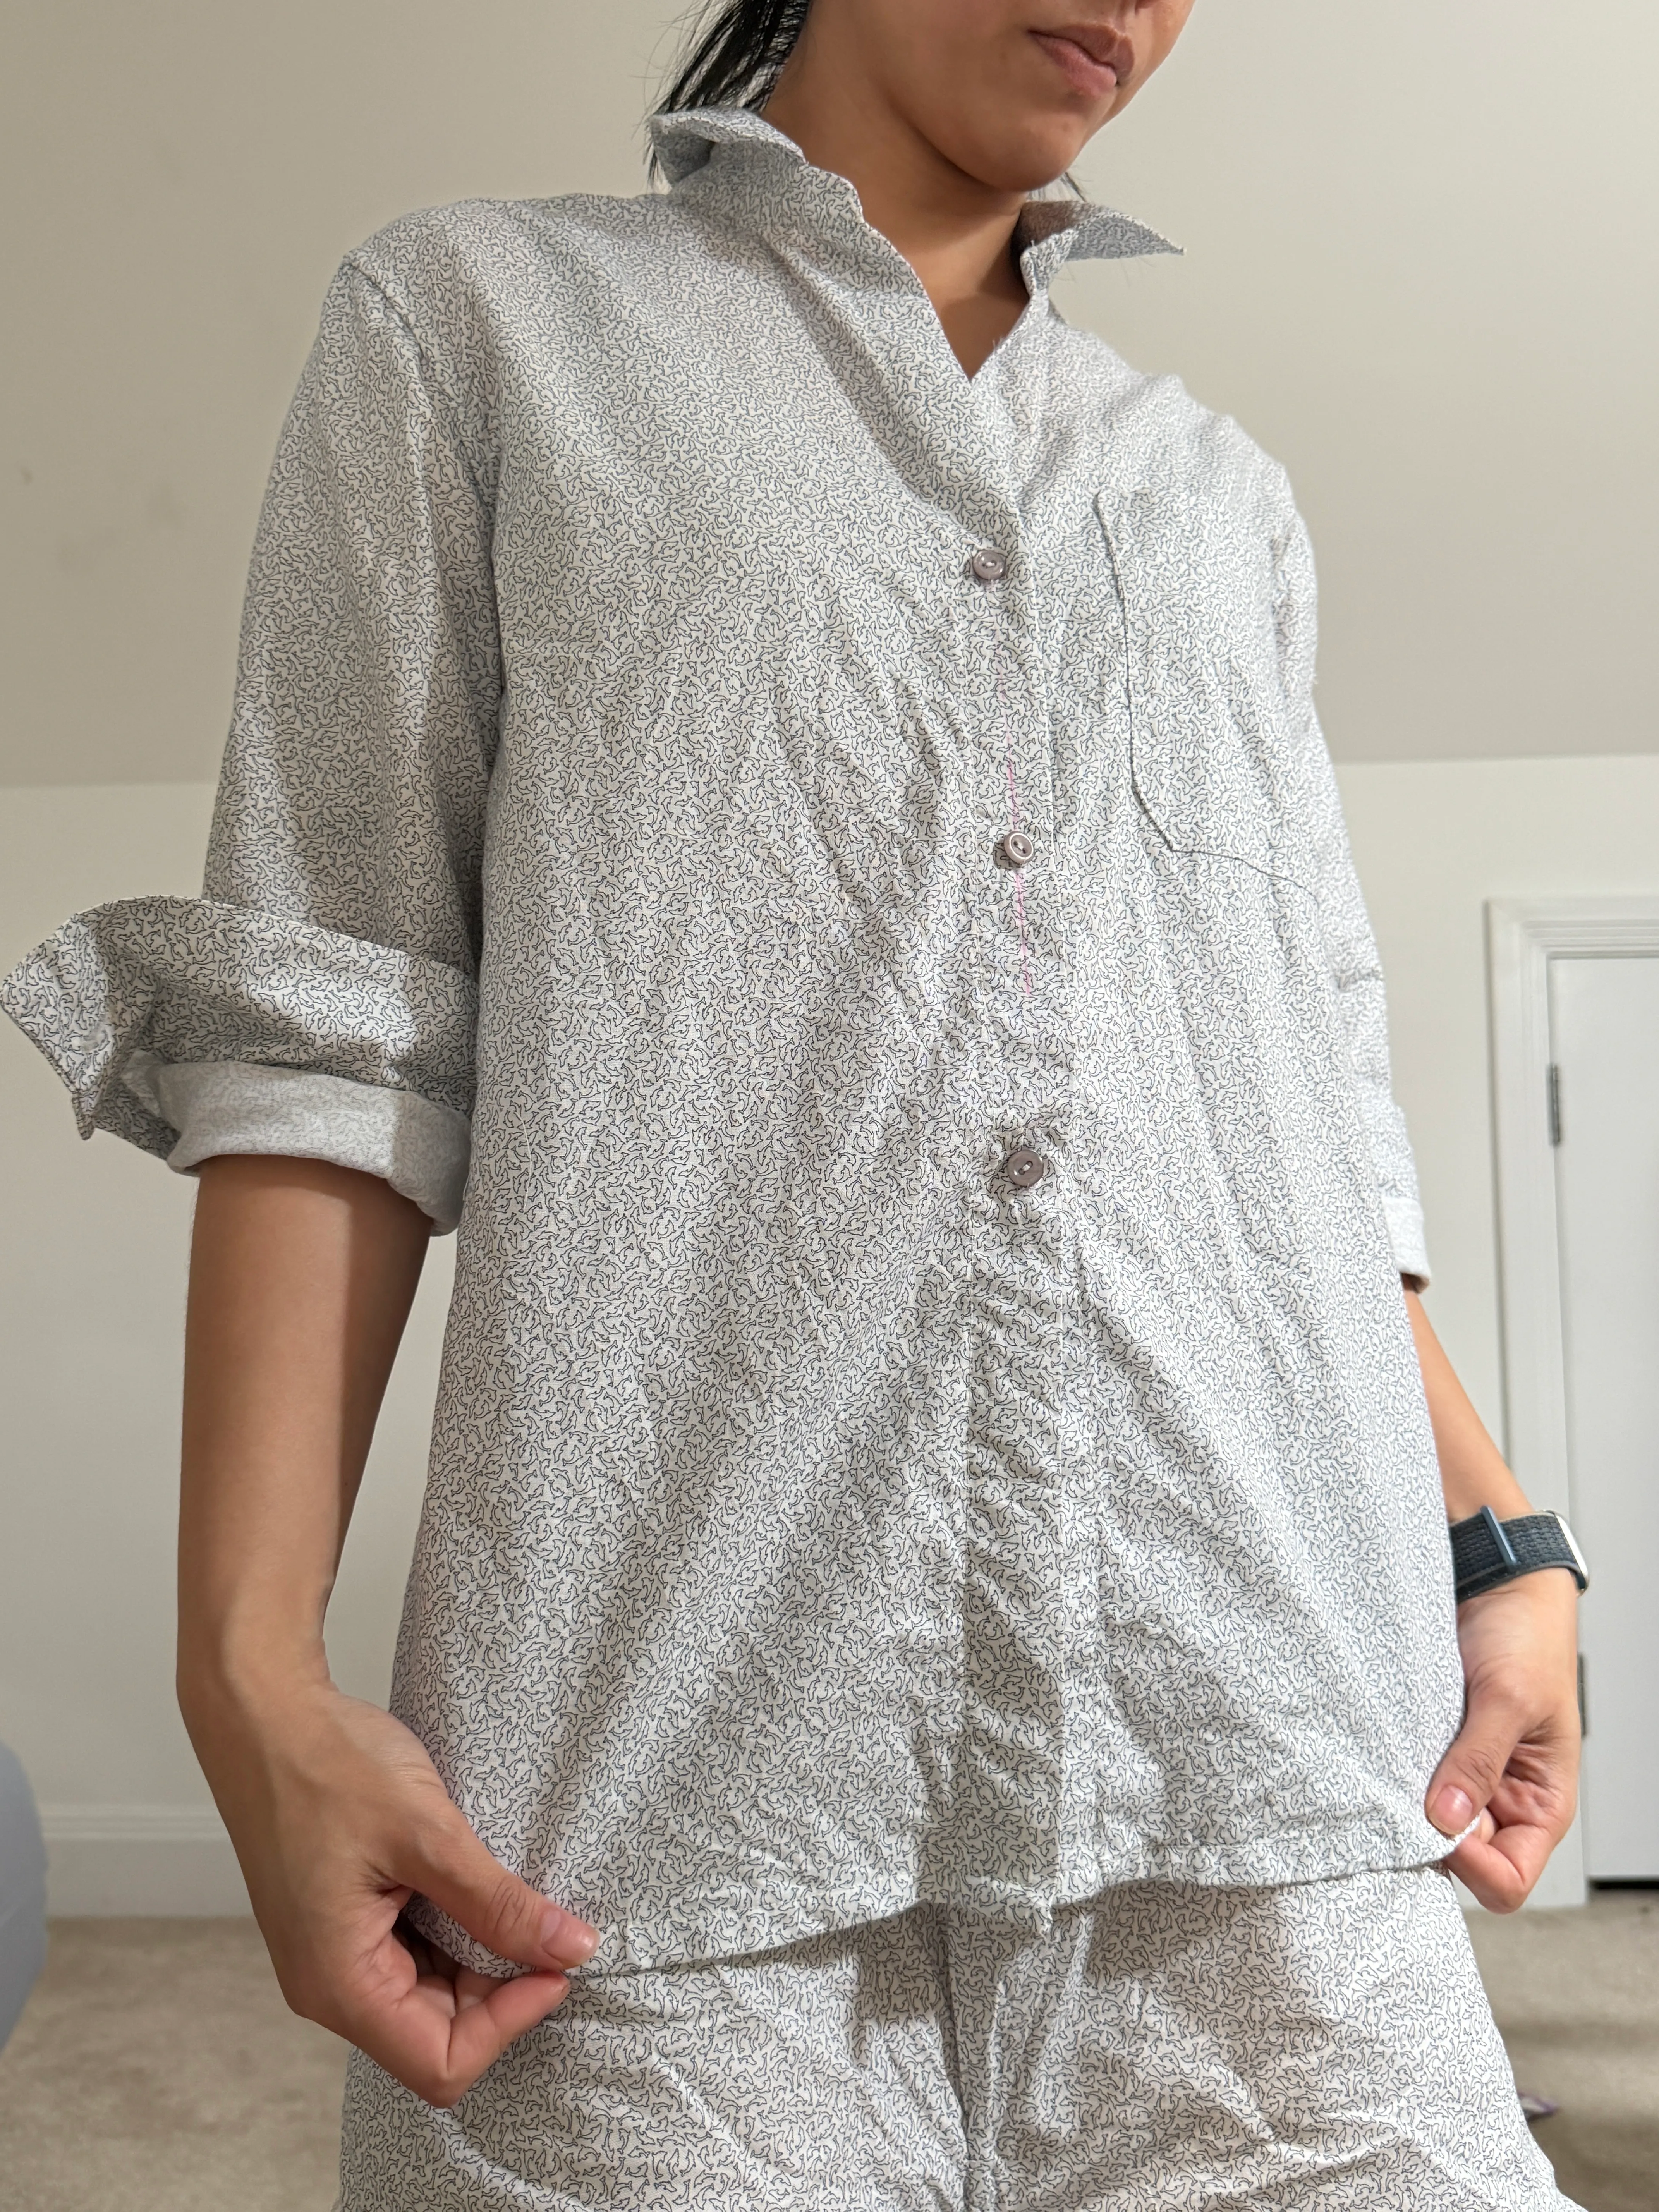
- Status: Finished (v1) - good fit overall but a little tighter than my liking
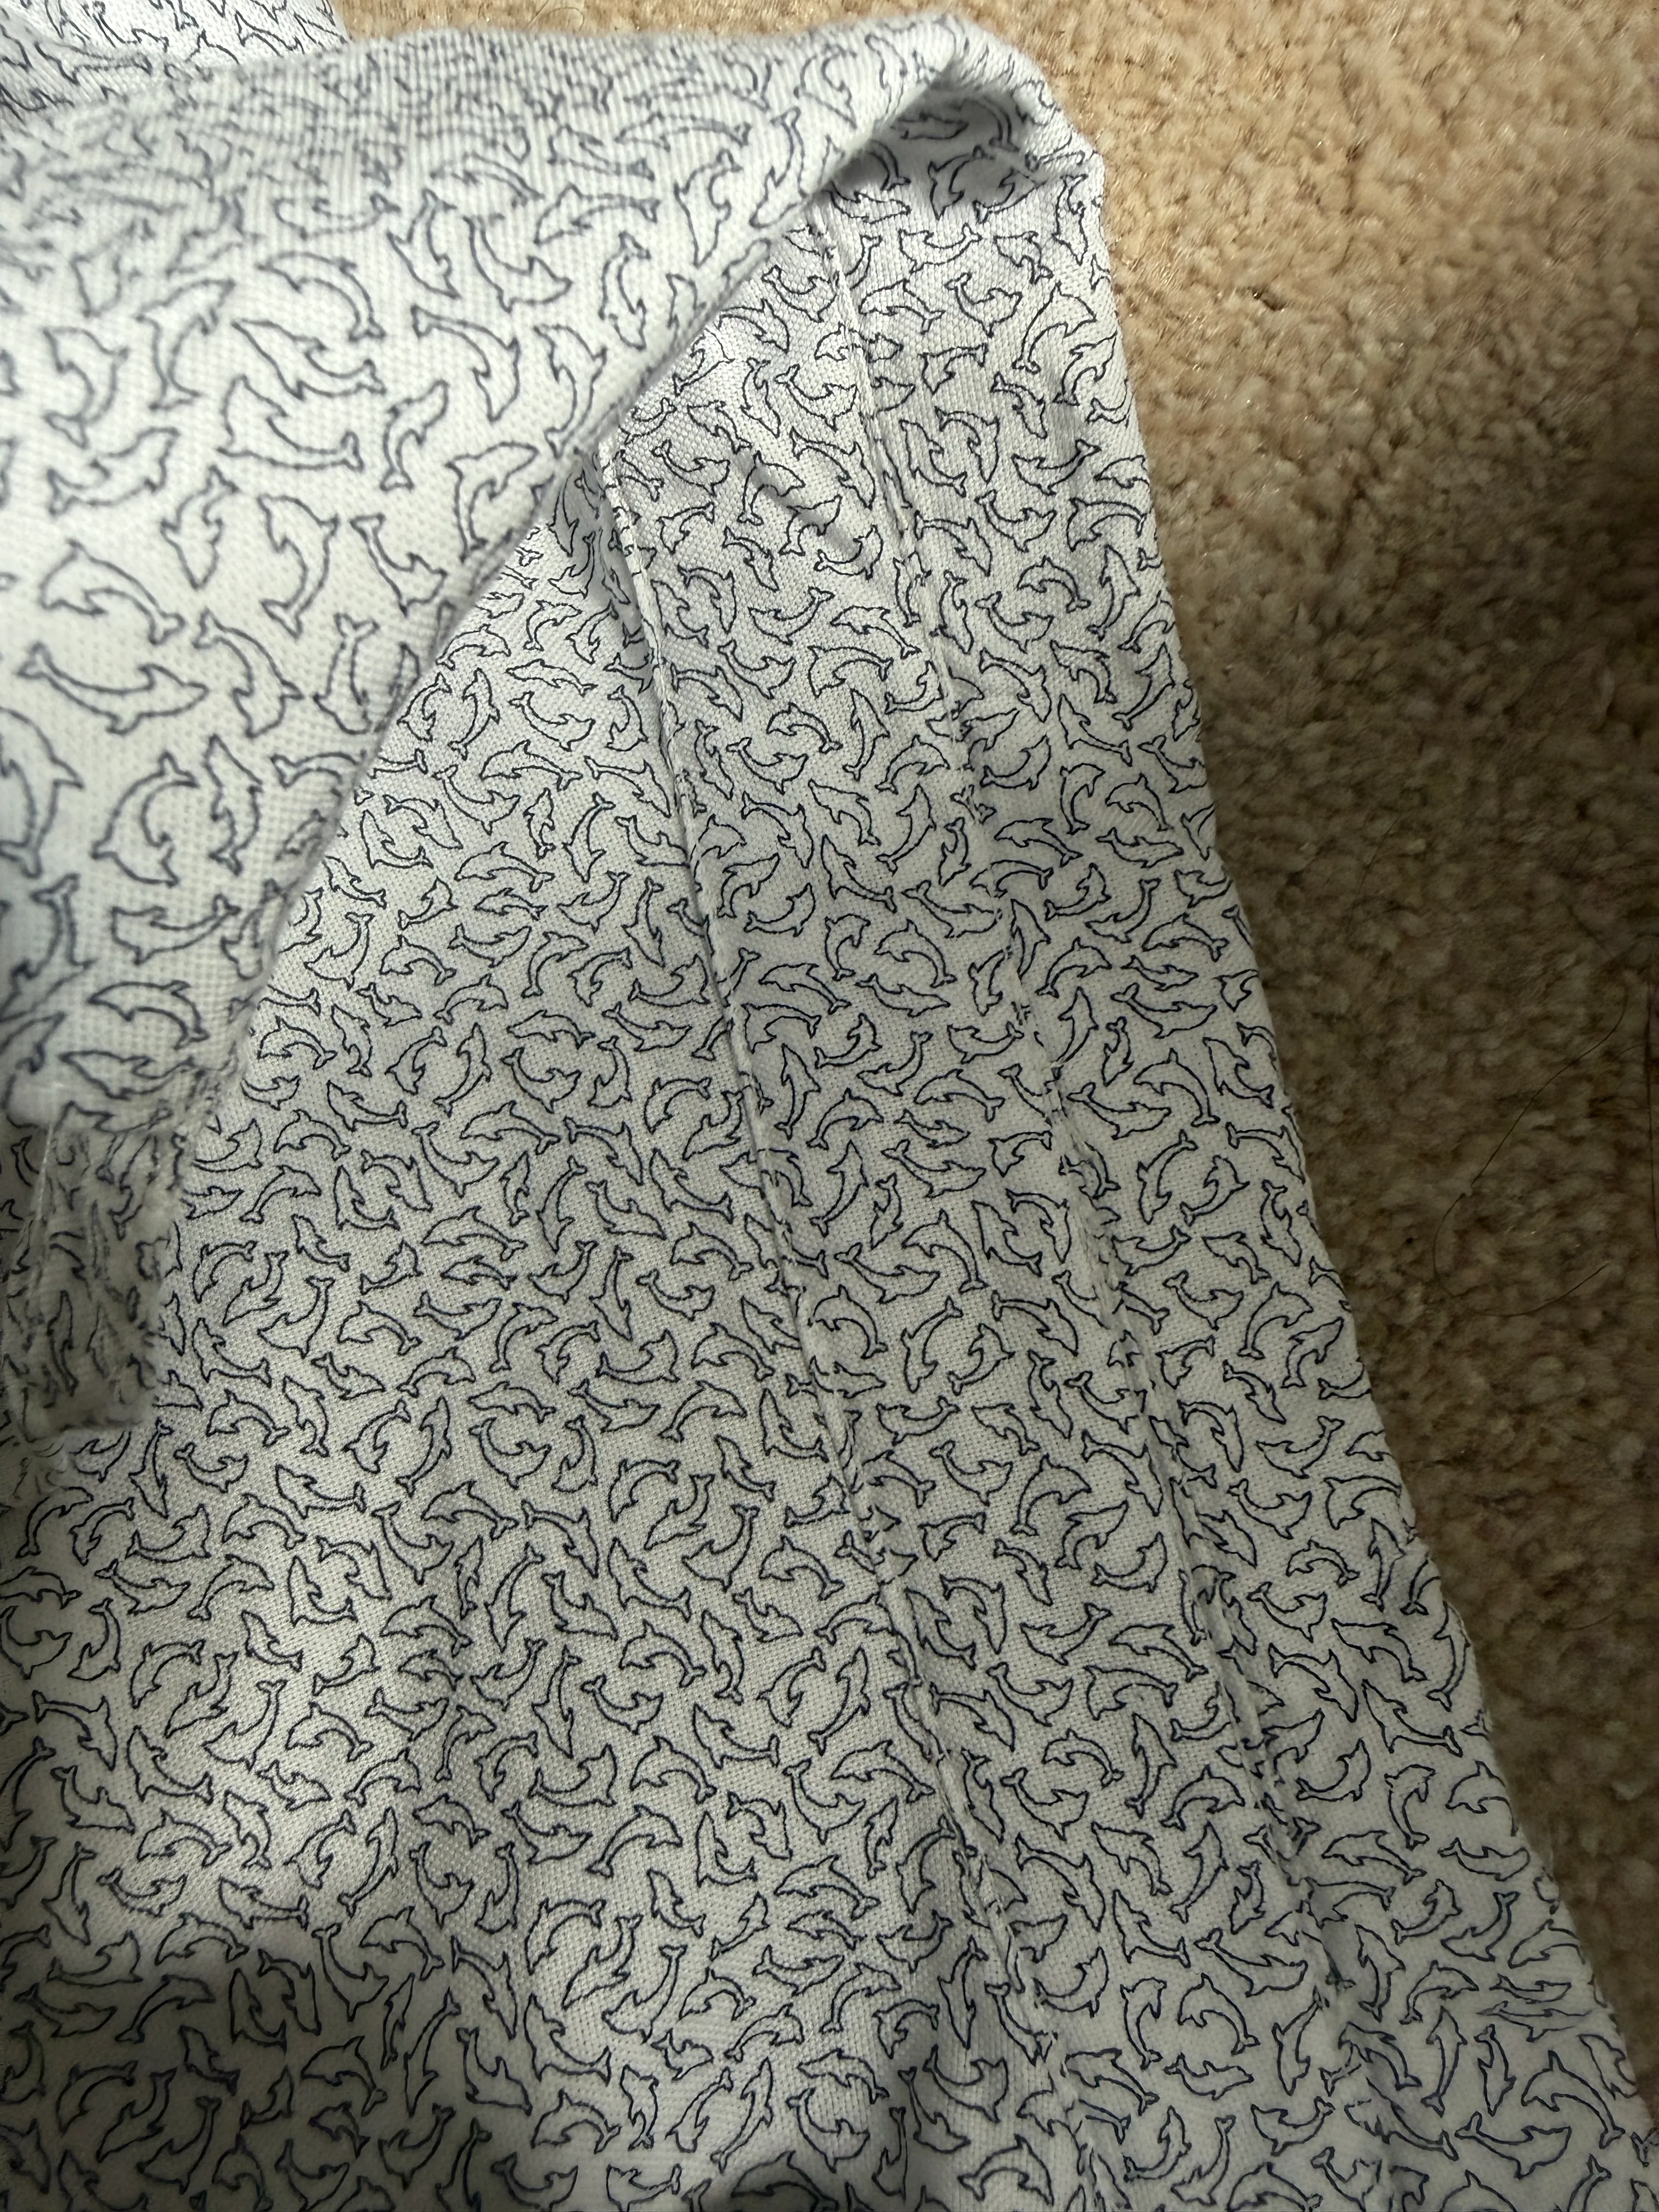
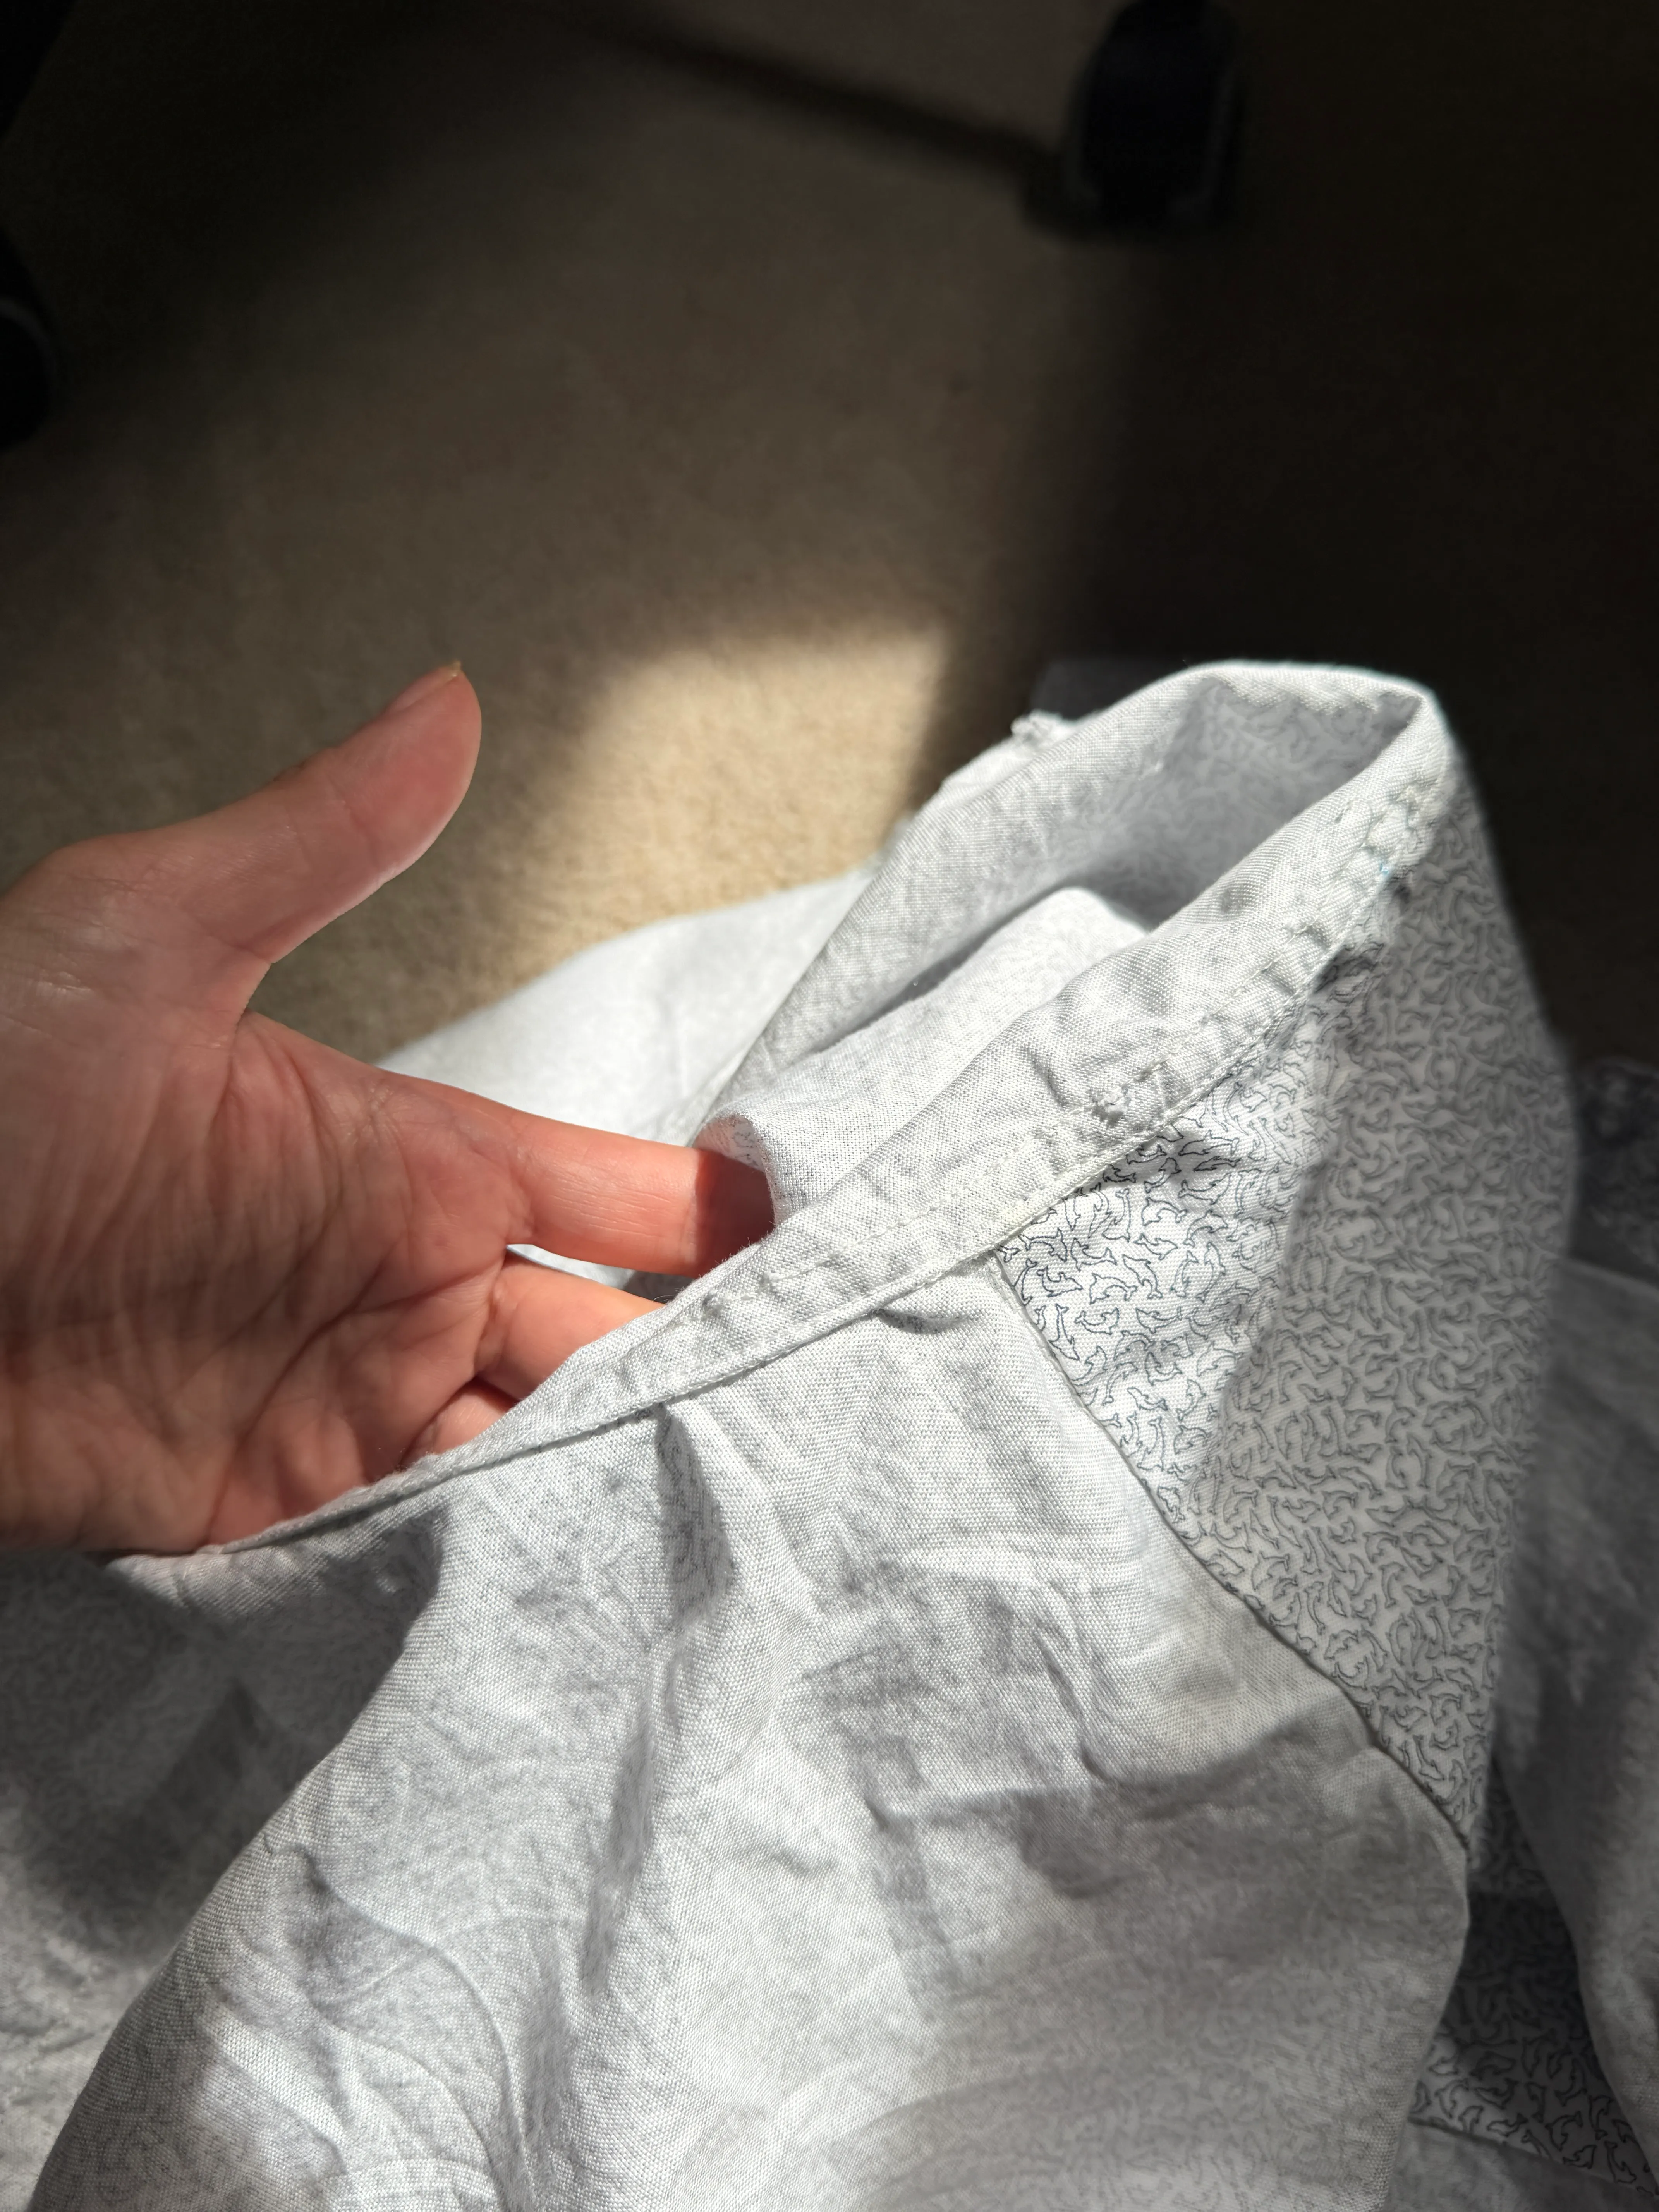
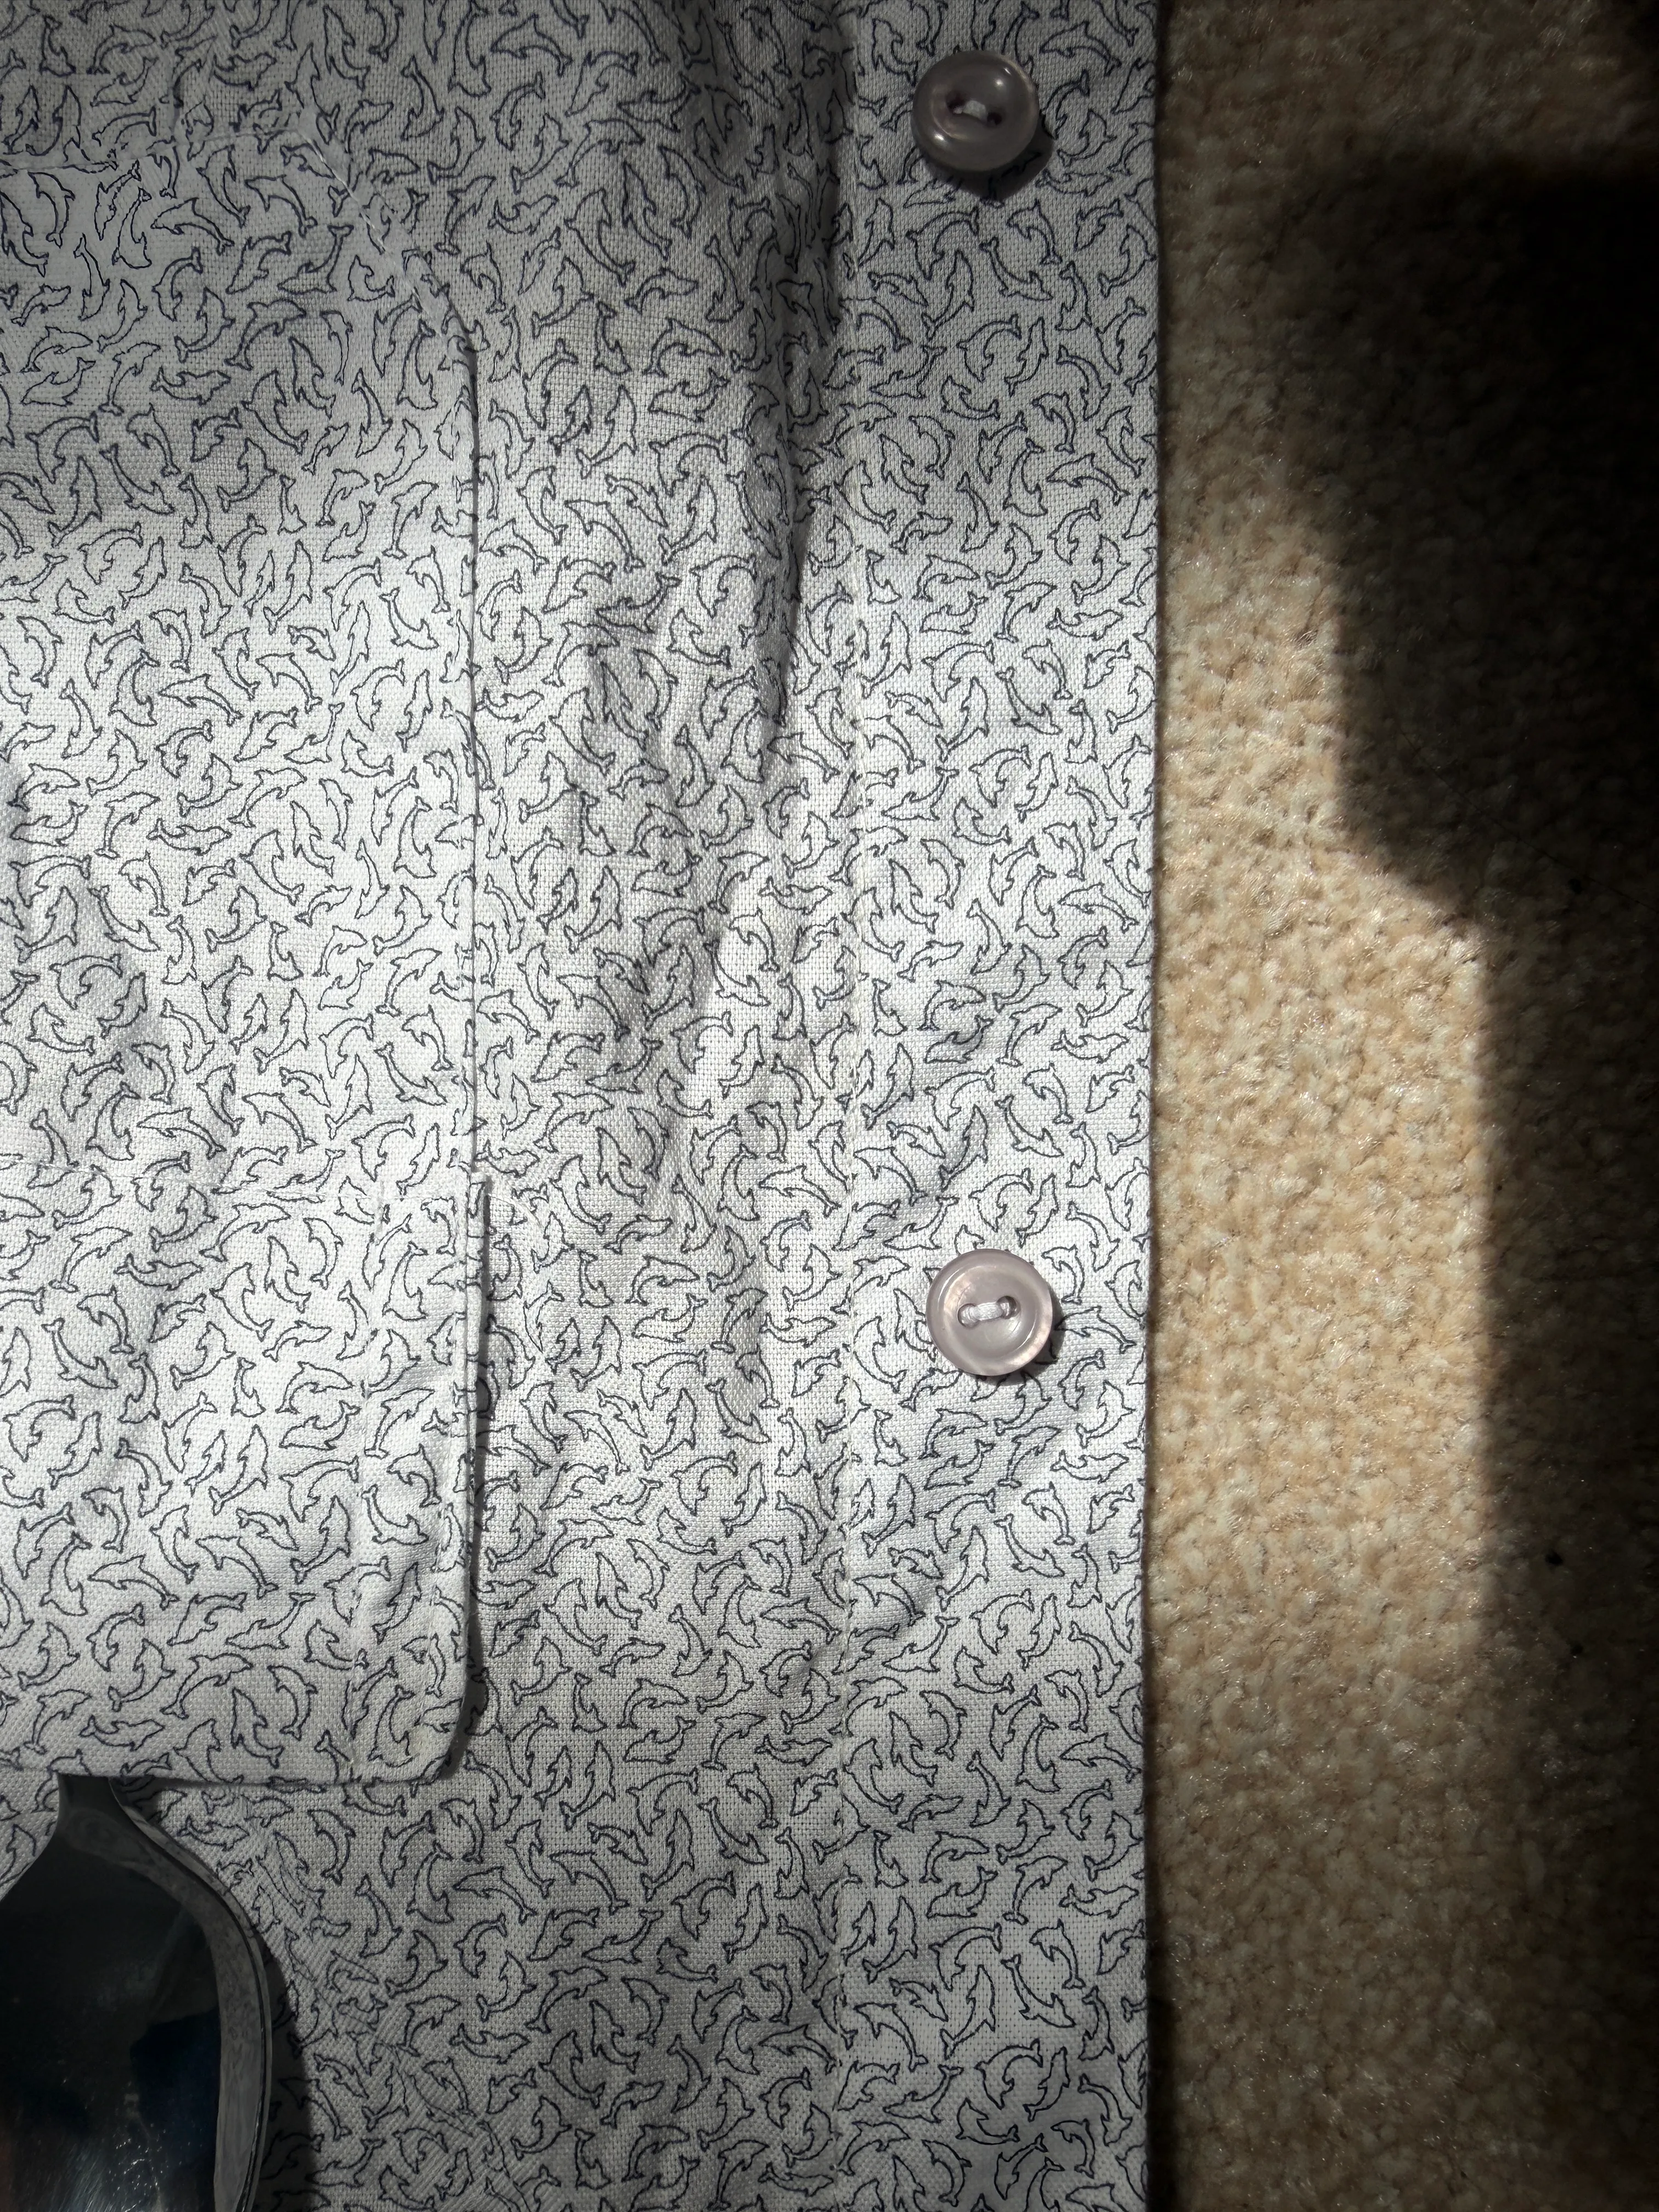
- Fabric: Medium-weight cotton with dolphins bought in paris trip (TBD: yardage + width used)
- Key adjustments: sleeve -7cm, cuff placket -1.5cm, front -6cm, back - 6cm, no gusset at sides.
- Next make
- Cut size XS
- Cuff depth: reduce by 3cm off the cut cuff piece and recut interfacing N to match
- Tower placket: keep -1.5cm removal
- Sleeves: keep -7cm (larger sizes will have longer sleeves)
bom
- Medium weight cotton (main) (TBD: yardage used)
- Interfacing (used lightweight interfacing for all) — reflection: did lightweight hold up on the collar/cuffs, or did they want something firmer? (TBD)
- Buttons - leftover from a button bag (TBD: count + size)
make details
- Cut XXS - I chose the smallest size because of some reviews and makes I saw on threadloop of it being oversized. I will size up next time since I realise I do like a very oversized fit.
- v1 adjustments based on reviews + my measurements:
- Shorten sleeves -7cm
- Shorten placket -1.5cm (with shortened sleeve)
- Shorten front length -6cm
- Shorten back length -6cm
- No gusset
the quest for a 3d printed flat fell foot
In the middle of making this shirt, I fell into a sidequest I didn’t expect… I sew on a vintage but trusty Bernina 807 I got on marketplace, and like most vintage Bernina machines, the original feet are ~£37. So mid-workshop, I decided I would print my own foot for an 8mm SA. Believe it or not, it took almost the same time to finish the creation of the foot as it took to sew the shirt. It’s been a few years since I’ve had to re-model mesh, and it was overall a great time. You can read more about it here - Making a flat fell foot.
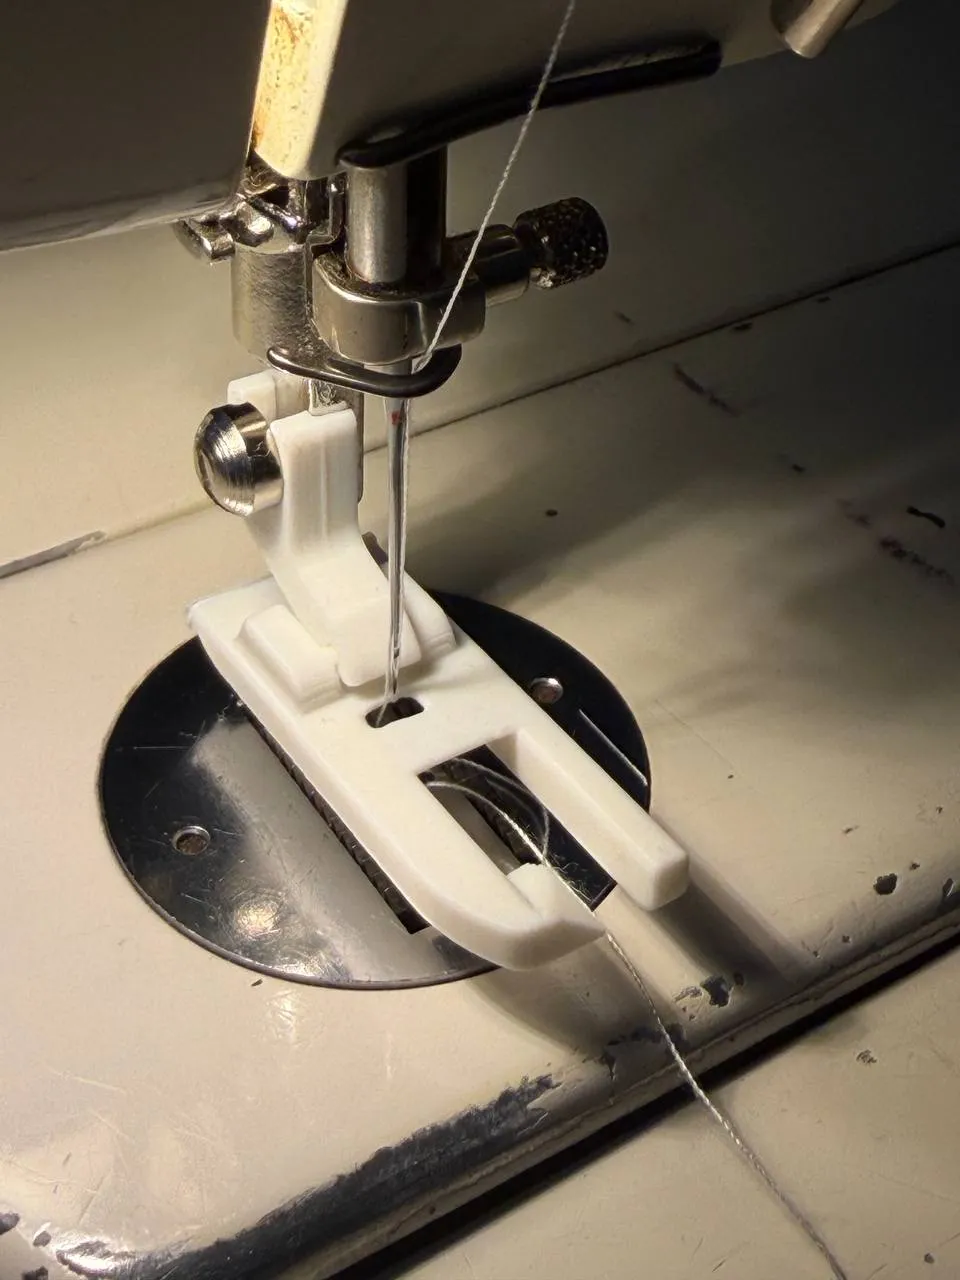
As a beginner sewist, I knew I could get all the help I could with flat felling seams. Did the foot make it easier to flat fell a seam? Yes. But I only realised it was most effective at straight seams. I still ended up hand basting the armscye, but it all turned out well. Was the printing project worth a sleepless night and the same amount of time to finish sewing the project? Honestly yes! Now I have a modular snap-on attachment for OEM feet and the coordinates to remake a new foot. I’m considering making the file parametric to accommodate different seam allowance sizes.
fit findings
- Good fit overall, but not as oversized as I like it (I like it veeeery oversized). XXS reads fitted rather than oversized → size up to XS next time.
- Where it’s tight: TBD (bust / shoulders / bicep / overall ease?) — locate it so the XS jump is backed by numbers, not just reviews. Note XXS finished bust vs my body if I can still measure the garment flat.
- Sleeve length: −7cm was too short on XXS (cuff ended up above the wrist bone). But XS has a longer sleeve, so keeping the −7cm removal should net out to the right length — that’s why next-make keeps −7cm rather than reducing it.
- Shorten cuff depth itself (−3cm off the cut cuff piece; recut interfacing N to match).
- Re-check the cuff placket reduction (−1.5cm) against the new sleeve / lengths.
new techniques / learning
- Flat fell seams - with me trusty new foot
- tower placket construction (the class was very good for this)
- burrito method for collar was quite fiddly
nearby