project ongoing
flat fell foot
3d-printing my version of a flat-fell foot for my Bernina vintage machine
I didn’t have a flat-fell foot I could use to help me construct my first button-up shirtI used the Jenna pattern that came with the learn to sew button up class. Read more about the process here. While it’s not necessary to have a flat fell foot to finish the shirt, I wanted to do my best, not skip any steps, and do things the right / recommended way. My sewing machine is older than me, and buying feet for this specific machine is really expensiveAccording to this site, it’s £37 . So, I decided to make life harder for myself. Here’s my thought process:
What I know:
- I have a 3d printer
- I have some rudimentary modelling experience with Rhino and shapr3d
- There’s someone out there who does this for a living and has probably put out a flat fell foot model AND someone else who has come up with a snap on attachment for vintage sewing machines
- Bernina original foot is expensive
- I have a 3rd party adaptor that only partially works
- I have a snap on attachment of an invisible zipper foot that cost me a fortune I wasn’t able to use because I didn’t have the adaptor attachment
At the best case, I wouldn’t have to touch the models, and at the worst case, I’d have to do some mesh magic. Unsurprisingly, there’s nothing new under the sun. I was able to find base files for both the flat fell footFlat fell foot for Bernina, and a snap on adapterSnap on foot attachment. The only issue was that flat fell foot was for a wider seam allowance (12mm instead of the 8mm I needed), and the adaptor foot wasn’t specifically for Bernina, but for vintage machines. I was hopeful that the adaptor would just fit properly, because most OEM adapters are the same size. And for the flat fell foot, how hard can it be to make it work for a smaller seam allowanceApparently very hard. Cost me my sanity and a sleepless weekend. ? Ha ha.
Game plan:
- Print flat fell foot and adaptor at their original size
- are there problems with the print?
- Check the measurements against the current existing adaptor and whether it checks out.
- is the snap on bar generally the same size as the reference foot I have?
- Attach to sewing machine and see if the assembled foot is the right height and has enough clearance to move
- is it an acceptable height for my sewing machine?
- is the placement for the needle correct and centred?
- If all goes well, use fusion to edit the flat foot mesh and shrink the space needed for the 8mm seam allowance
- what parts of the mesh can I make parametric so I can keep adjusting the tolerances of the printed foot?
- can the edited mesh pass the export? I had a nightmare editing an stl before with non-manilfold edges
- Test print
- is the orientation of the print optimal?
- check the tolerances: do I need to print +0.2mm bigger to account for fdm machine shrinkage?
- Assemble with the adaptor
- are there any widths that need to be adjsute, esp where the foot attaches to the adaptor?
- Does the foot snap on with the same ‘click’ as the reference foot?
- Sew a flat felled seam
- is the presser foot moving up and down in a predictable / workable way?
- can it sew a line of stitching?
- can it sew a flat fell seam?
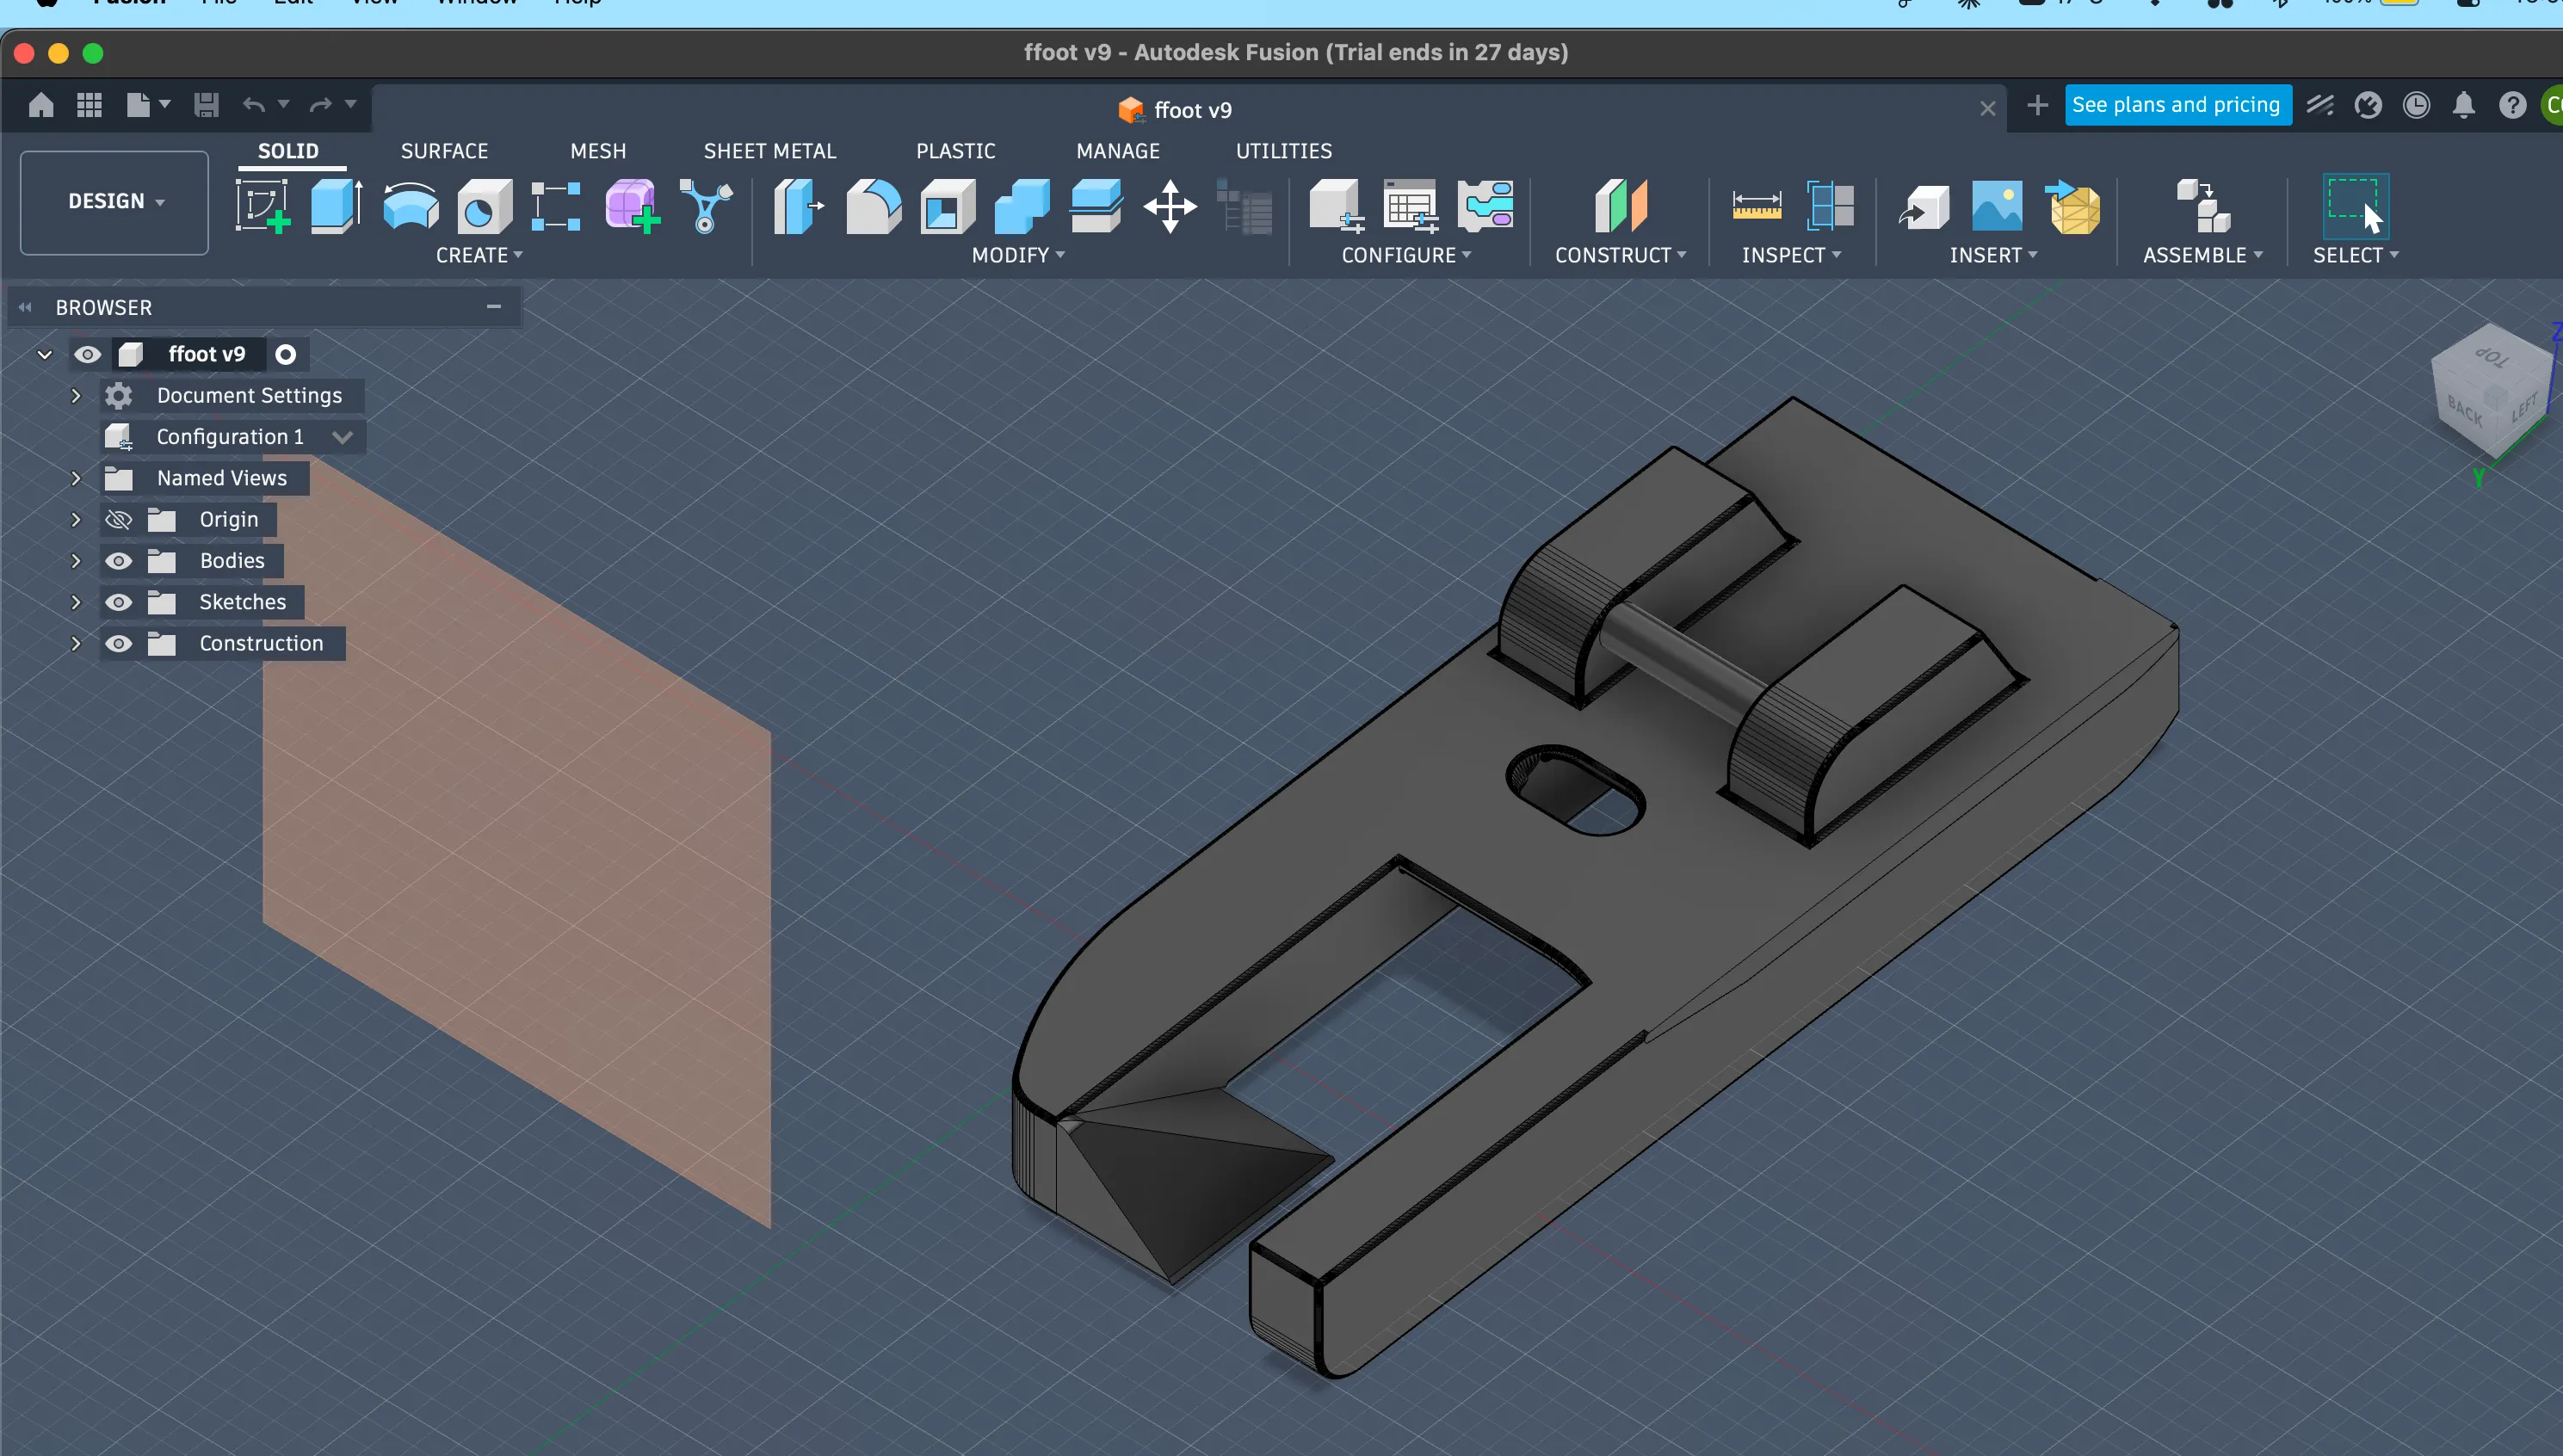
Printing the original files
- photo of the original flat fell foot and the original adaptor
- reference photo of the adaptor currently existing and the invisible zipper foot
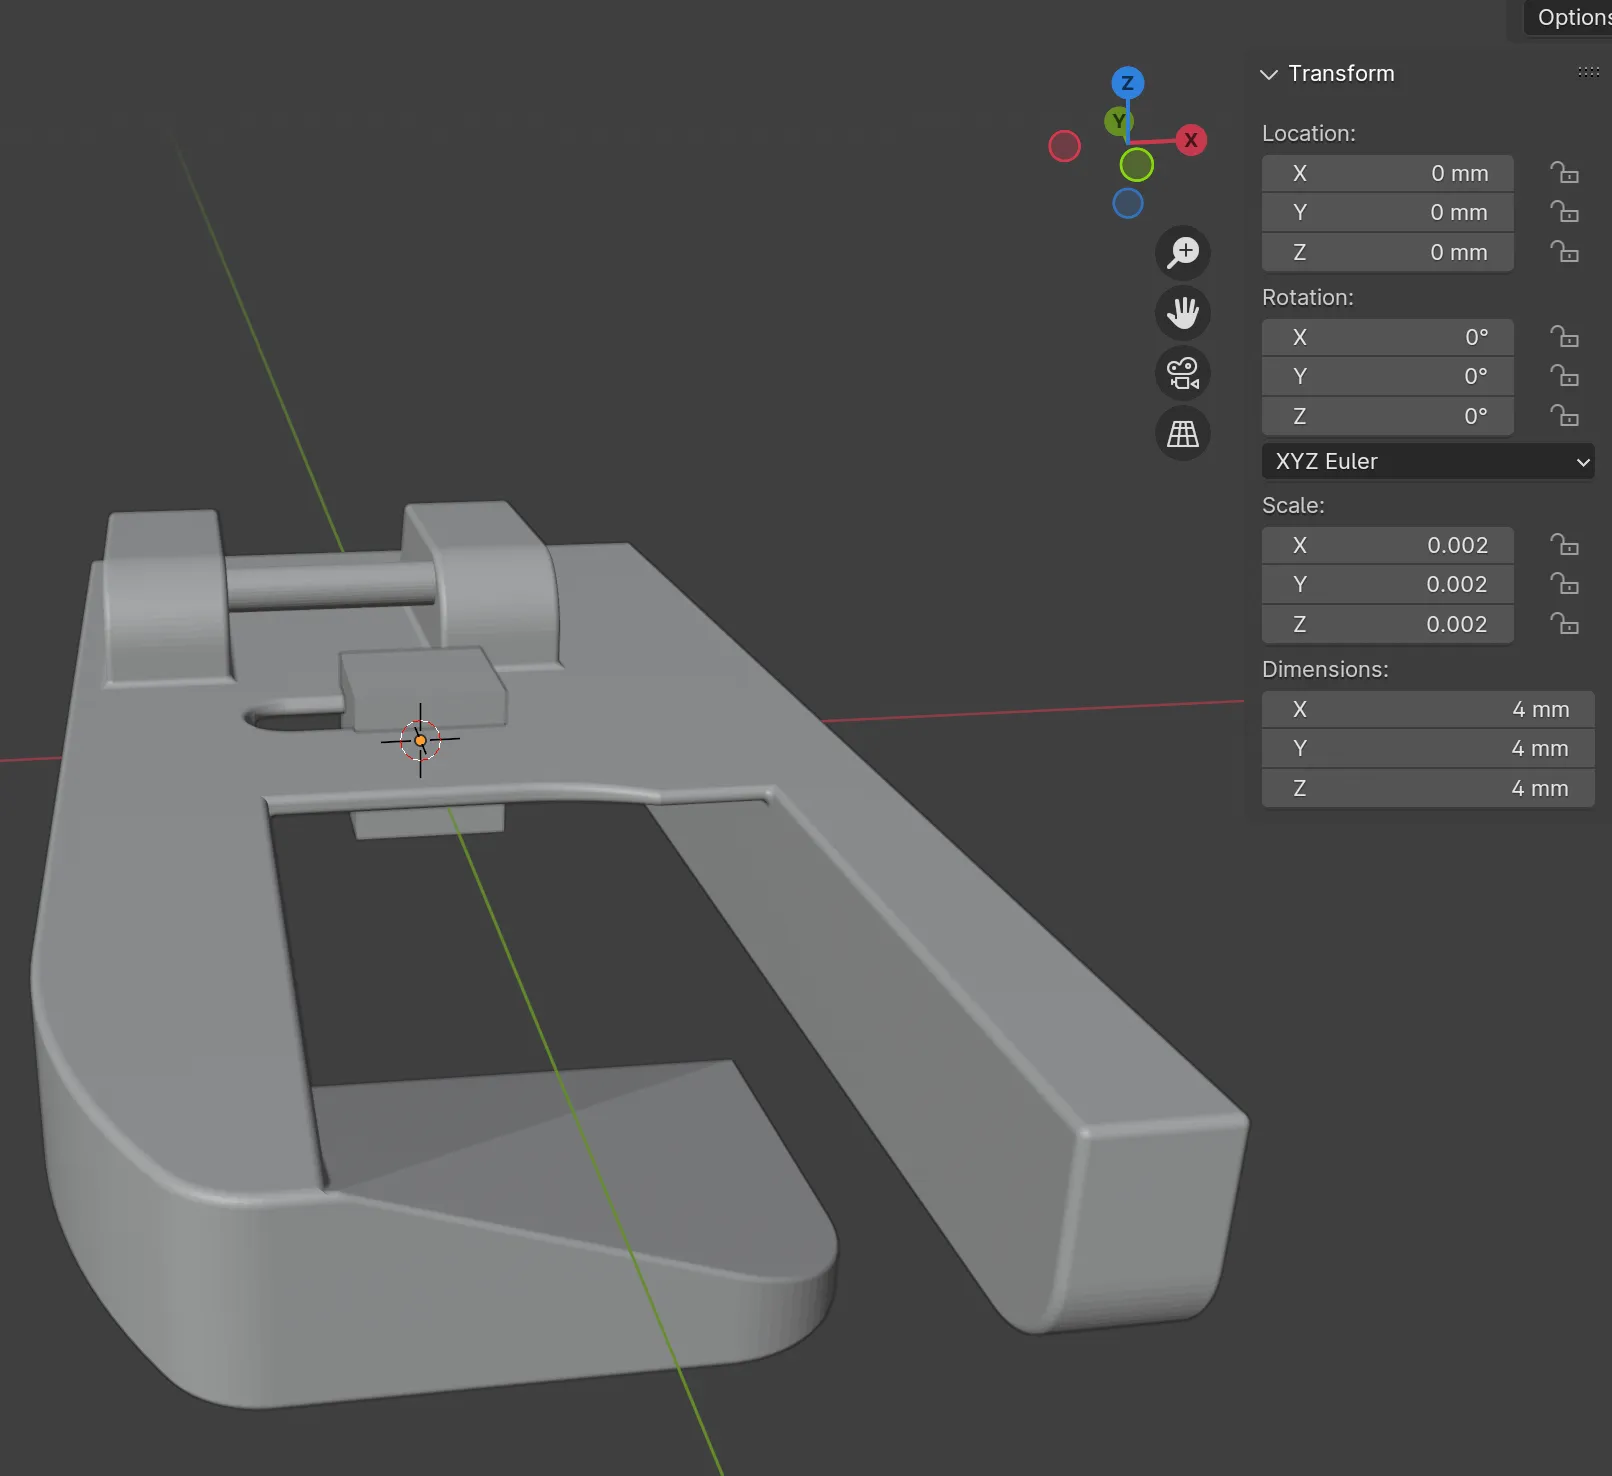
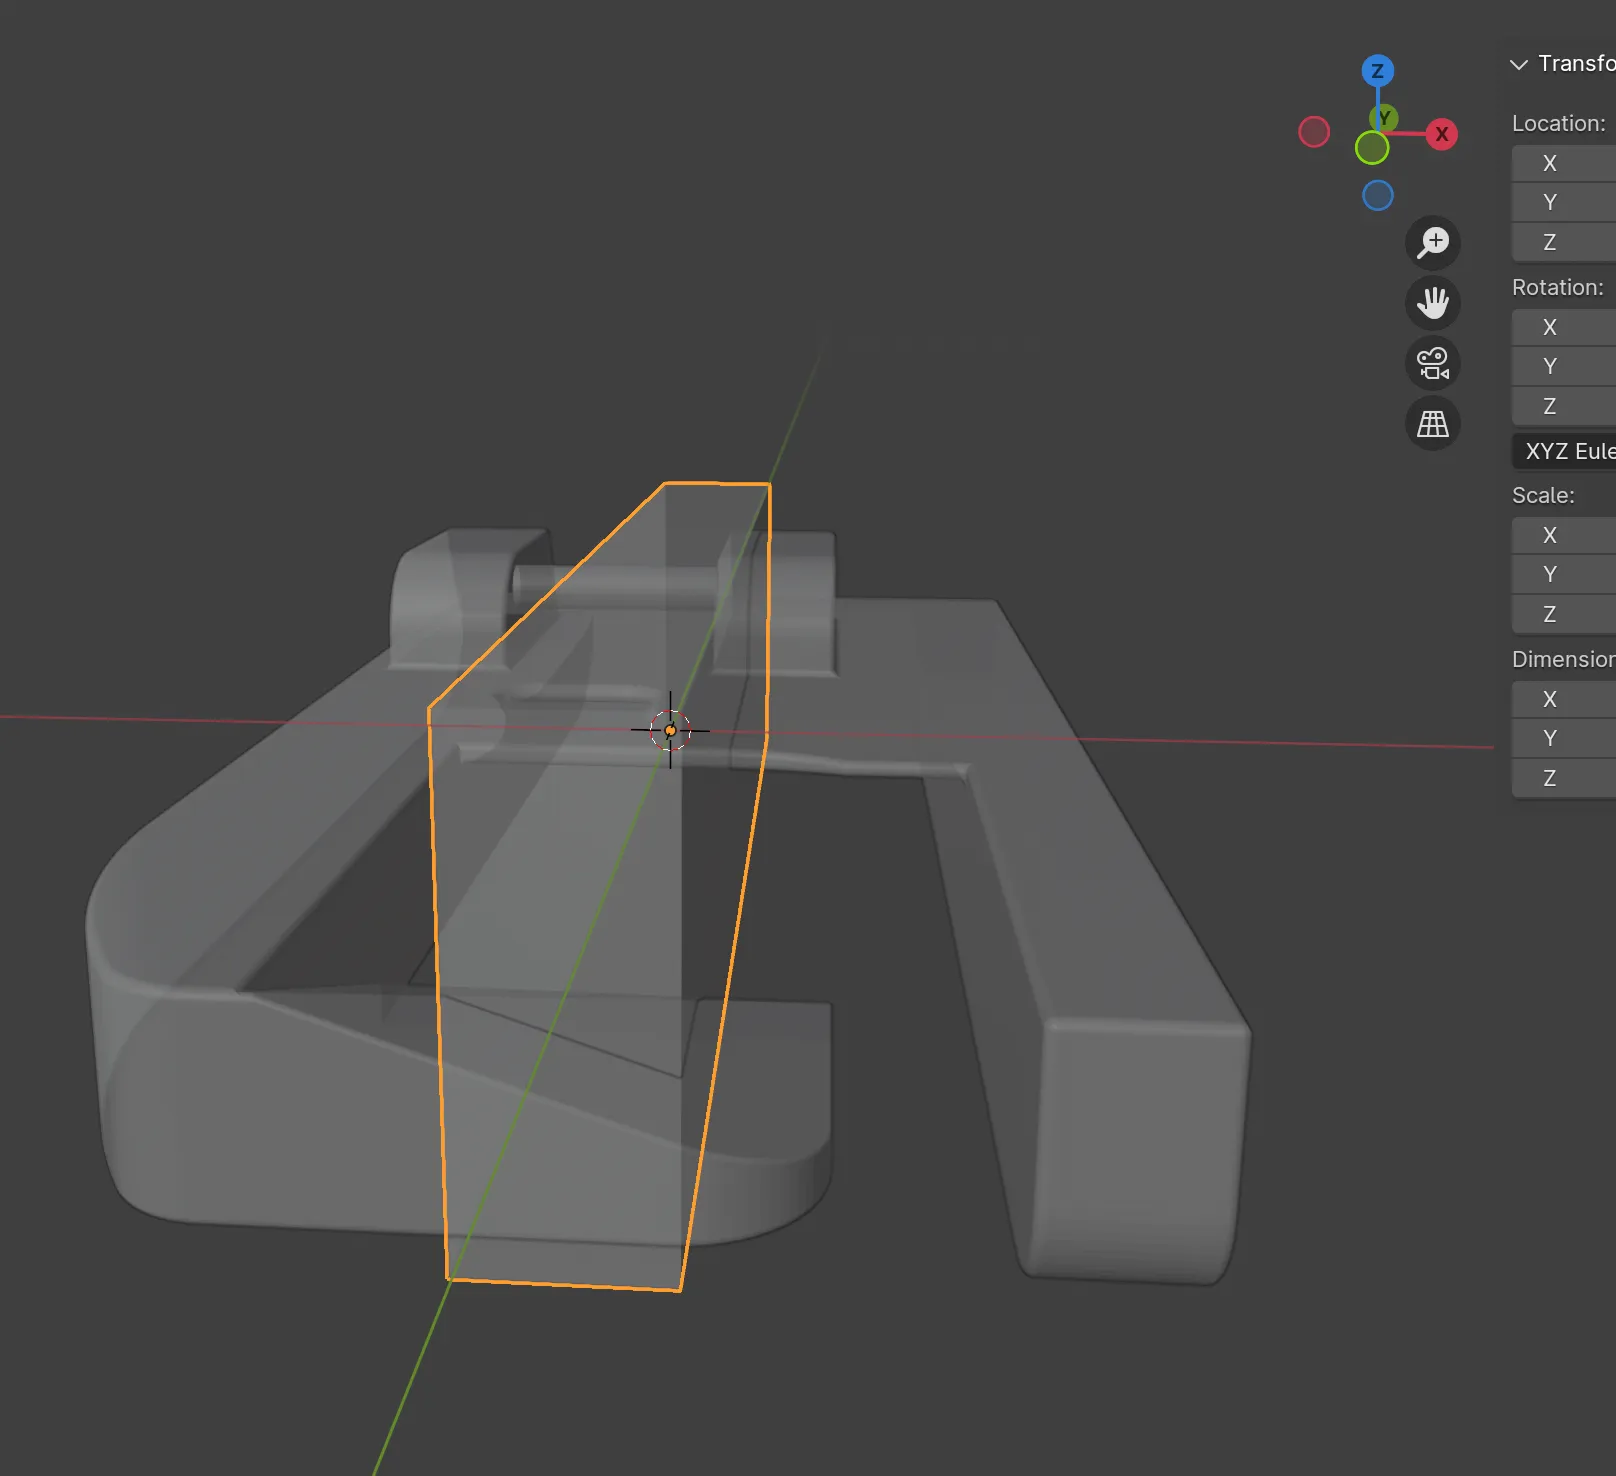
Modelling the flat fell foot
- forgot how hard it was to edit someone else’s mesh.
- thought i could just cut through the centre of the foot and attach the two sizes to shrink it
- couldn’t do that because i wanted to preserve the needle placement. cutting through the centre would mean I’d have to go and re-model the placement for snap on and needle
- I’m not a professional
- Should I just model it from scratch?
- I can’t believe I even wanted to make this parametric. Should I try… because if i don’t it will be such a pain to have to increase tolerances
- parts that ended up parametric: only the bar
First print of the new foot + adjustments
as predicted, it wasn’t a perfect first print. all in all it printed alright except what i predicted would happen, happened - the bar wouldn’t snap on to the adaptor. It turns out I forgot a test tolerance of the snap on bar, and the actual invisible zip foot was much wider than what I had on the stl. Luckily, I made the bar parametric and it was just a matter of changing the diameter of the circle and adding a bit more vertical height to the two sides holding the bar together.
adjustments
- added height to shapes holding on to the bar
- increased pin_di first to 1.64mm (ended up too big), settled on 1.62mm
I
Moment of truth
- photo of prints working (abs)
- video / gif of the foot working
Things to improve
- clearance height of the bar
- decrease thickness of the right side foot
margin notes
photos needed:
- v1 white flat fell foot
- v2 blue flat fell foot
- printed adaptor of the flat fell foot
- finished flat fell foot
- flat fell seam outcome photo of jenna shirt
videos needed:
- flat fell foot in action
