project complete created updated
honeygirl boat neck tank
Honeygirl Boat Neck Tank (Paradise Patterns) — a 4-version weekend fitting project, size C
- Pattern: Honeygirl Tee + Boat Neck Expansion Pack by Paradise Patterns
- View / size: Tank + Boat Neck, size C (B-cup)
- Status: complete - turned into a deliberate fitting project over a weekend (v1 → v4) to learn to fit a pattern to myself
- Fabric: pointelle from NMM
- Result: v4 fits great!
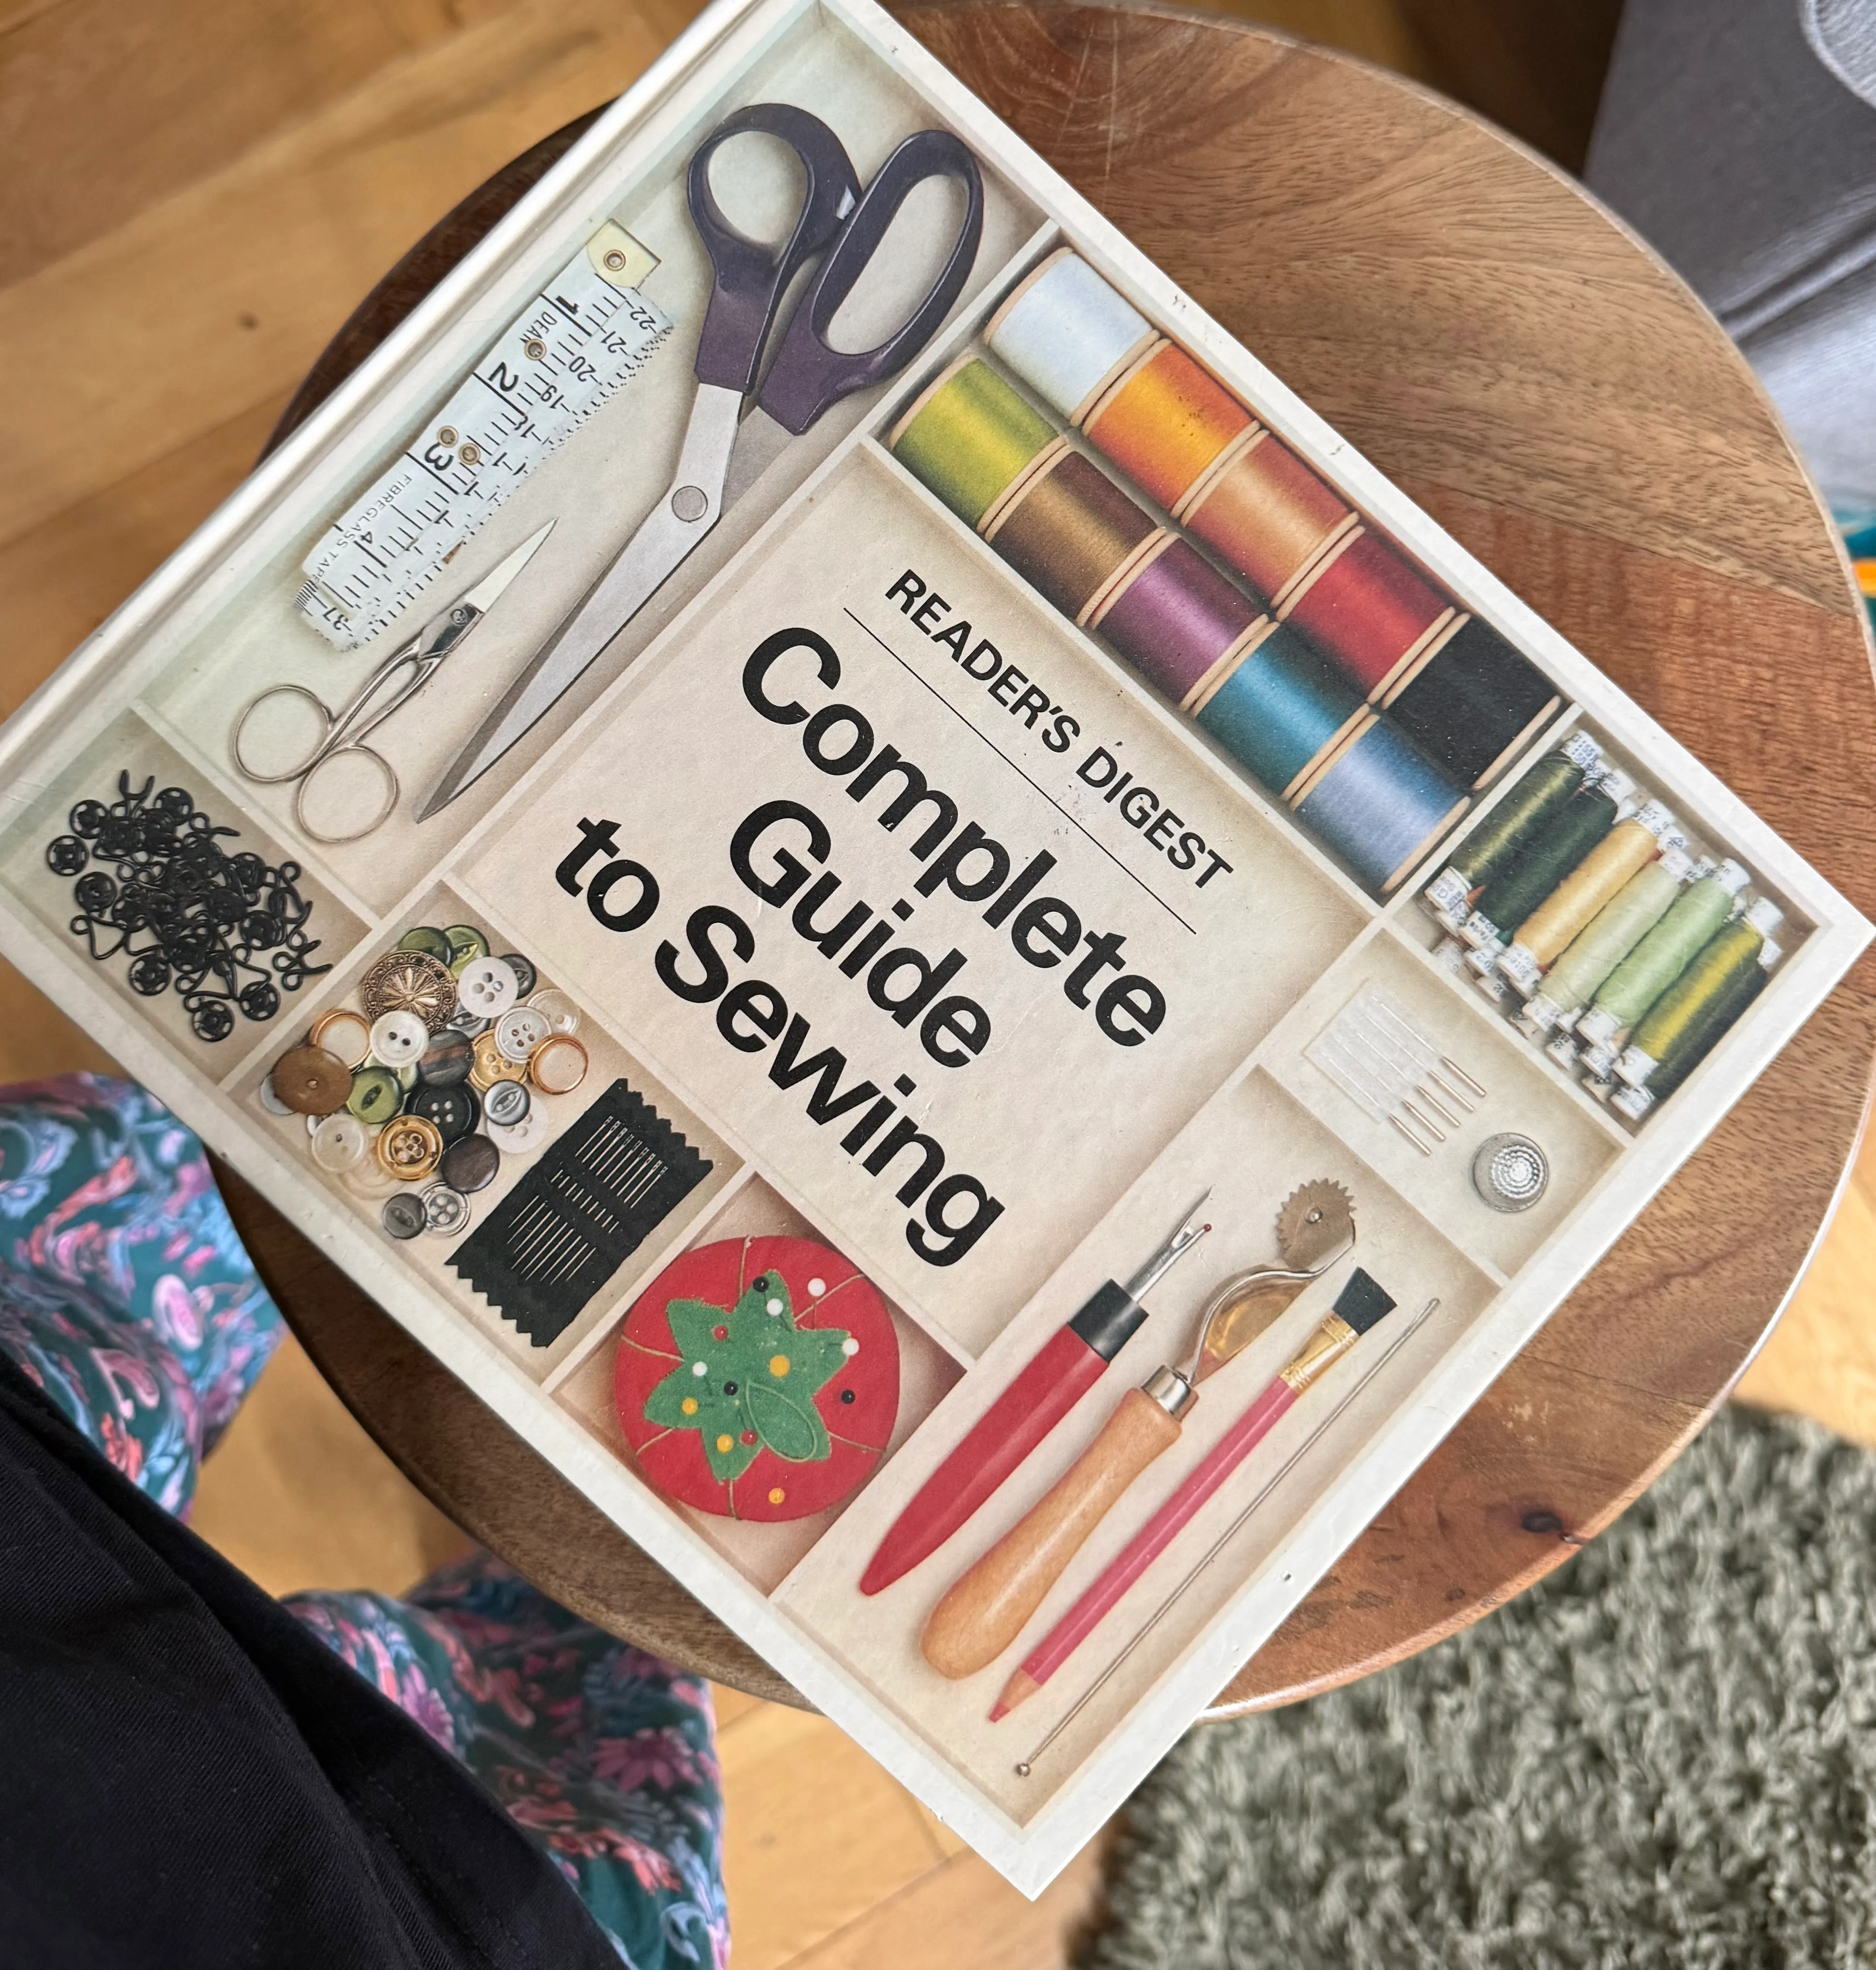
- Key reference: Sarah Veblen’s fitting book, best for the sequence of adjustments.
Boatneck is my favourite neckline, so I thought it would be worth the effort and time to dial in the fit. I don’t like clothes that are suffocatingly tight (sensory nightmare for me), but I still wanted to maintain the shape and keep it close to the body. Through this project, I learned that boatnecks are a bit fussy to fit properly esp. in fabrics with low recovery (like pointelle).
v0 - knit with high recovery
Before my pointelle came in, I went ahead and tried to sew up a version in my stretchy knit remnant. The pattern indicates that it’s NOT for high recovery knits, but I was excited, thought it was a good idea and did it.
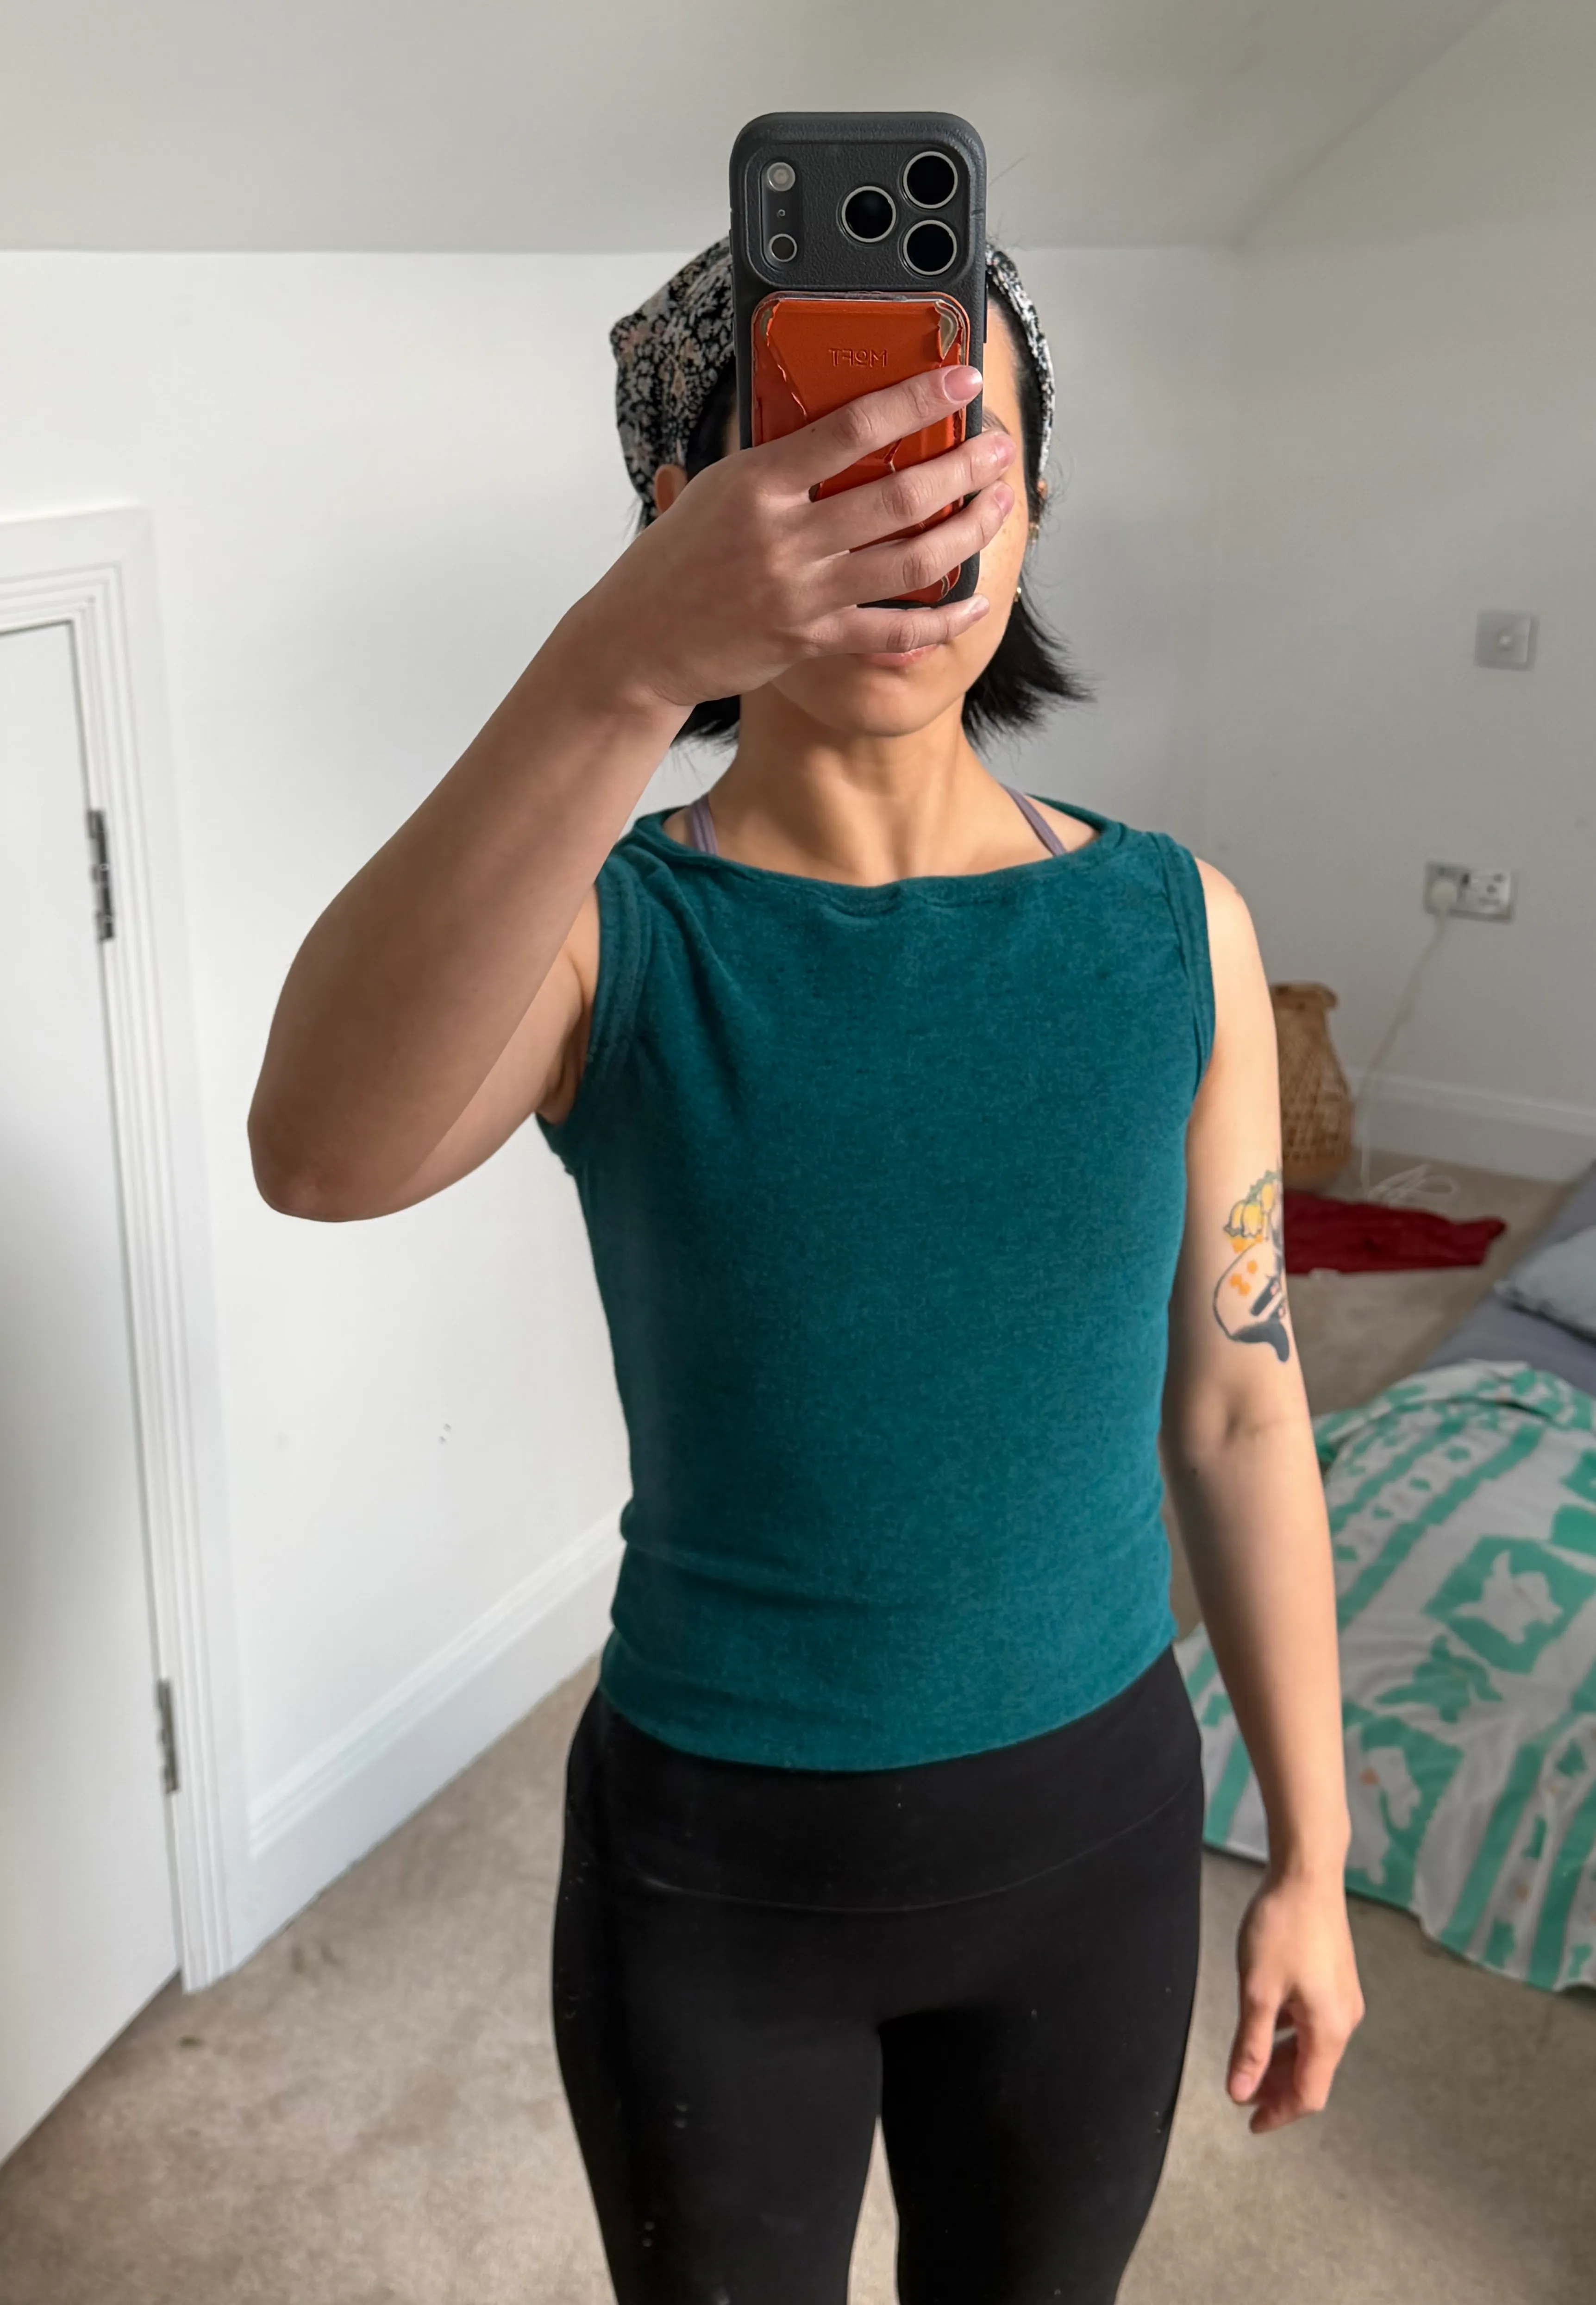
It turned out great! I sized one up and I did acidentally sew the neckband on to the right side instead of the wrong side, but I fixed it up a bit and it doesn’t look too terrible. I actually love this shirt and I wear it to workout class. If only I knew this high-recovery fabric would be nothing like the fit of the pointelle…
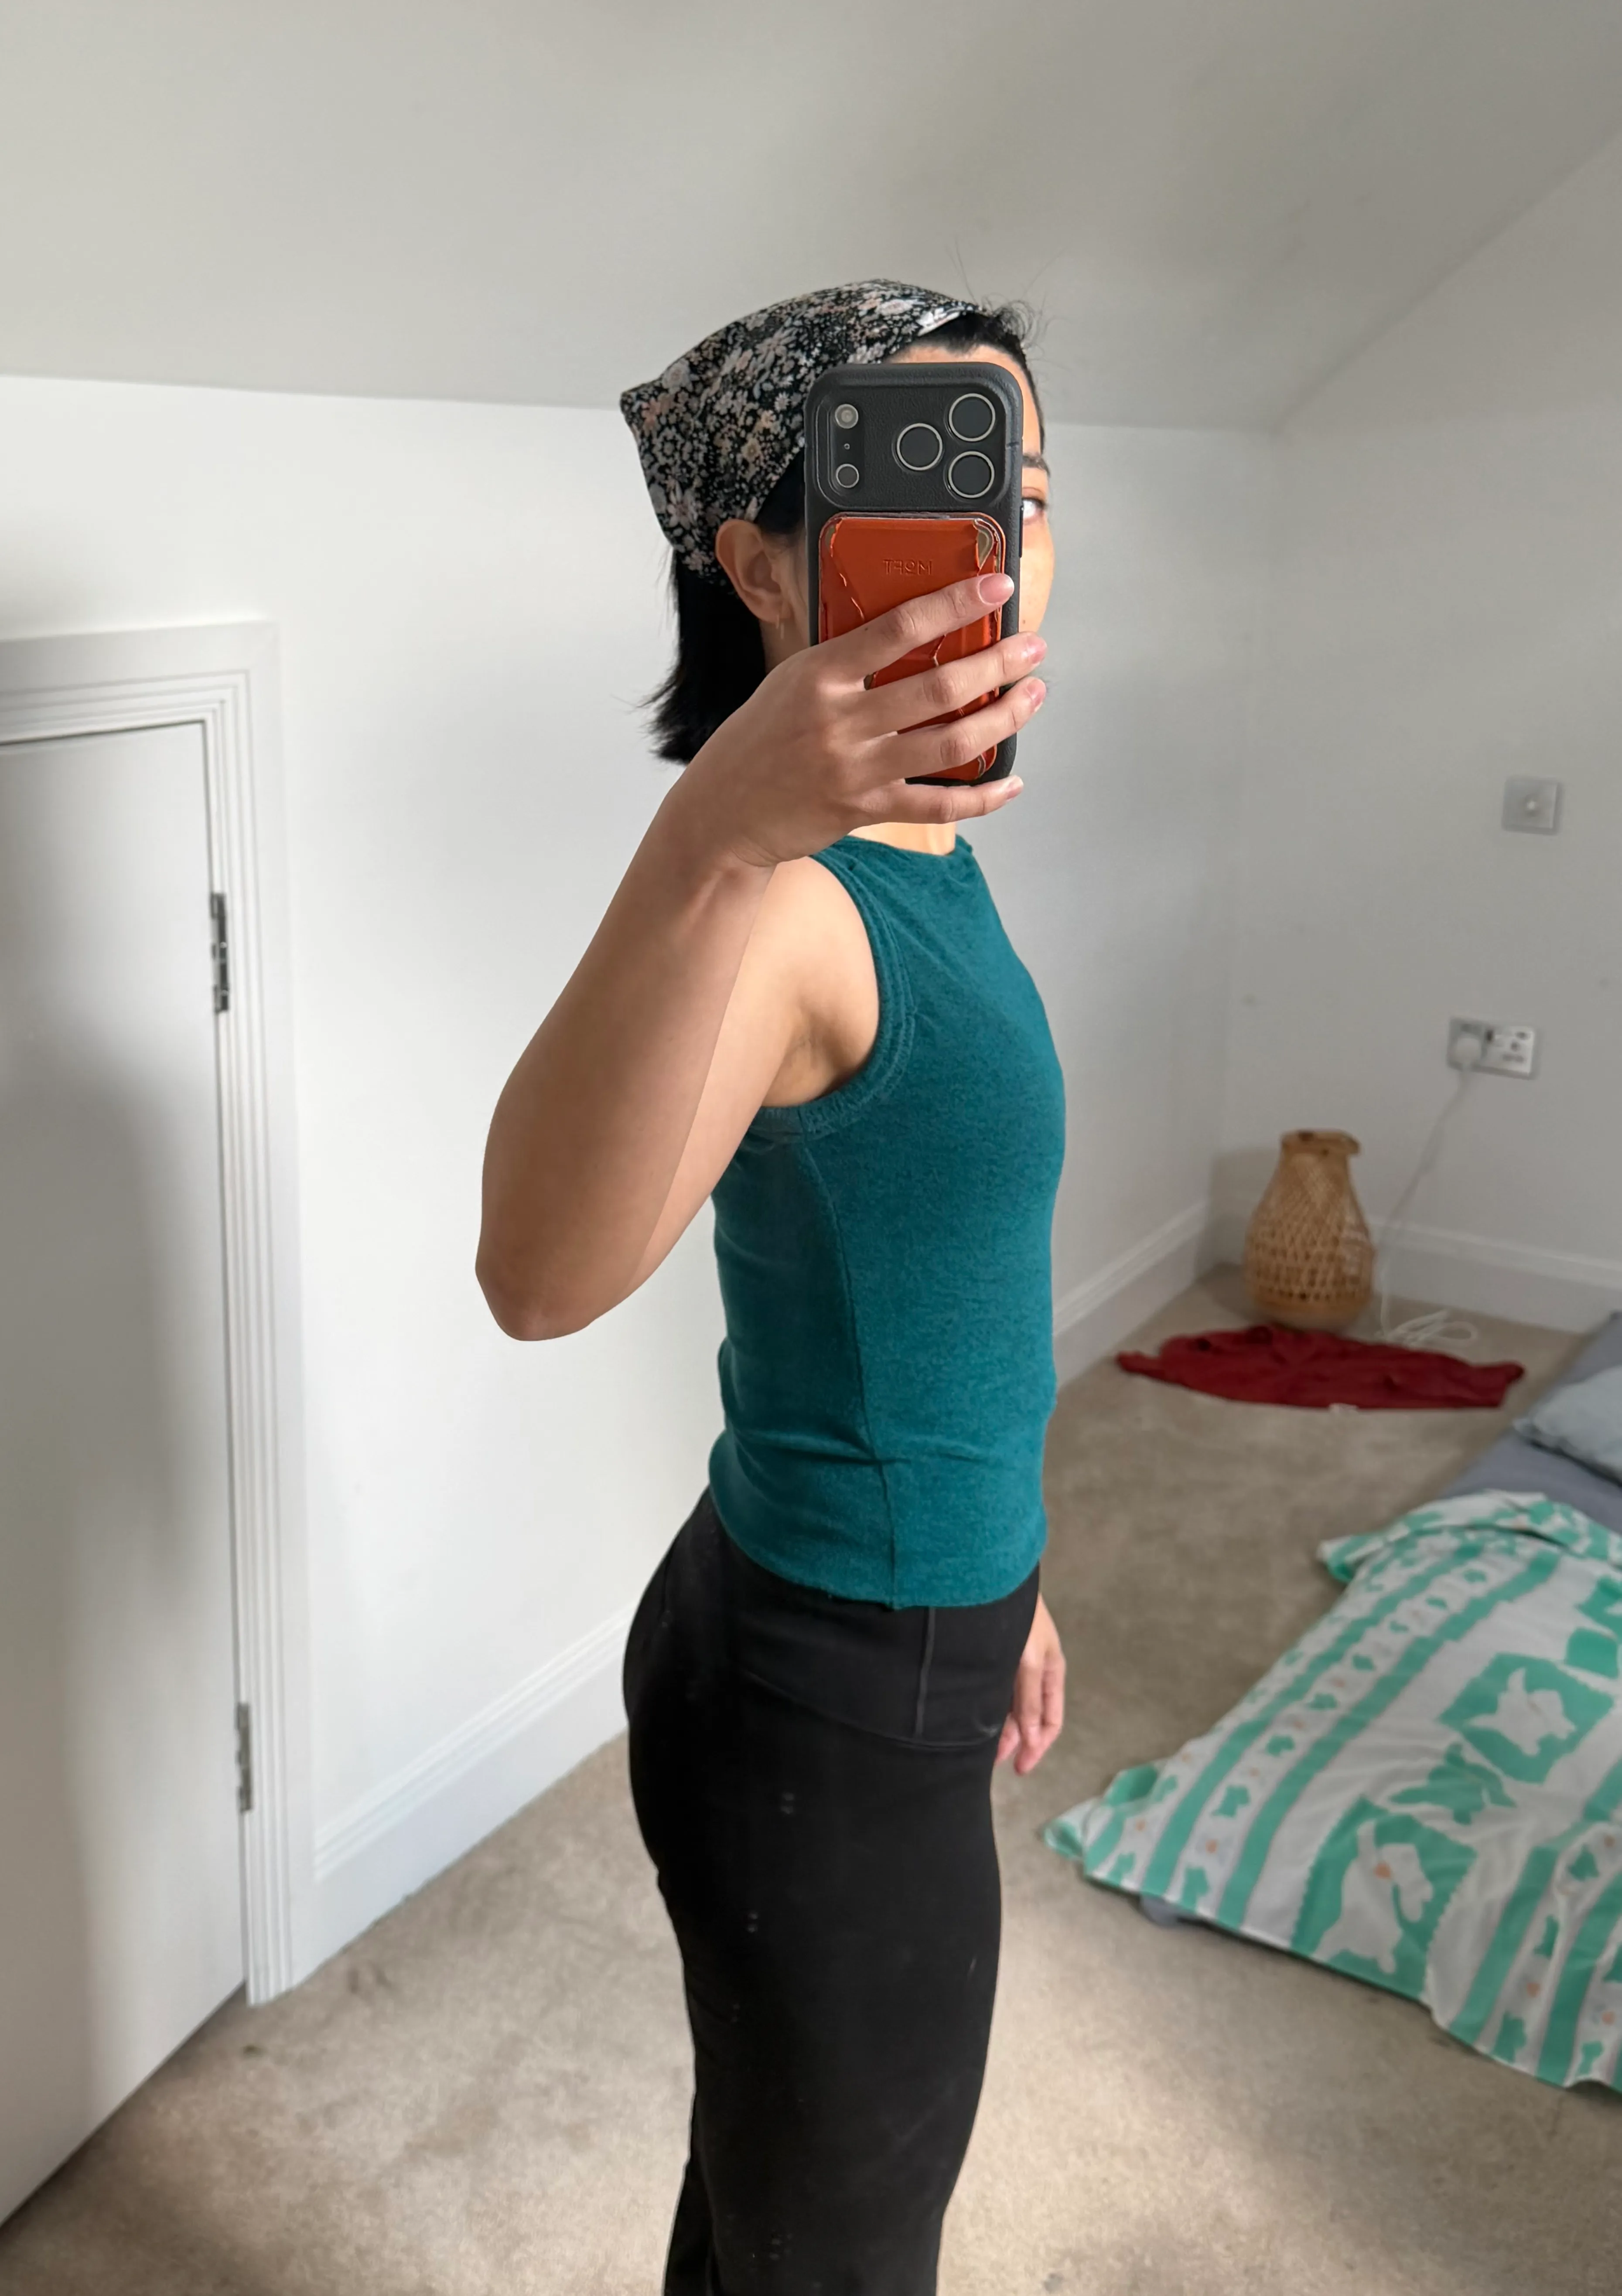
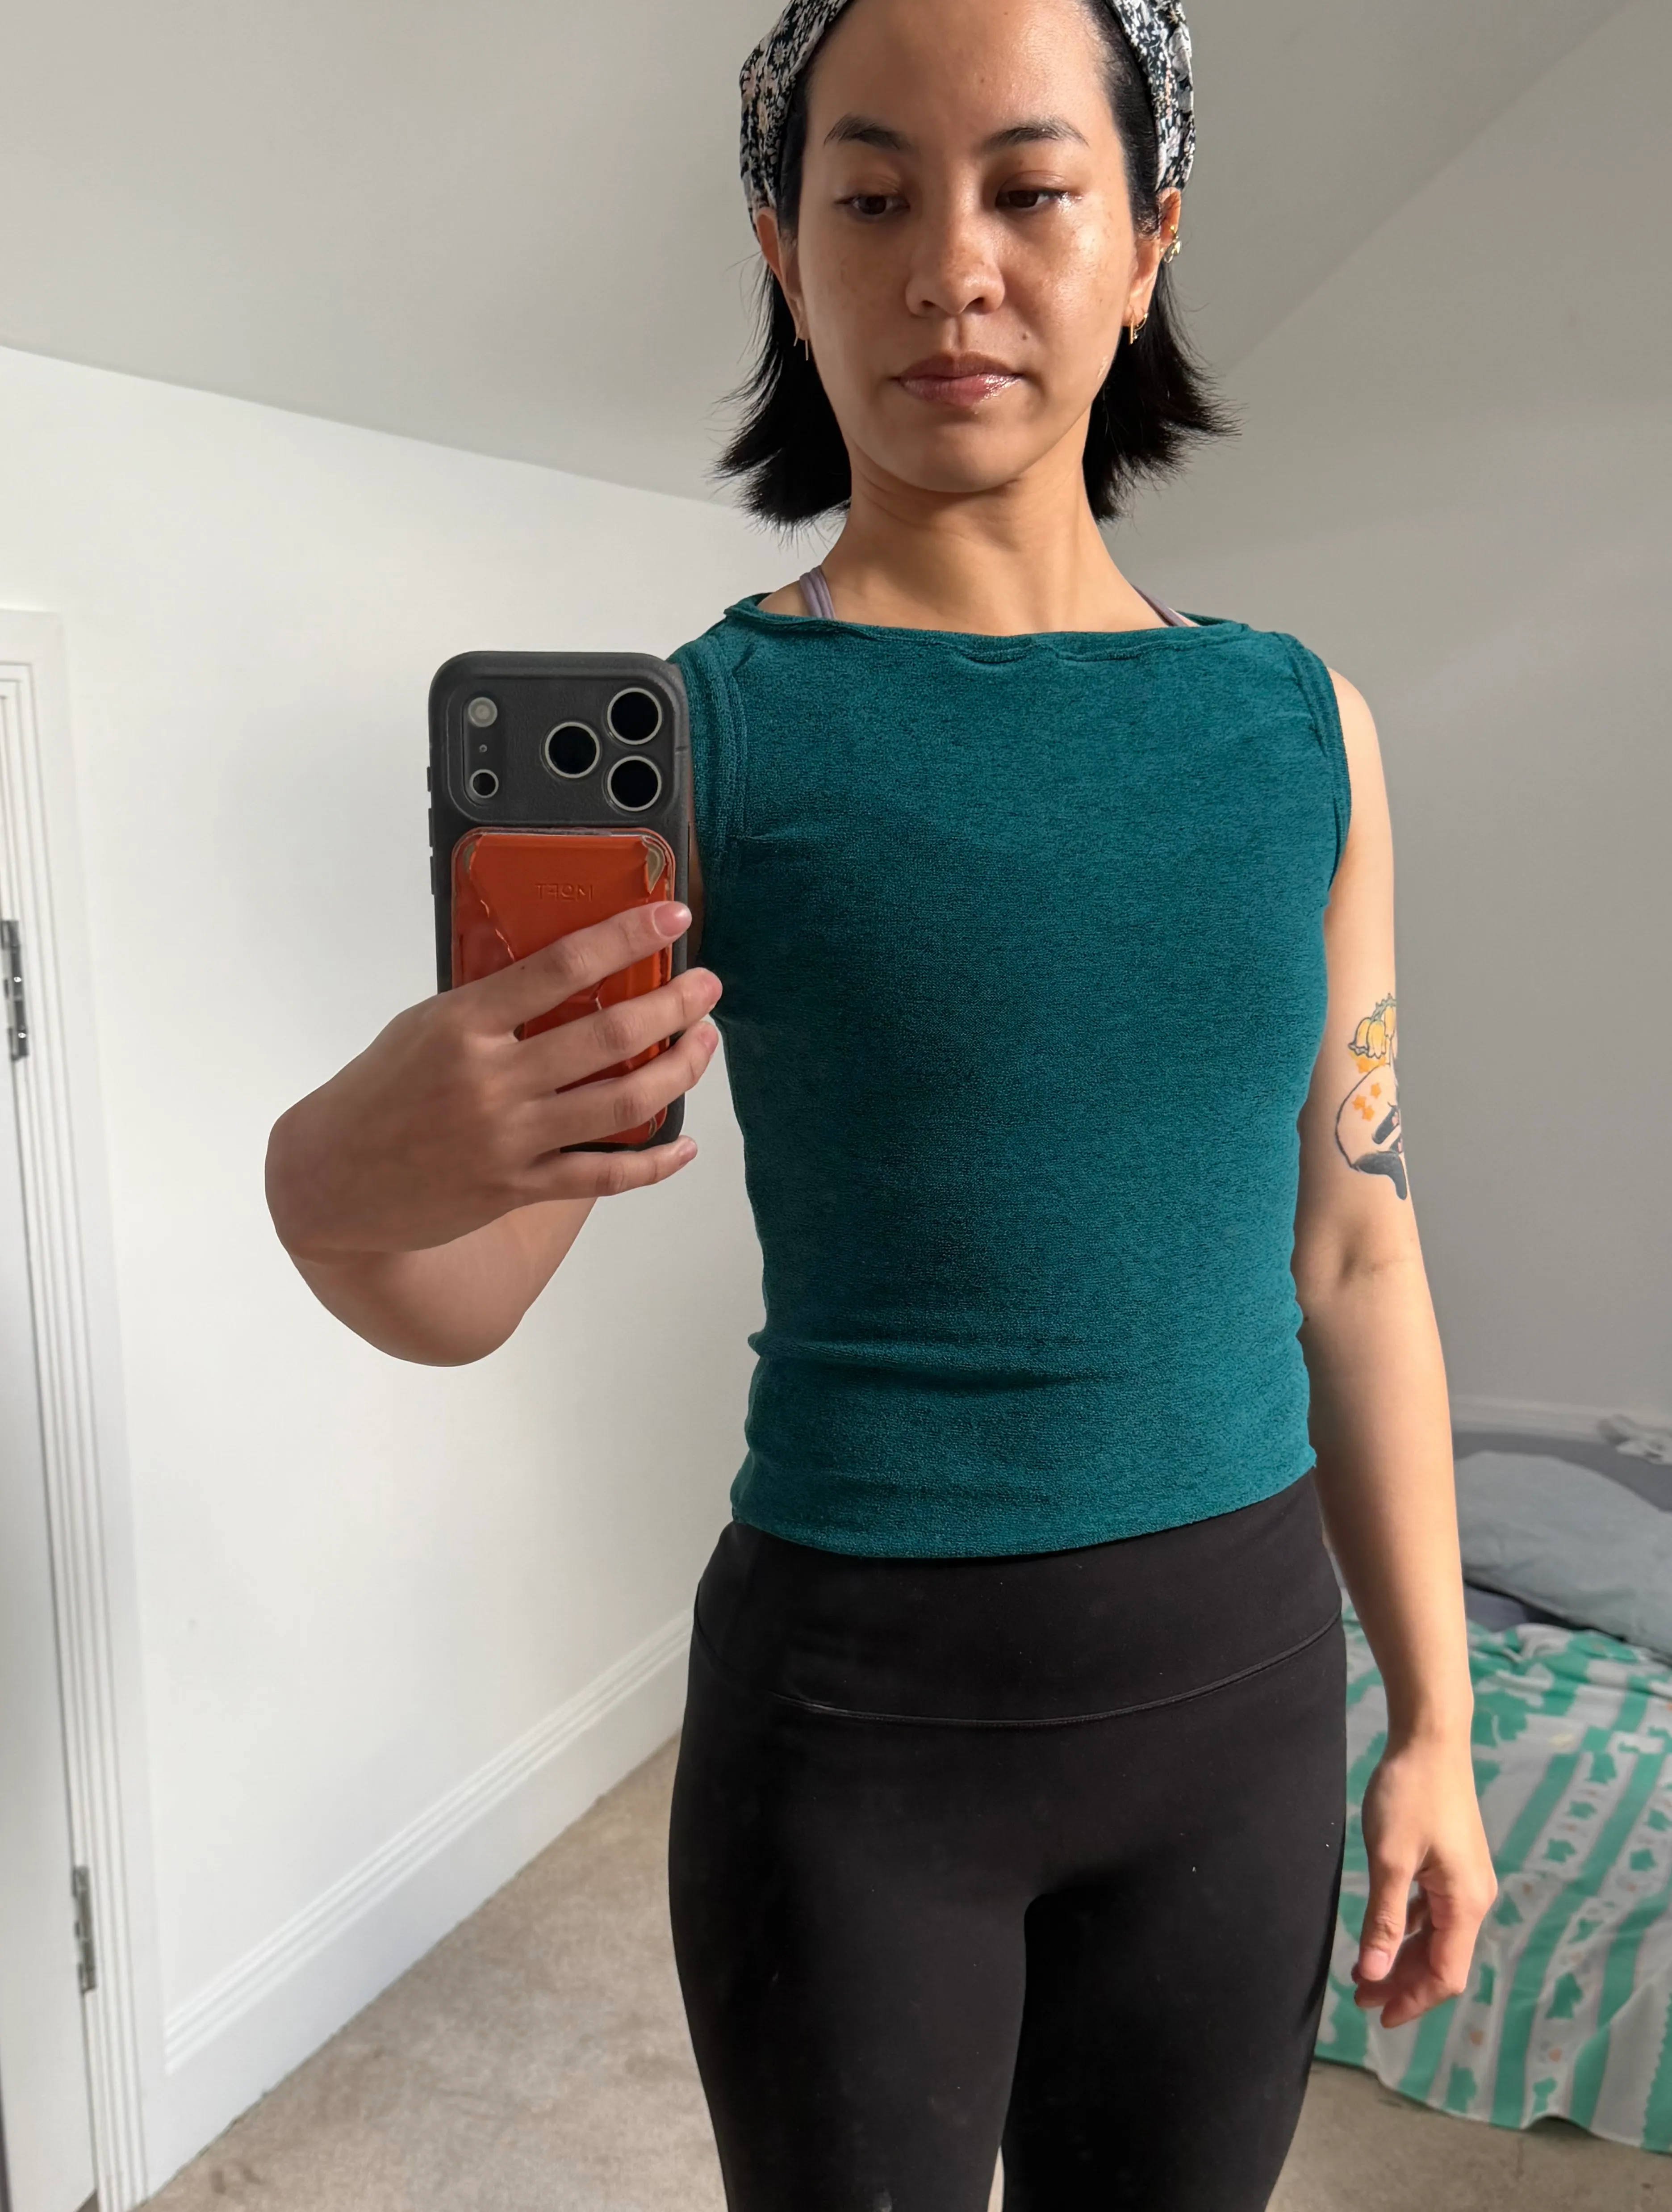
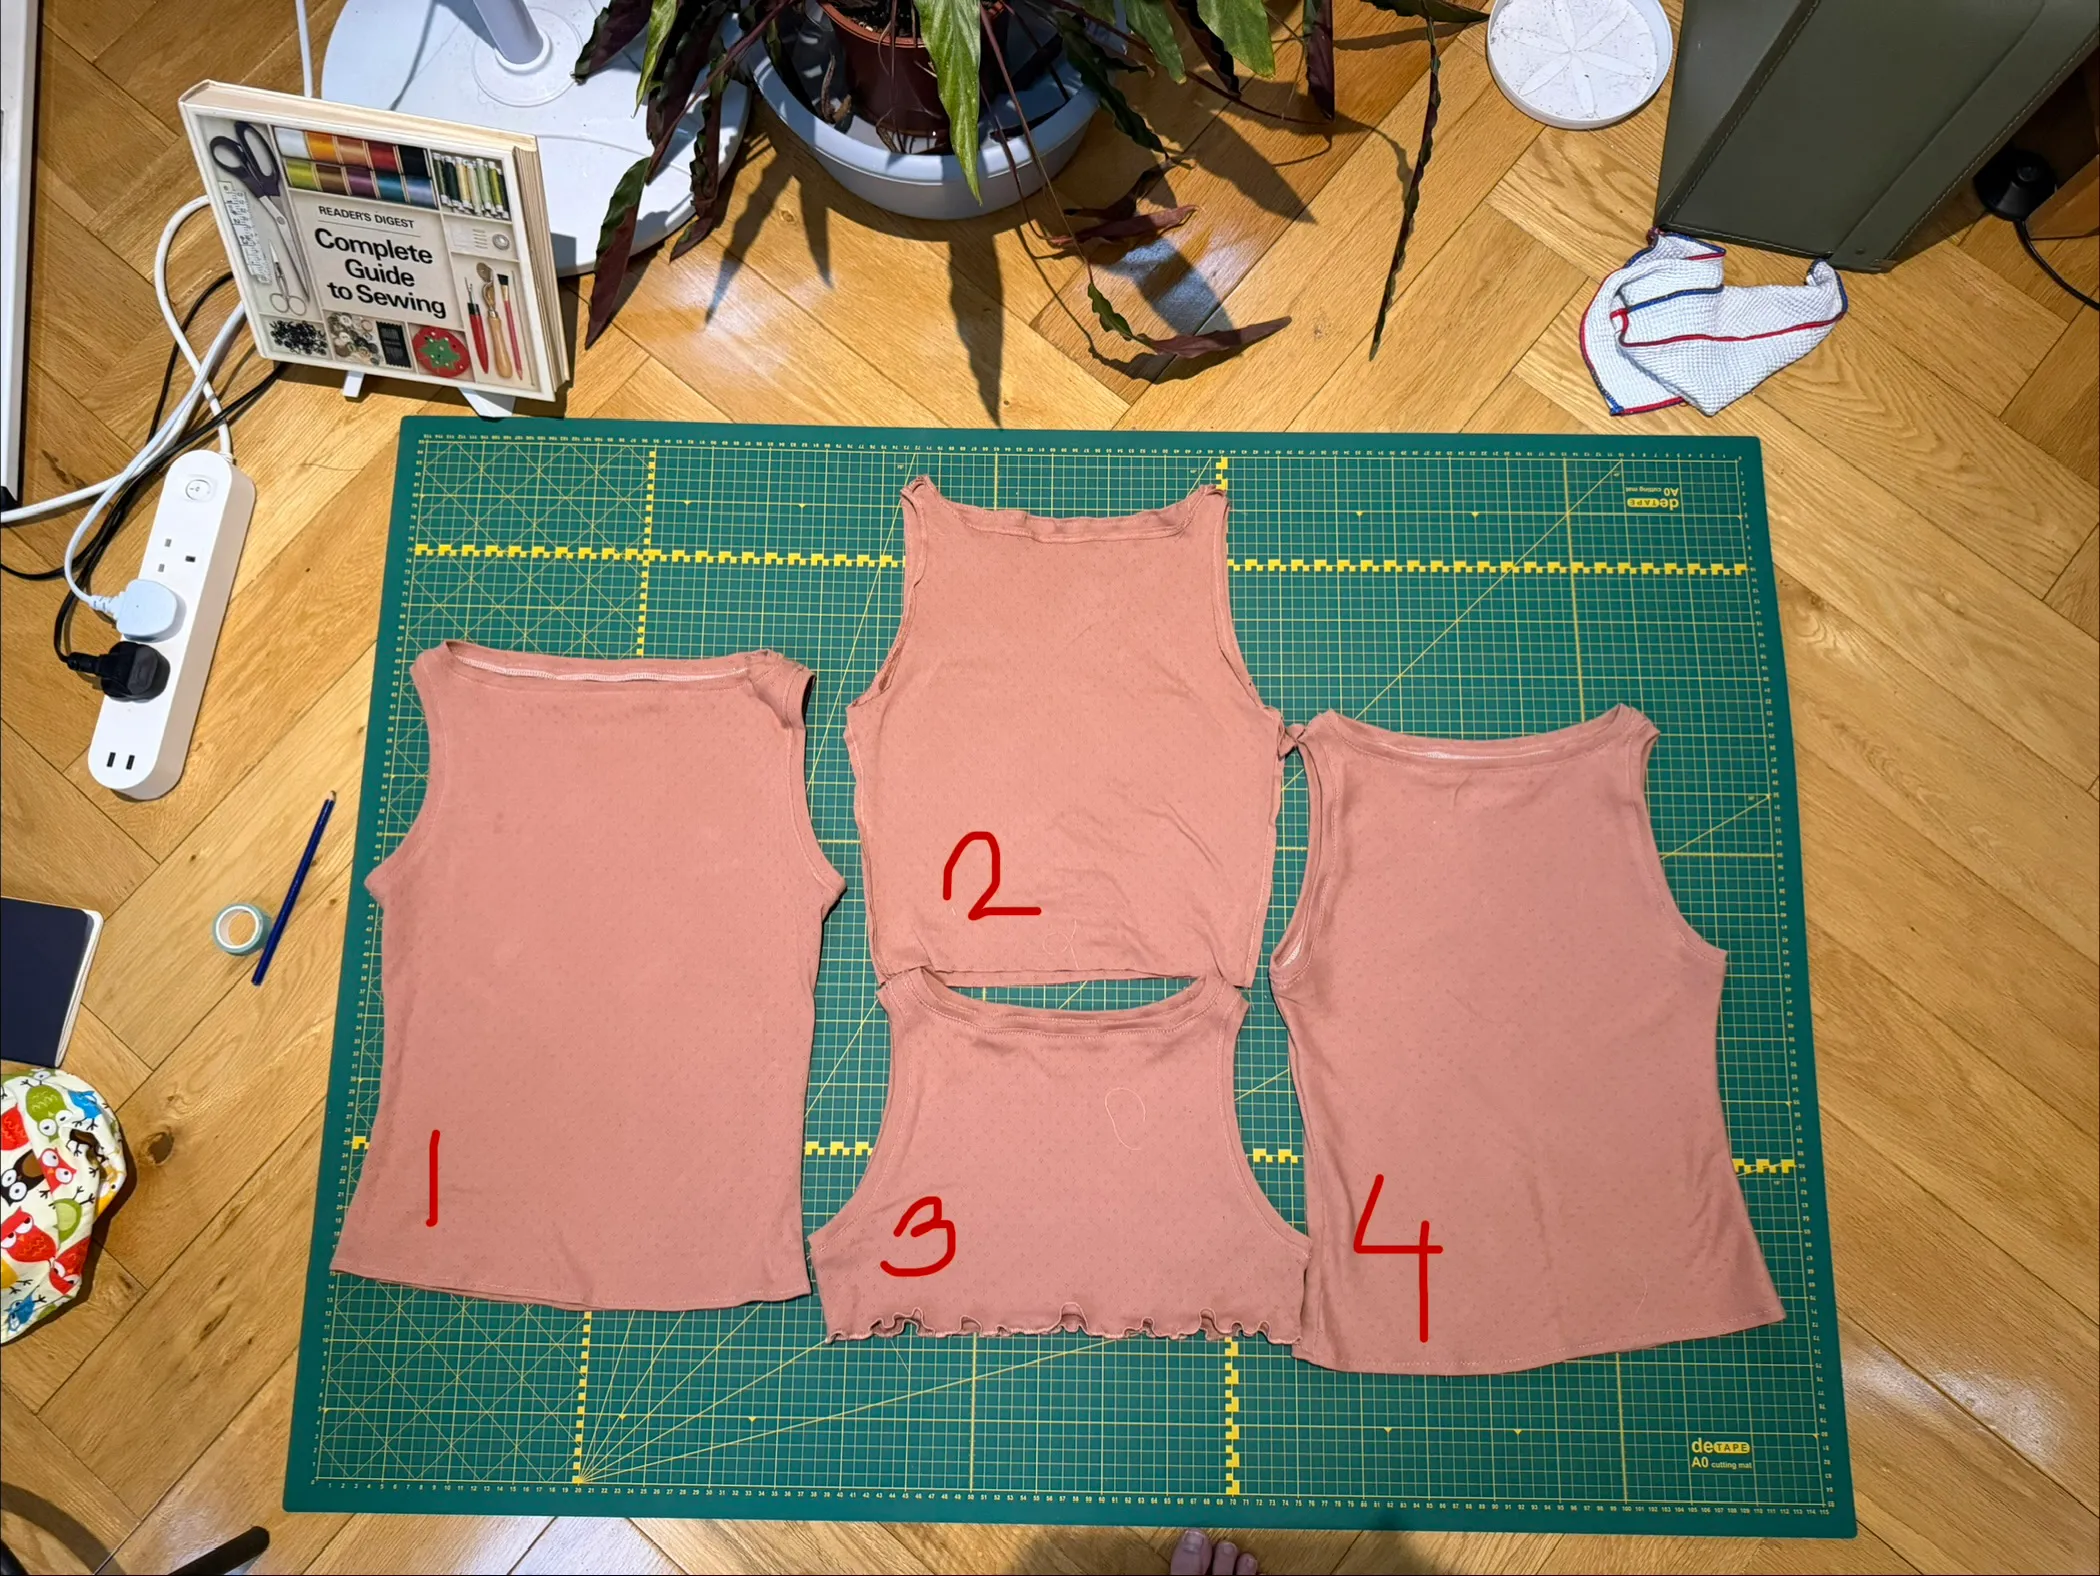
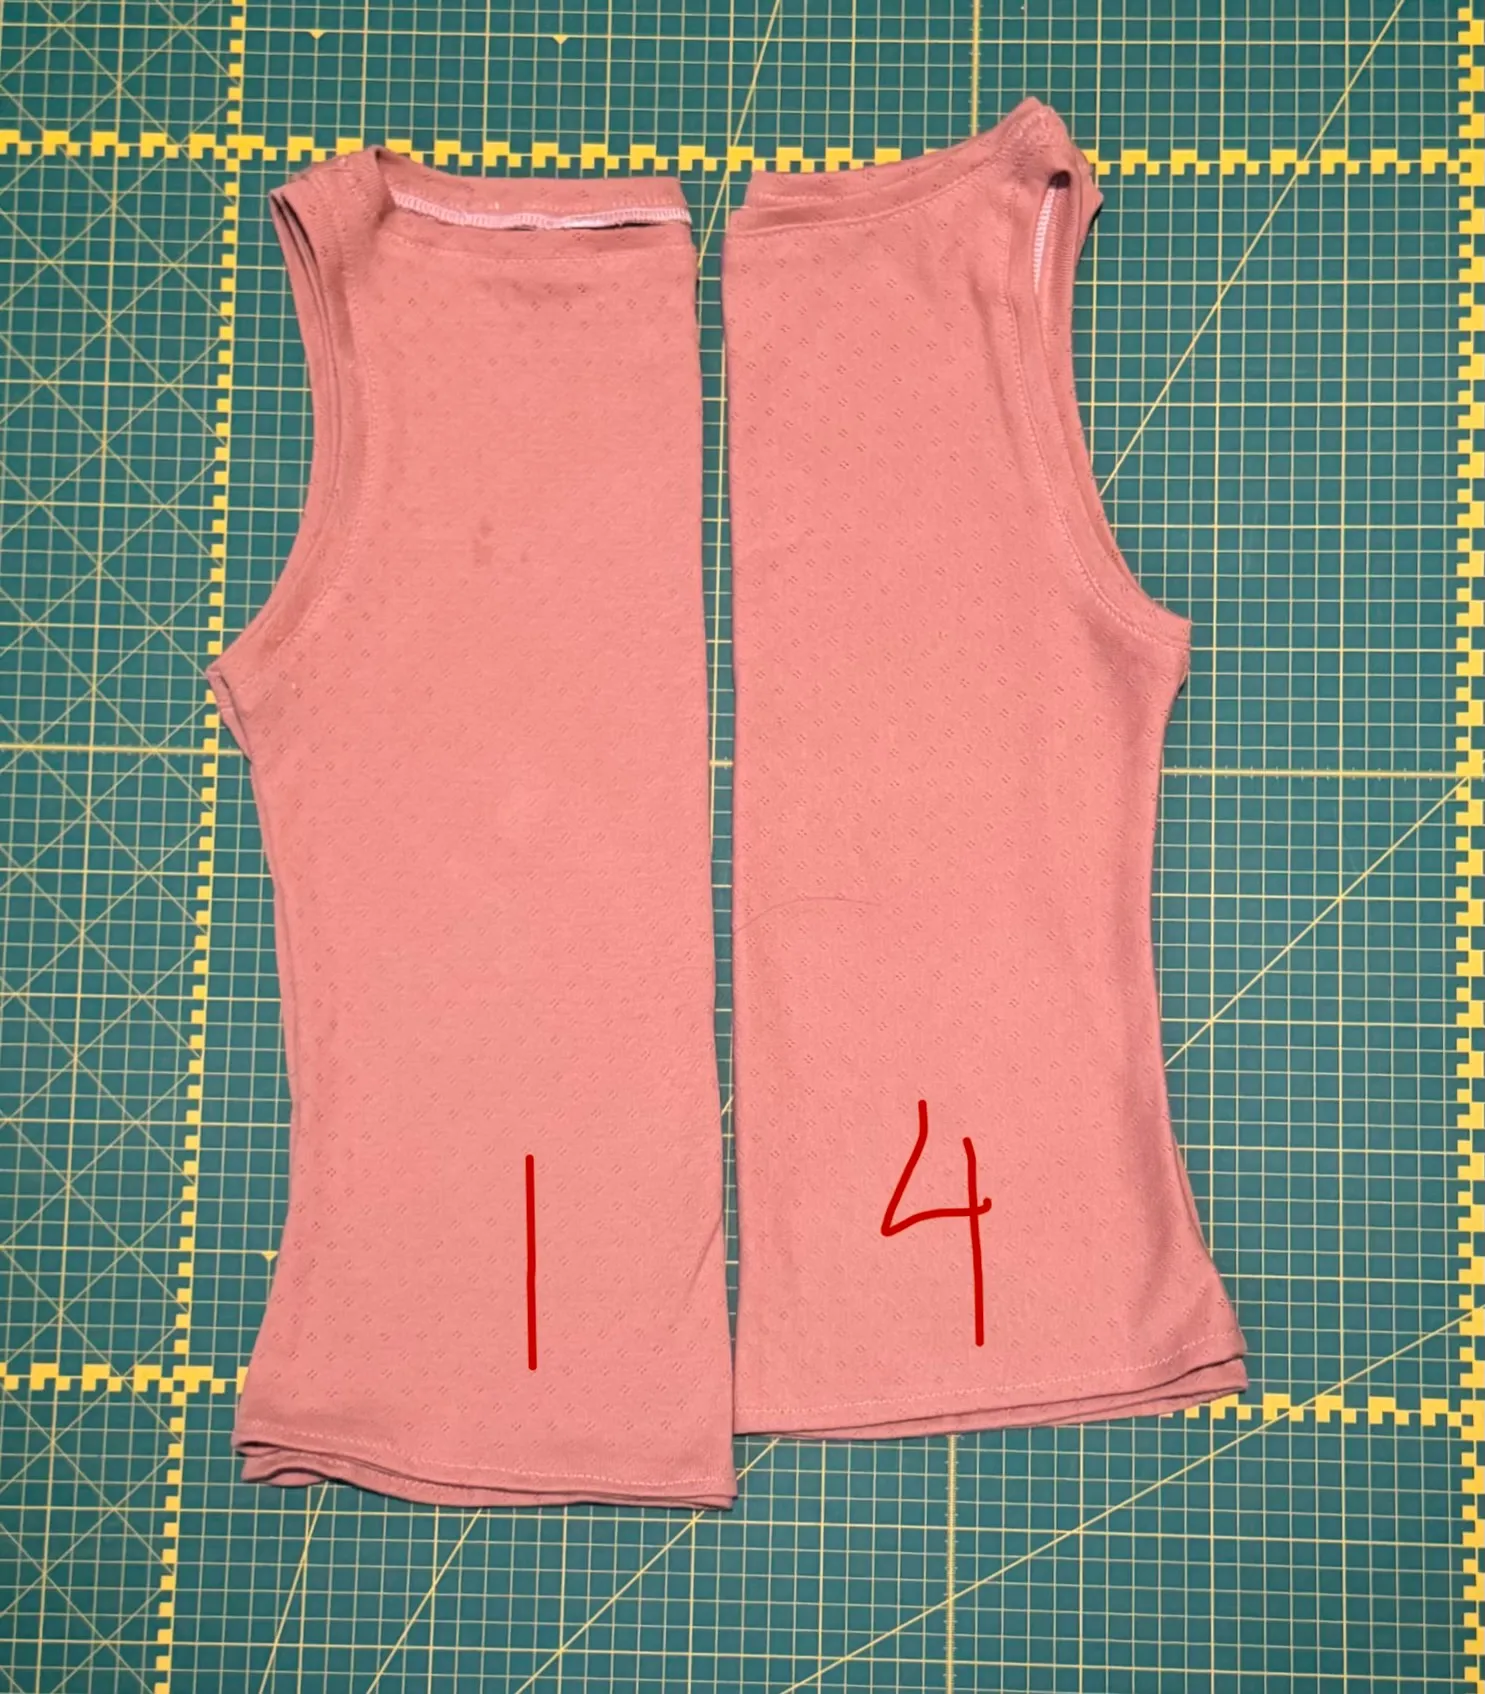
v1, pointelle + no changes
- Fabric: pointelle
- Scope: cut size C straight, no mods
- Outcome: bad neckline gaping → became the starting point for the fitting project
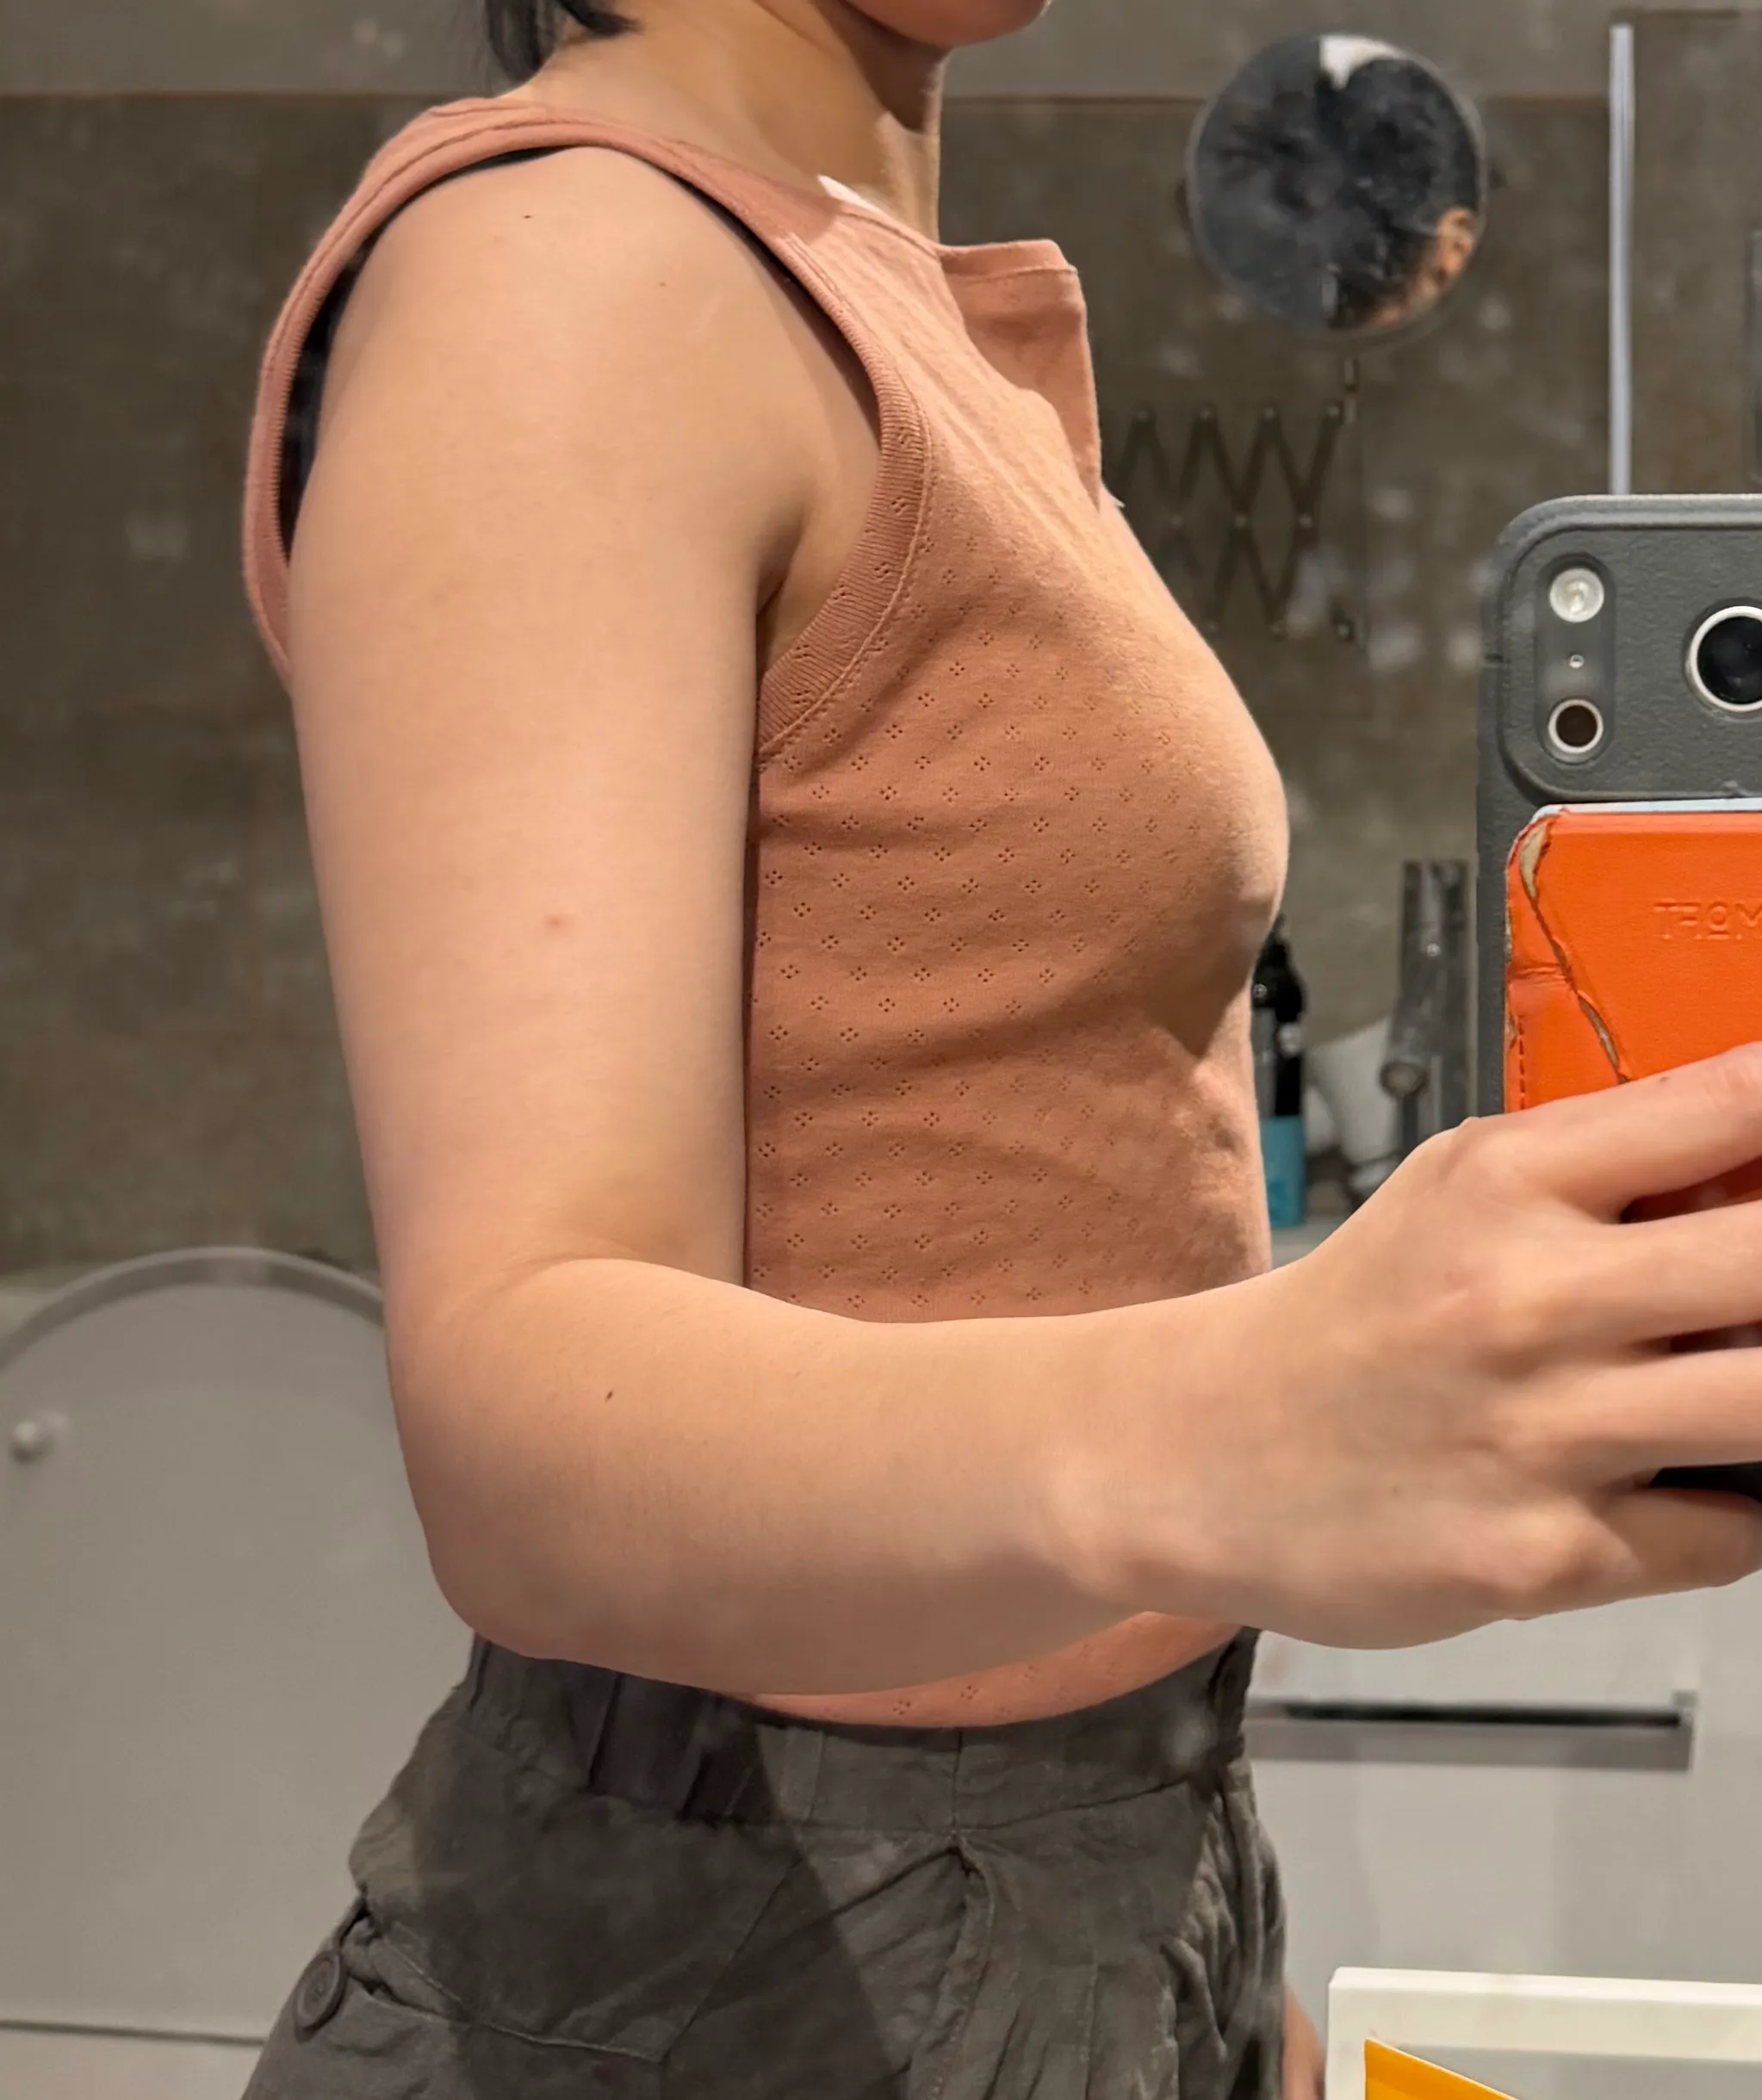
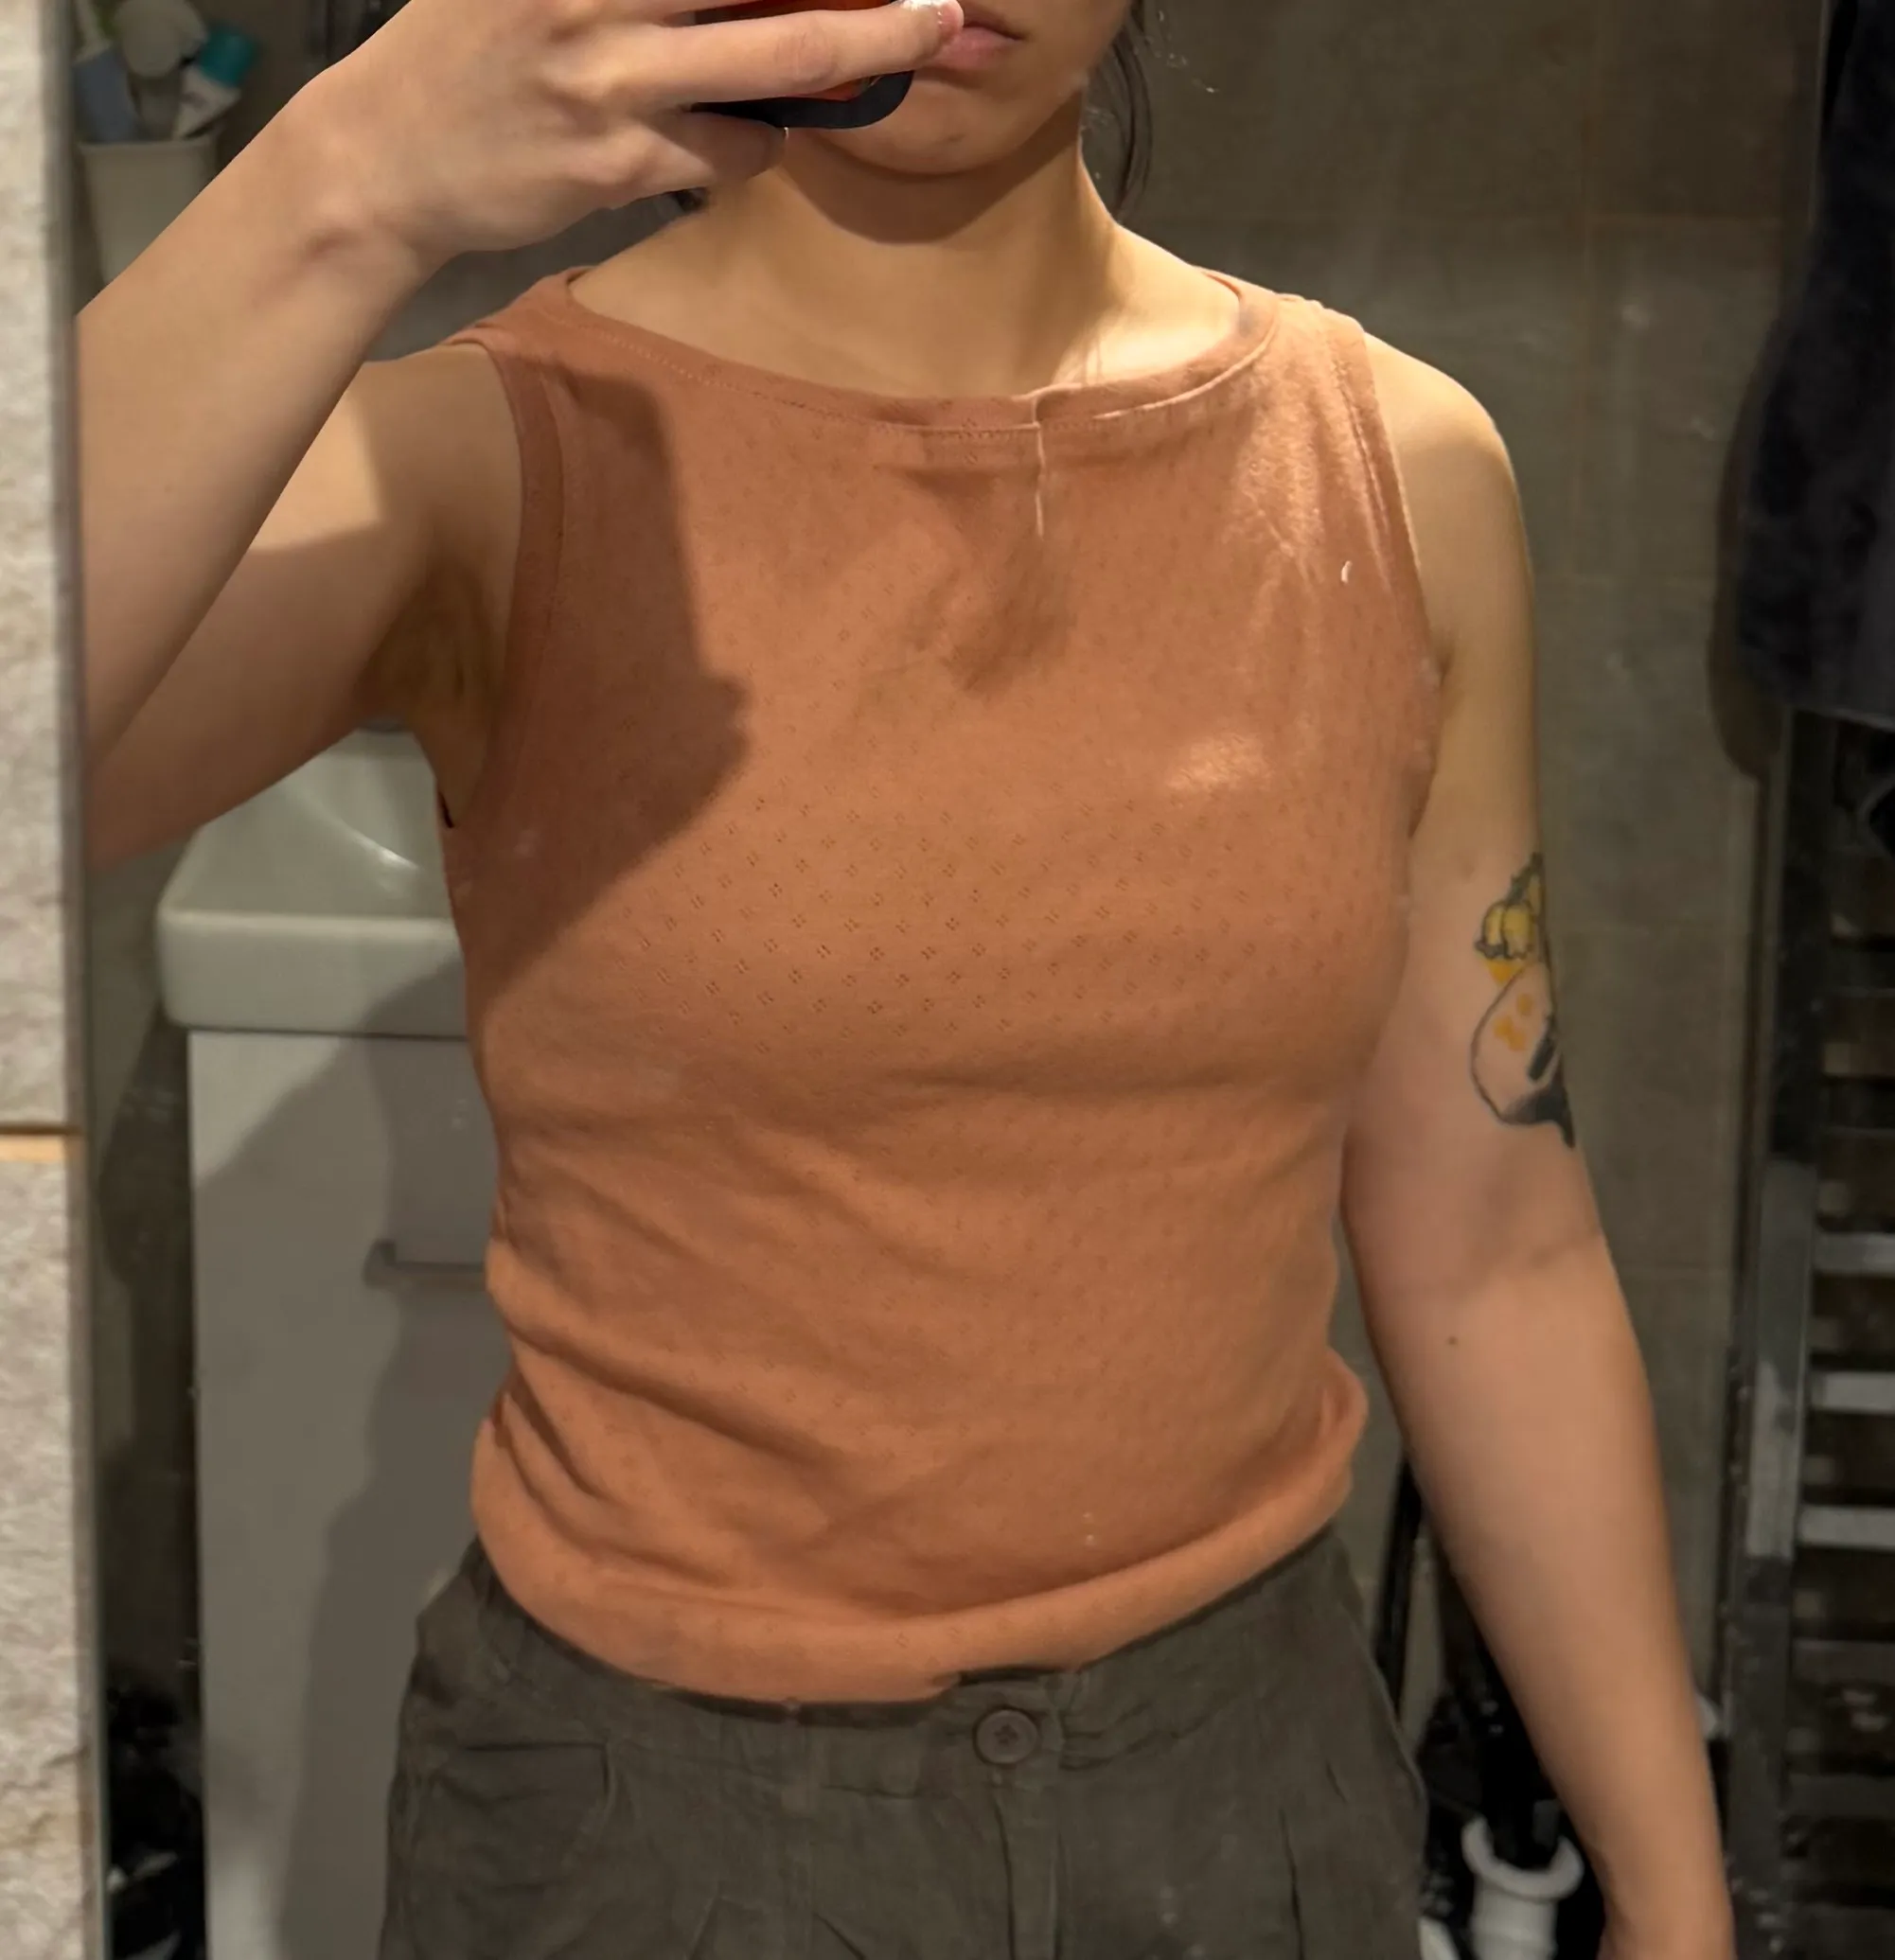
fit findings - v1
- Good fit: body correct; shoulder placement fine front-to-back.
- Not good fit:
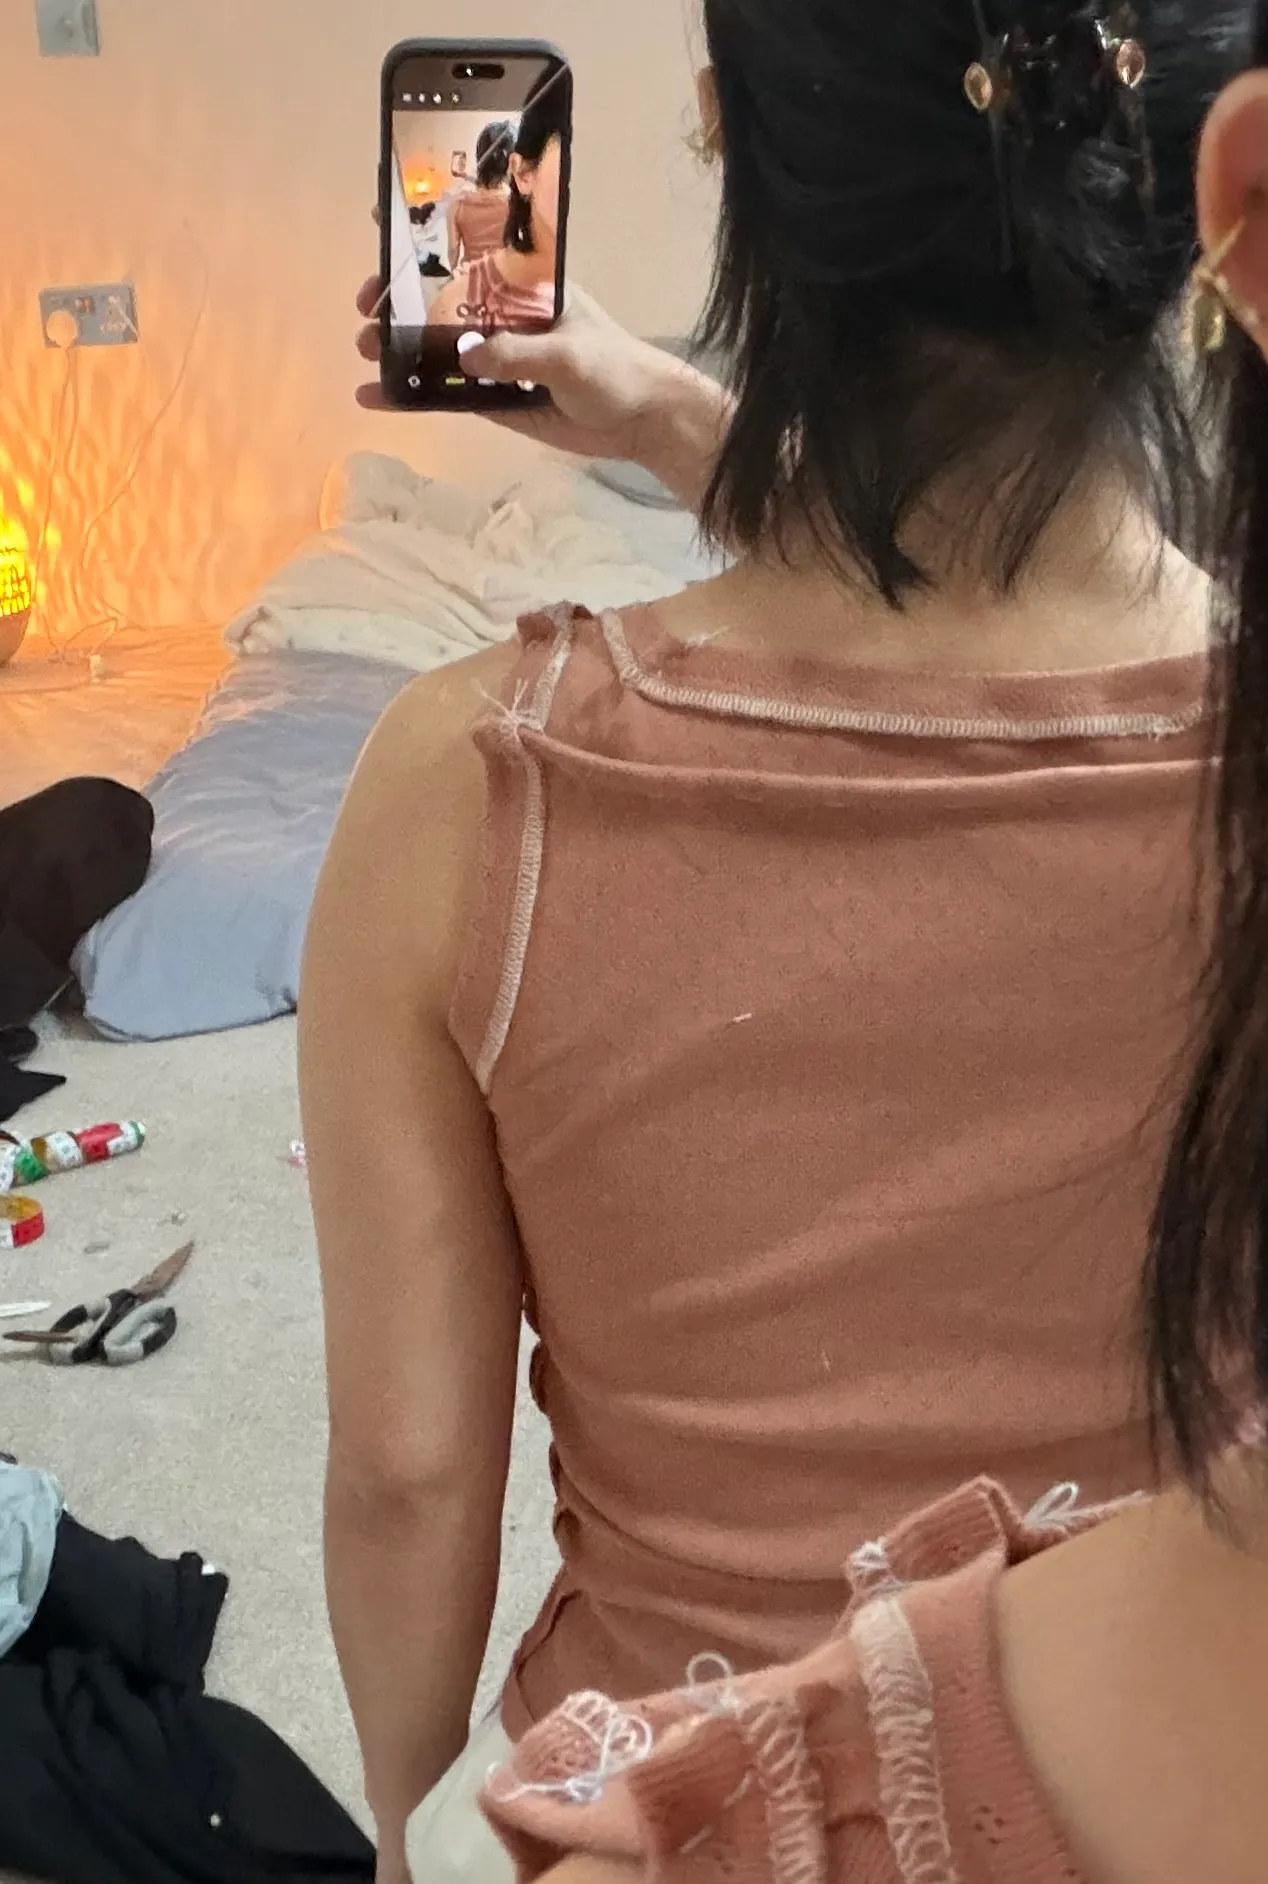
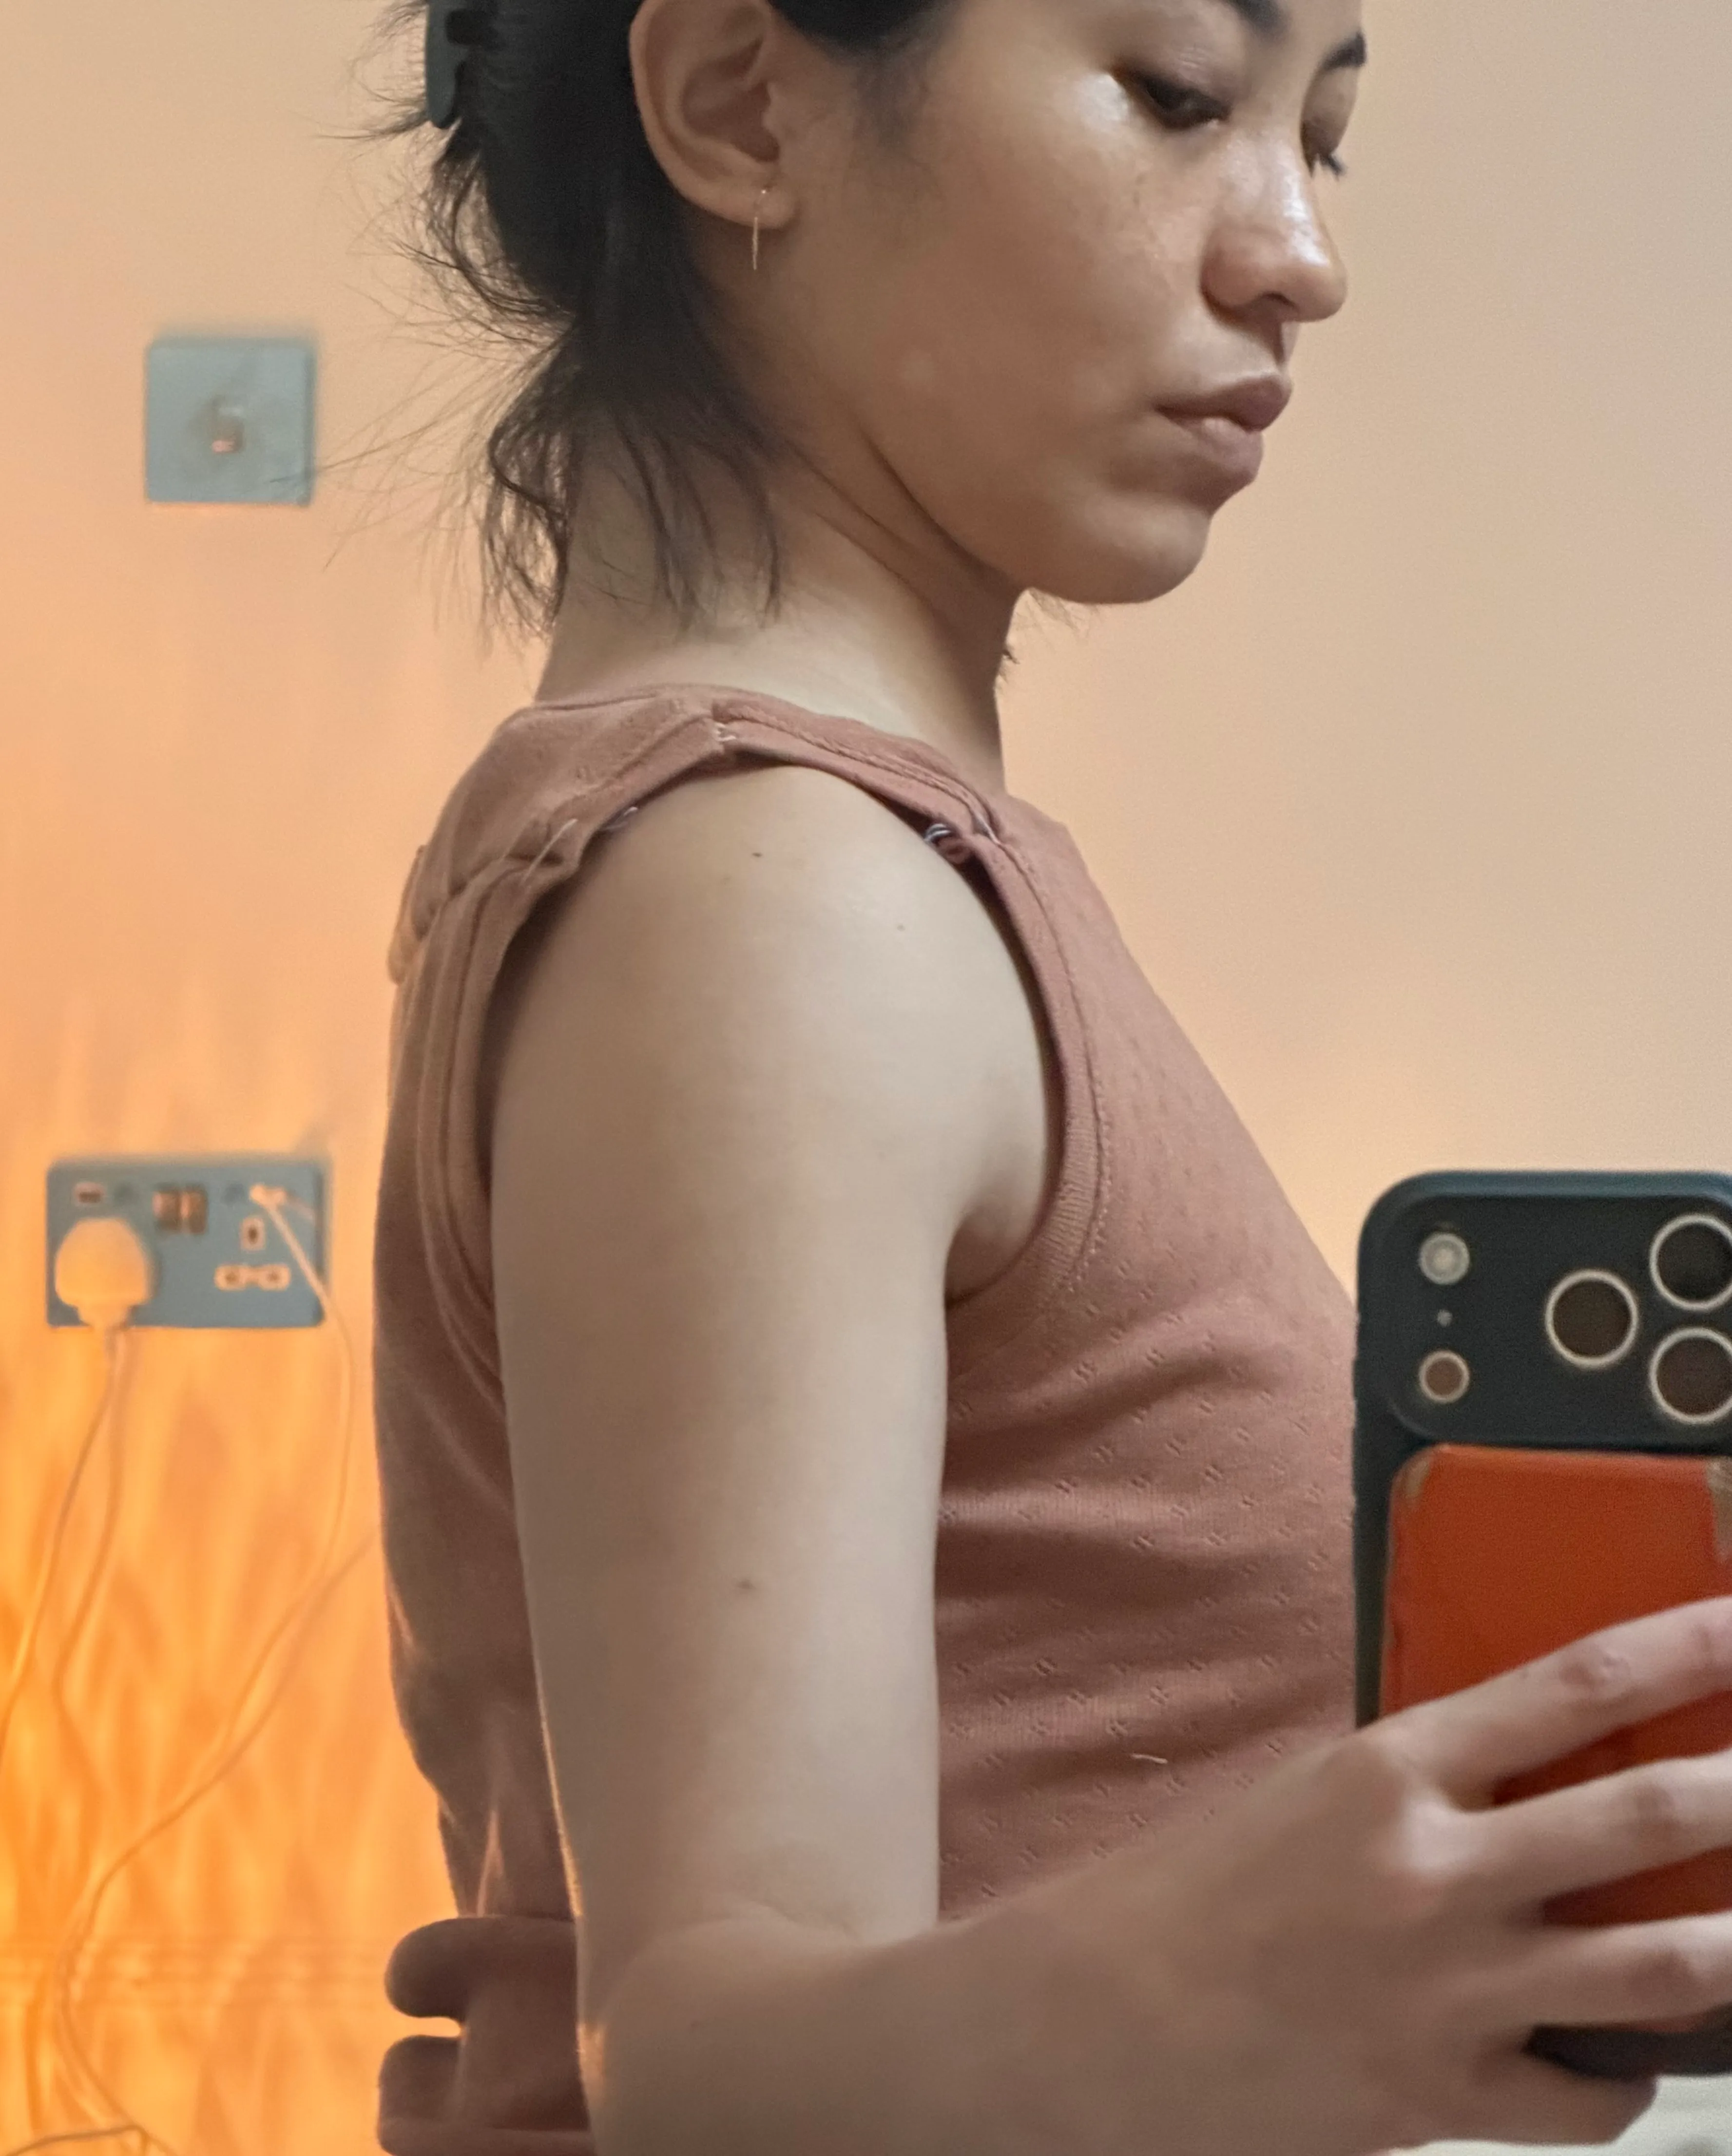
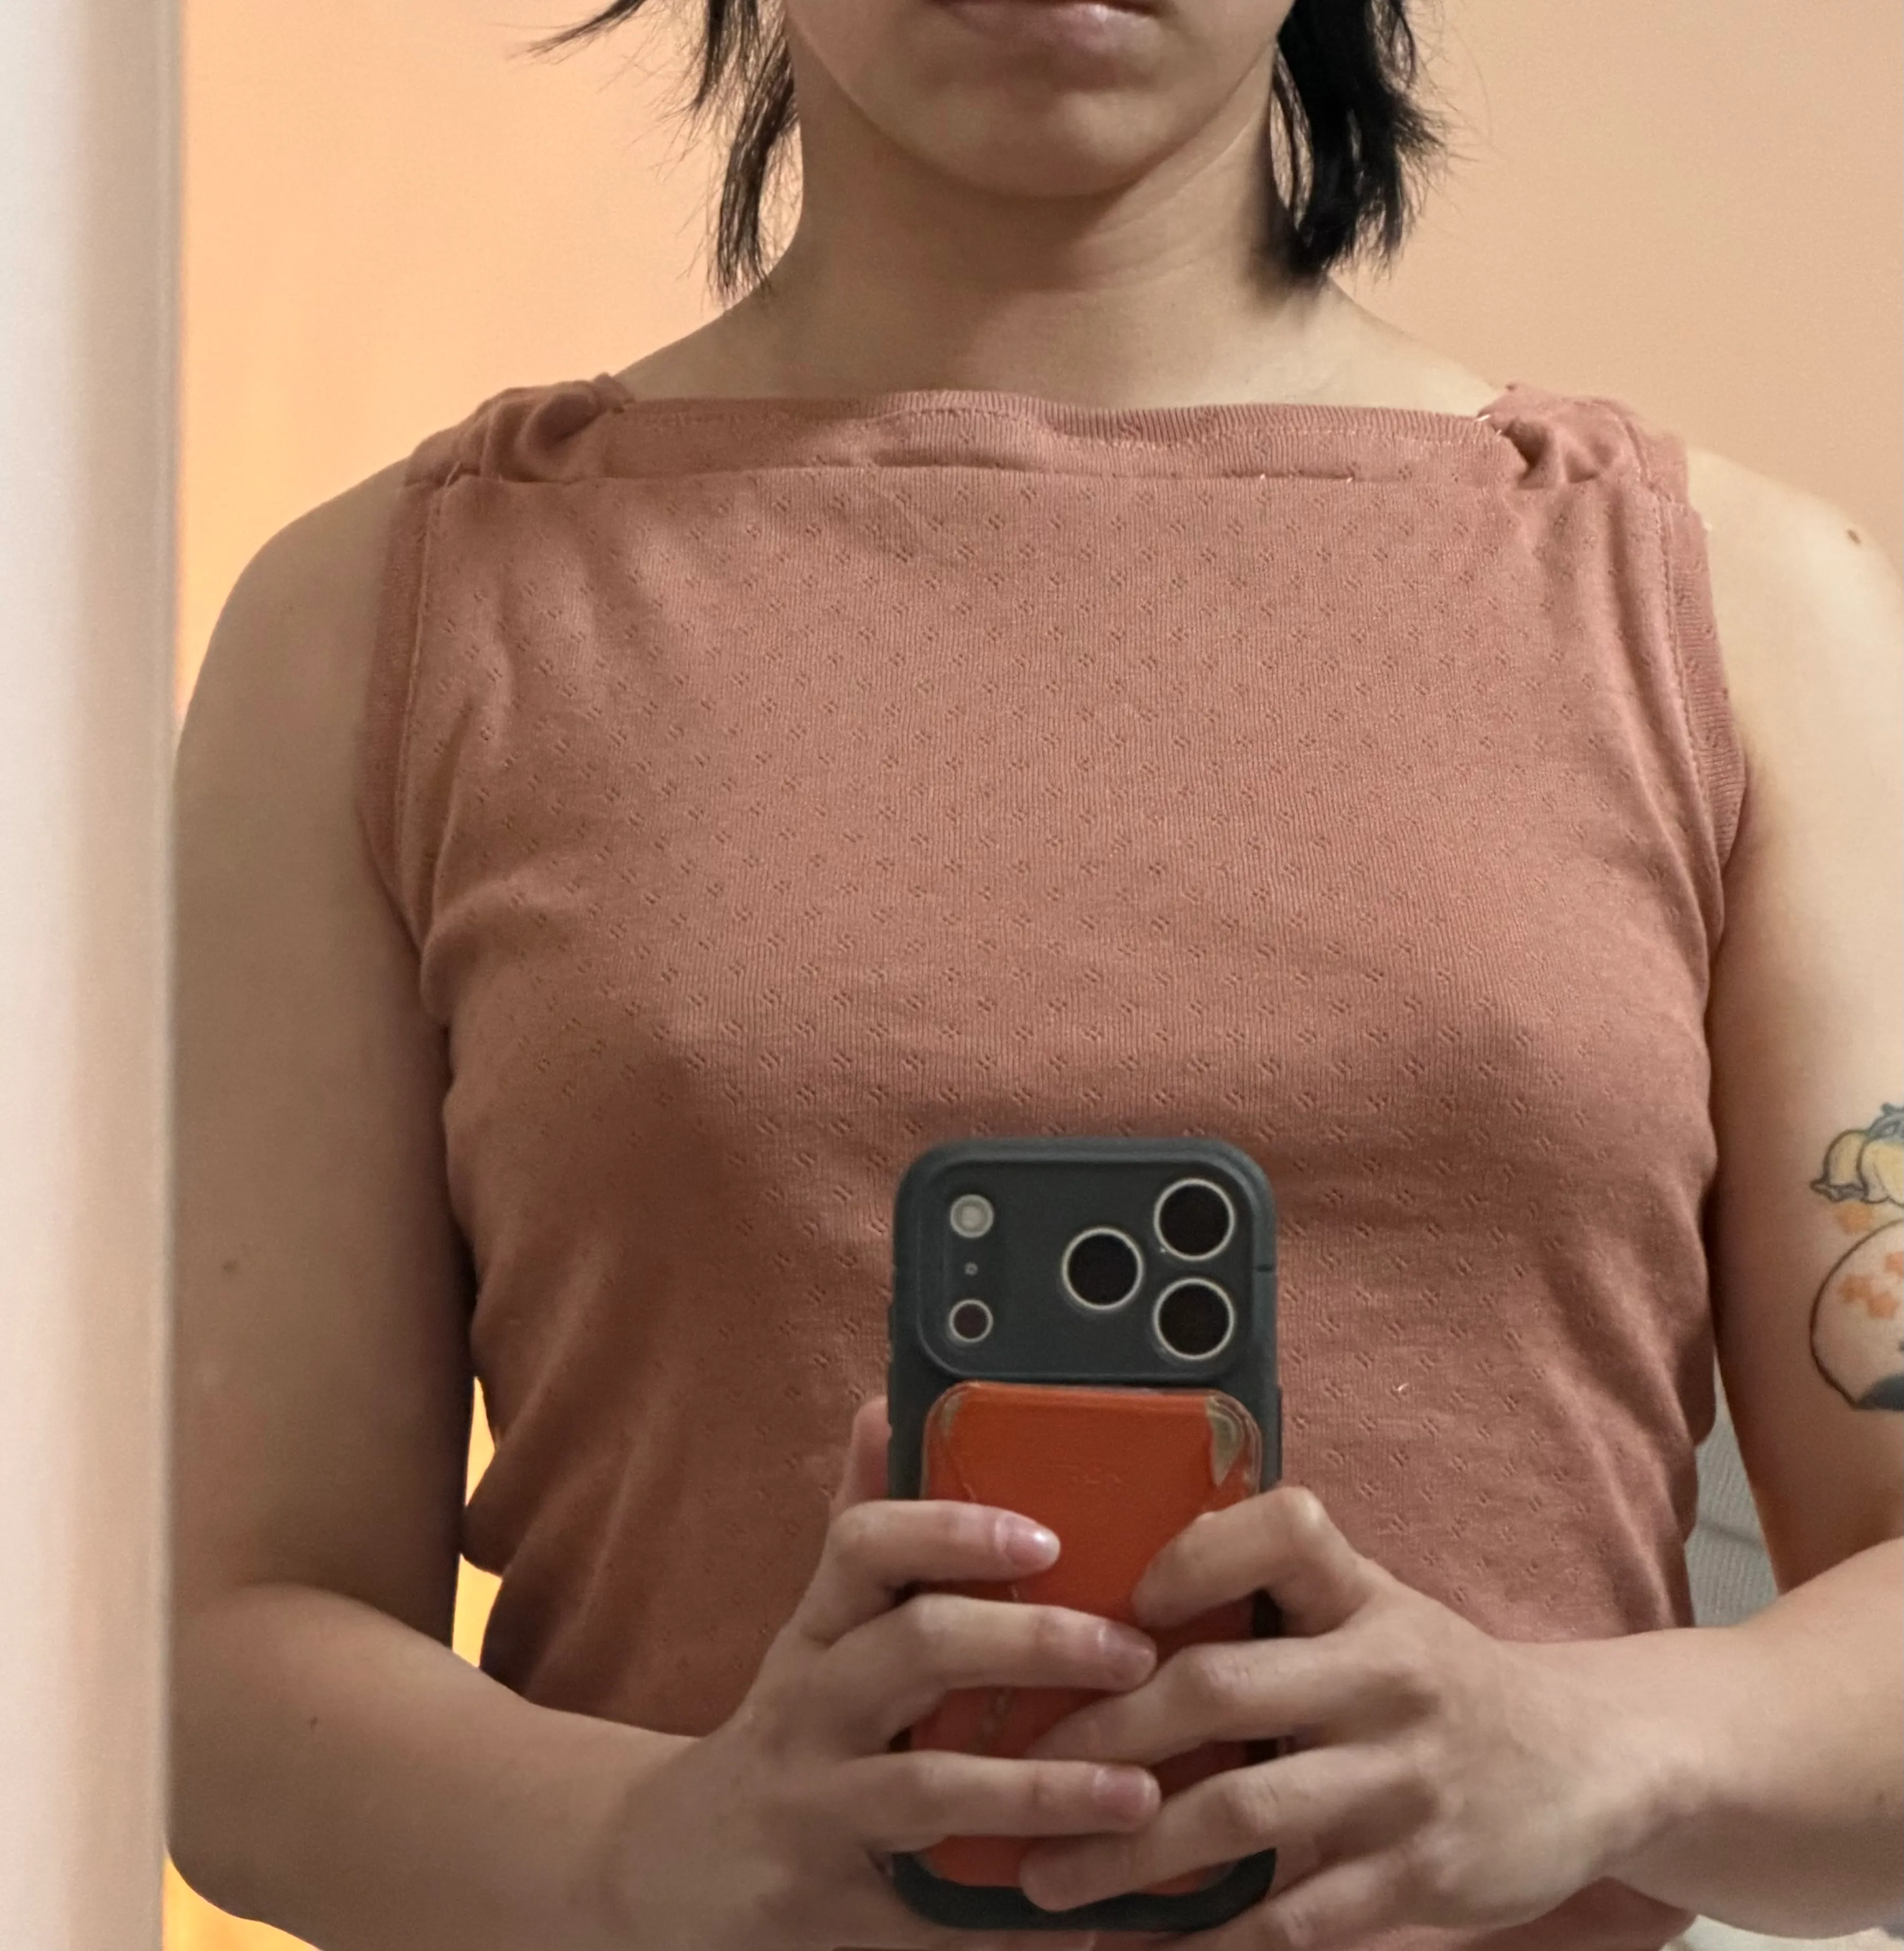
- Neckline too wide on the shoulders, didn’t sit right
- Slight gaping at front and back armholeGaping at front AND back armhole (slight).
- Back neckline gaping too (not visible in the photos)
- Root cause: the boatneck adapter is drafted wider than my 38cm shoulder span — the neckline extends past my actual shoulder point, so (1) it loses lateral support → CF sags/pools, and (2) the armhole runs past the shoulder → gaps front + back.
- Why the earlier make didn’t show this: that fabric had high recovery and compensated for the circumference excess.
my first attempt at properly fitting something
Read several fitting books from Libby, and Sarah Veblen’s (photo-heavy) helped most.
- On-body adjustments: pinched the outer shoulder; front tuck under the neckline; mid-back tuck; wedged front + back neckline by 4cm total.
- Lessons:
- Follow Veblen’s sequence of adjustments (order matters).
- Much easier to have someone help pin than to pin/re-pin solo.
- Account for lats when sewing (recurring trait).
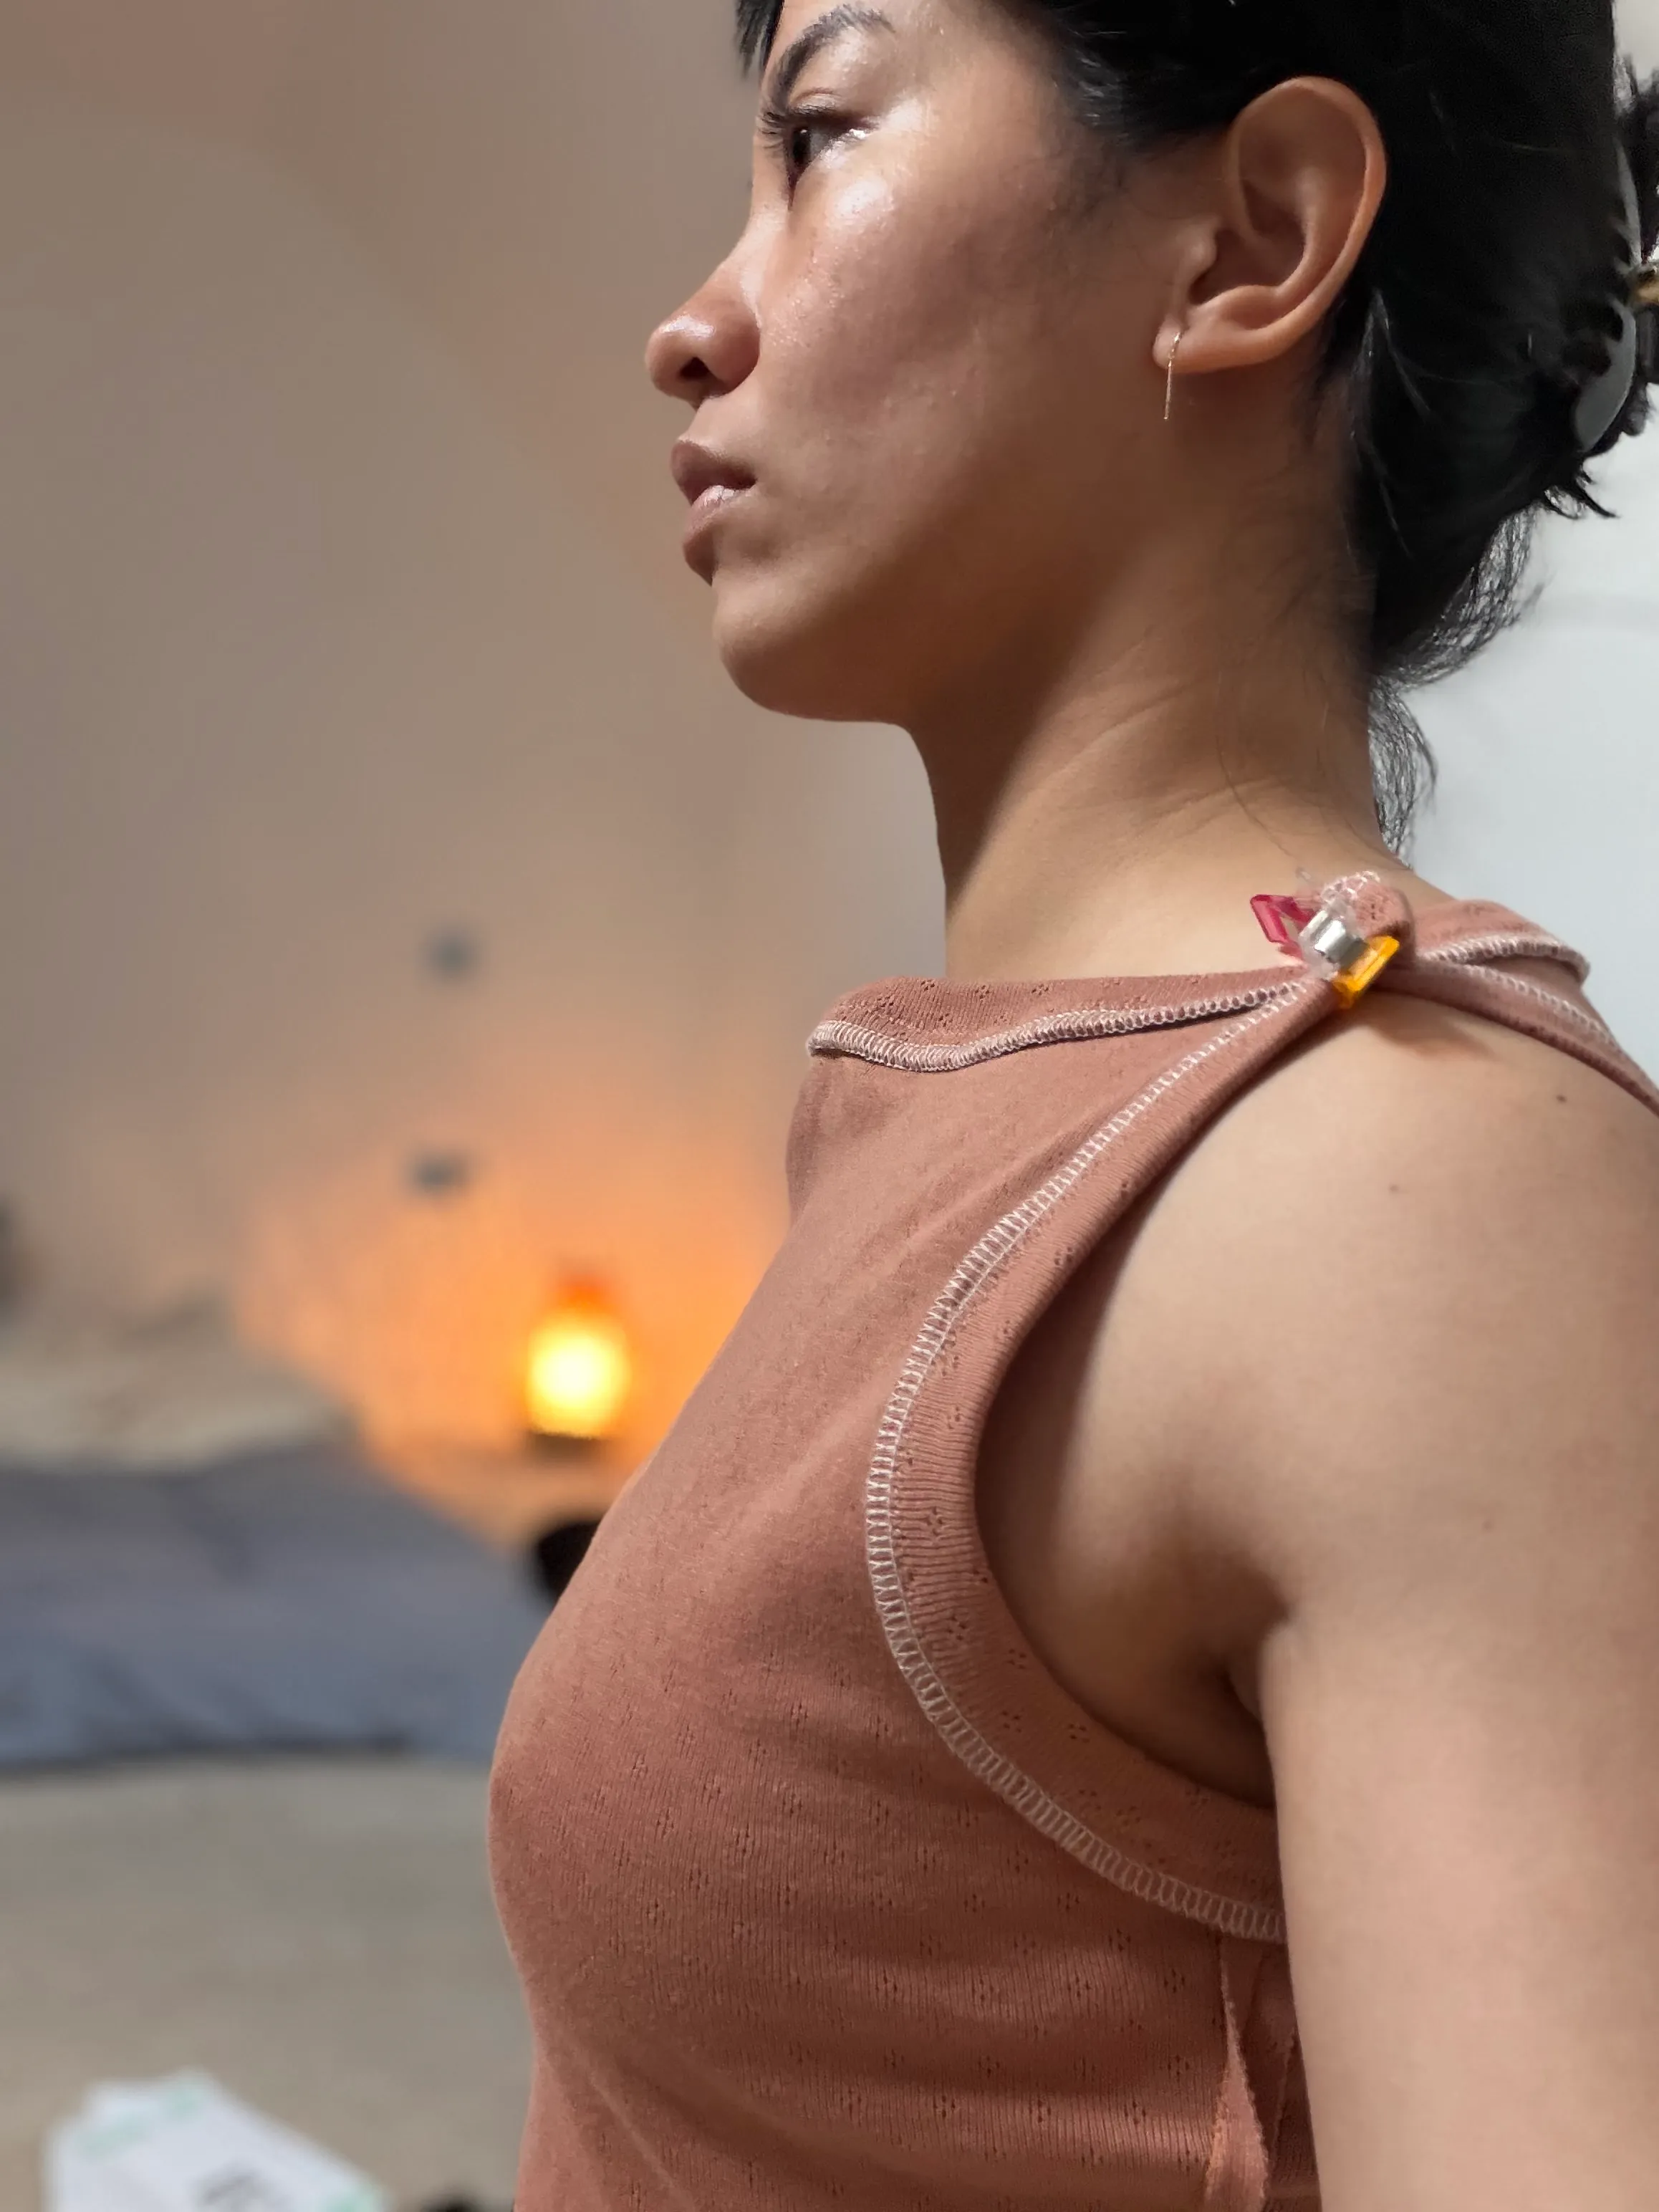
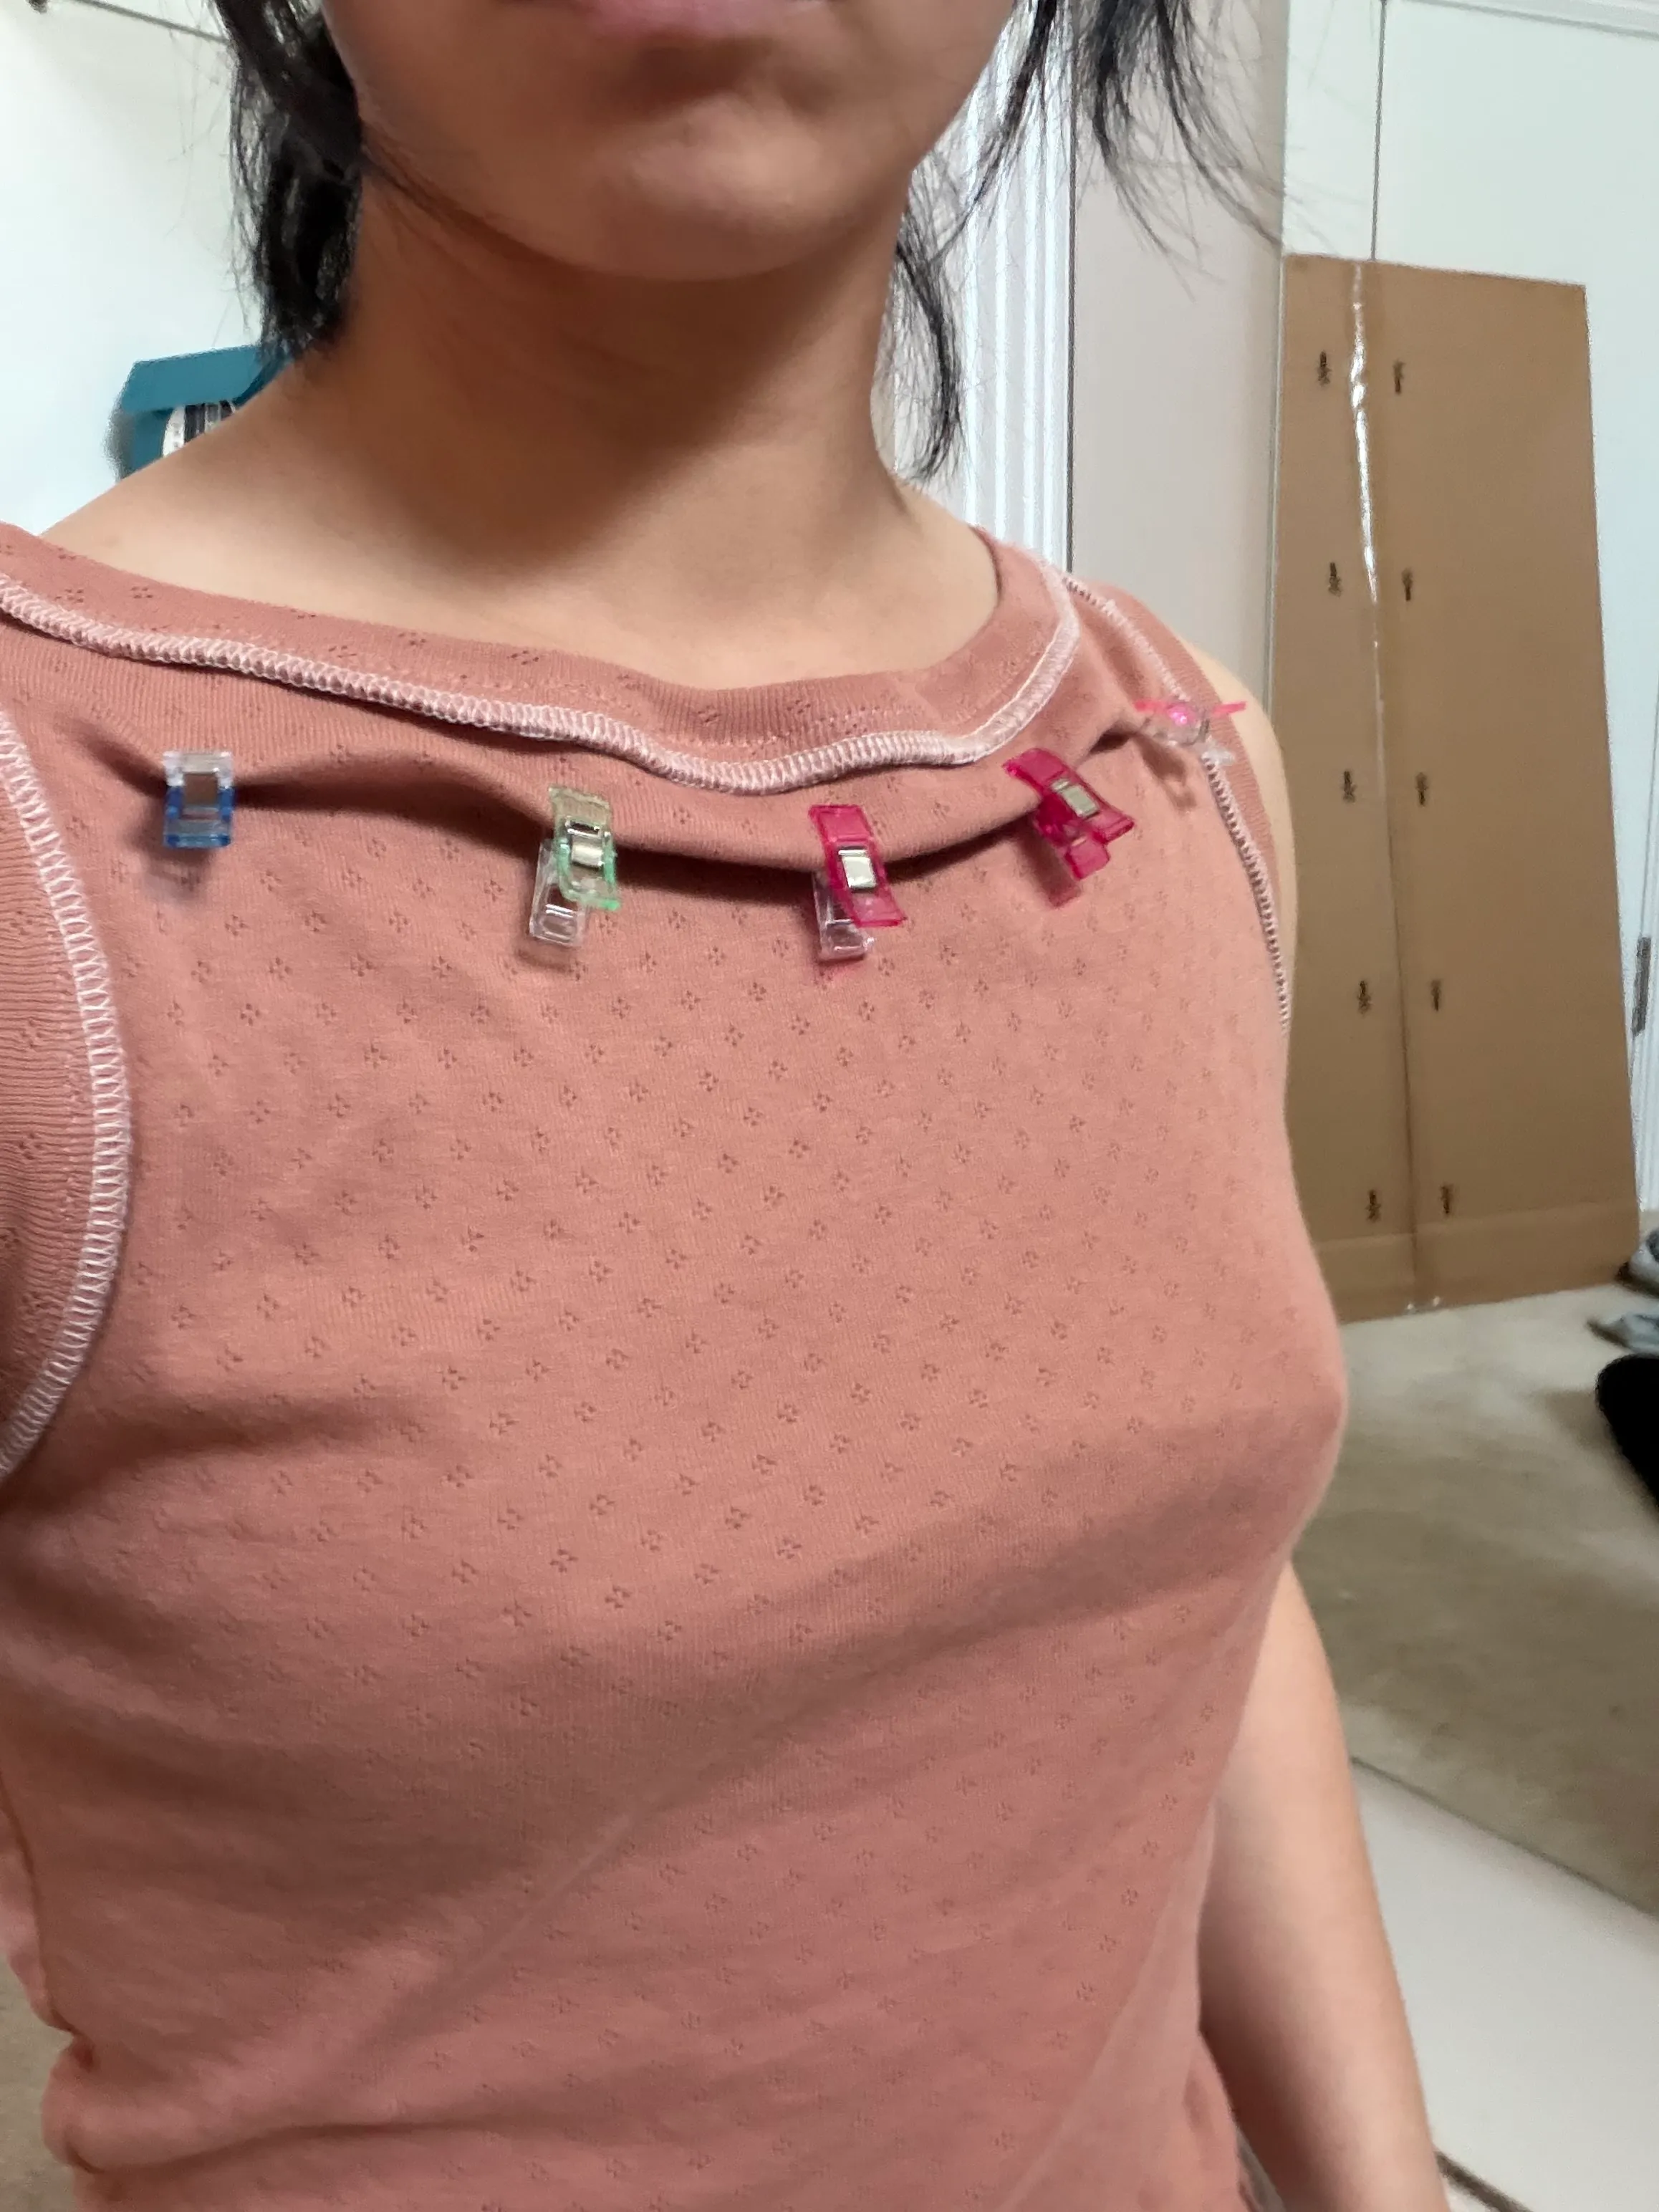
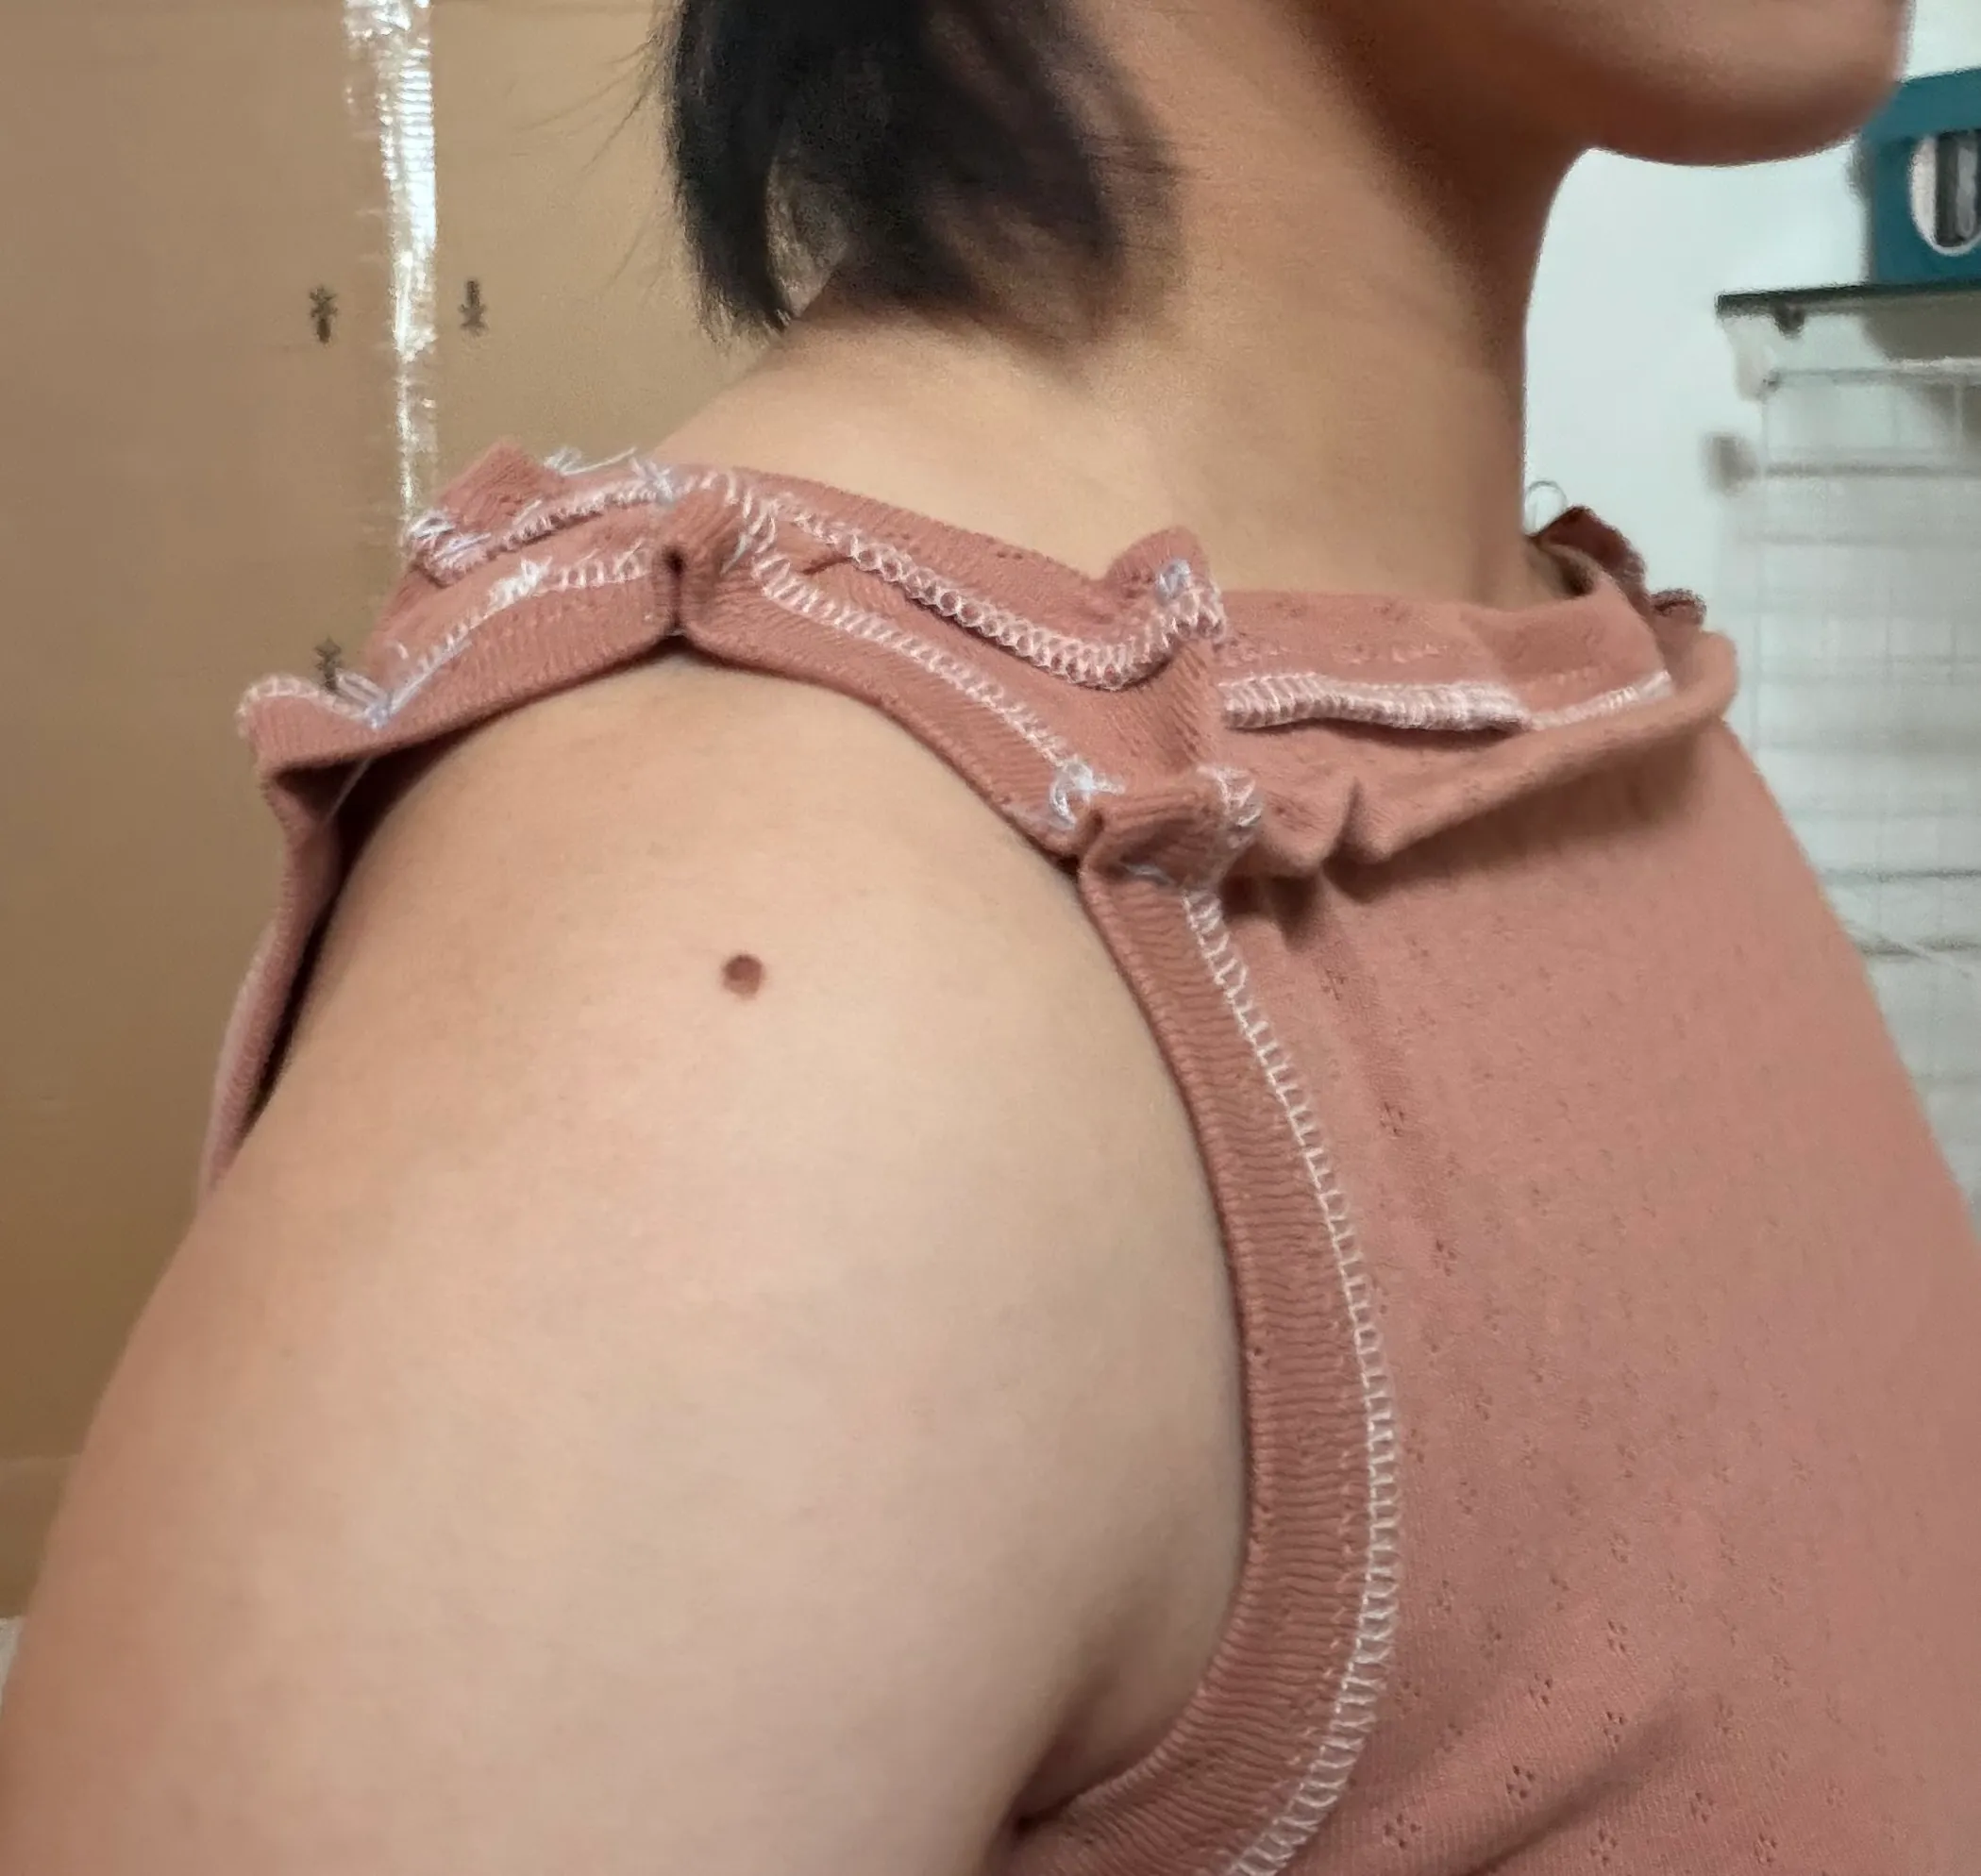
v2, adjustments transferred to pattern
- Scope: the v1 on-body adjustments translated onto the pattern + boat neckline brought in
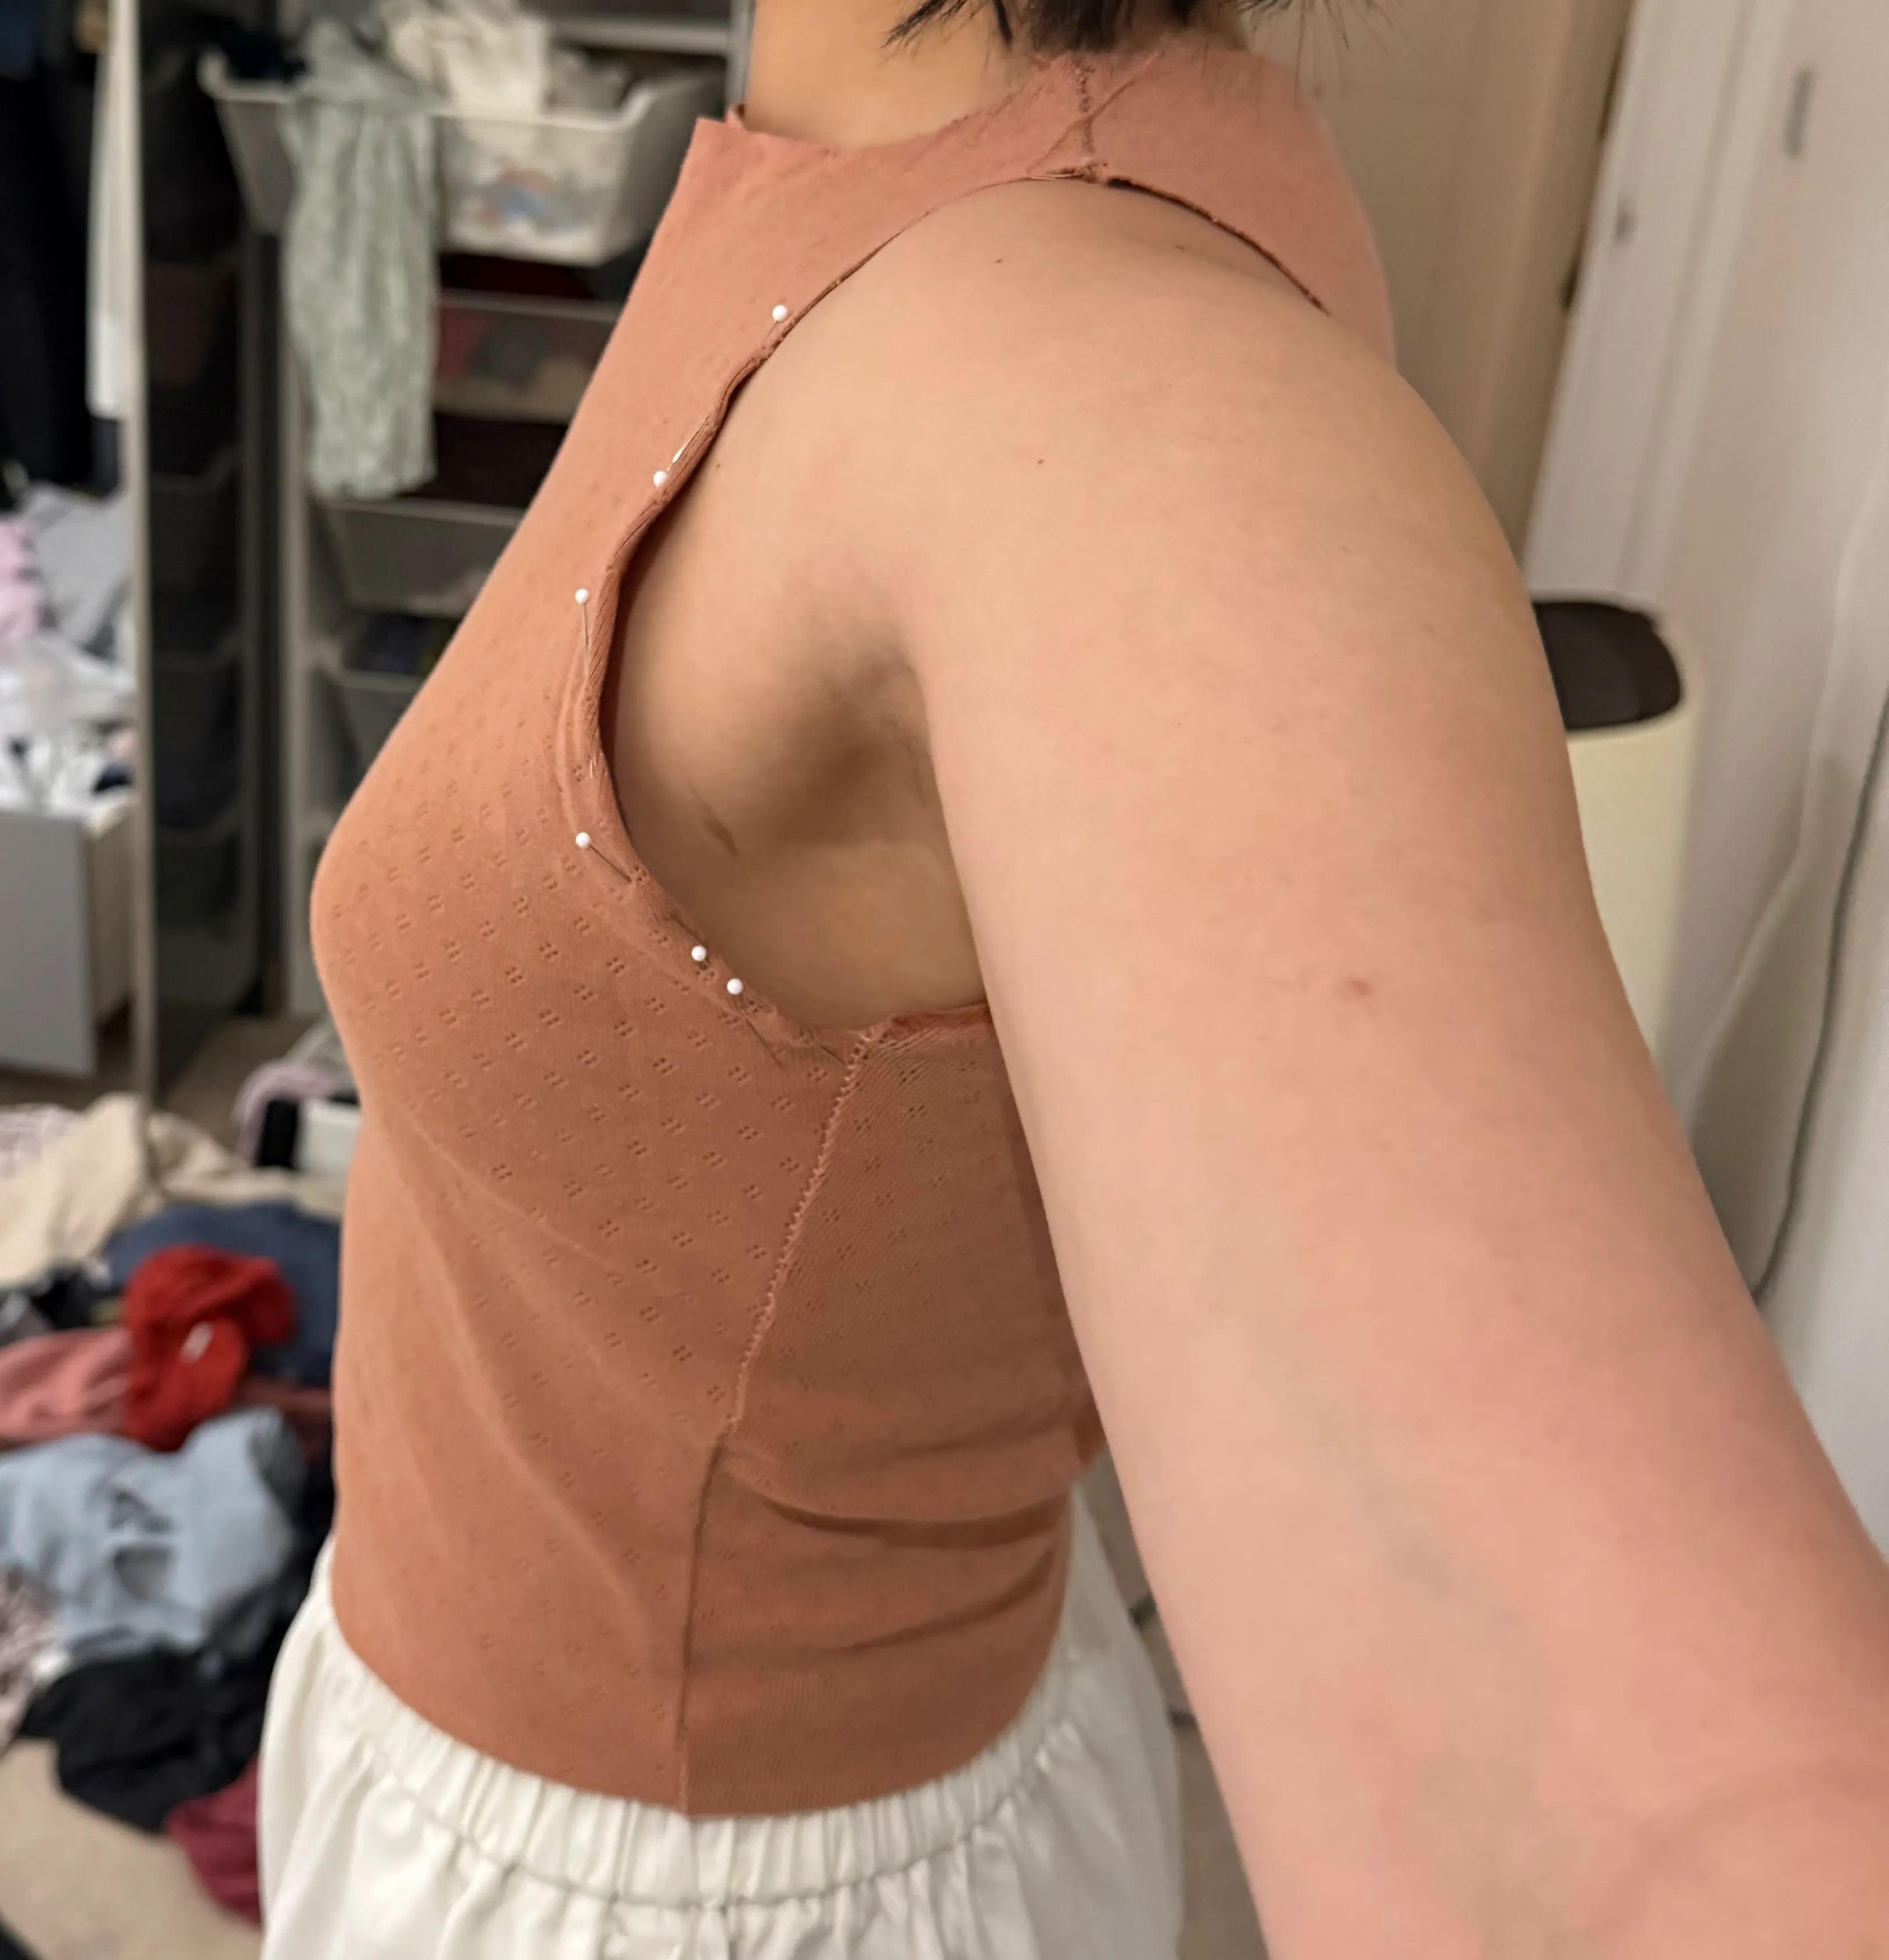
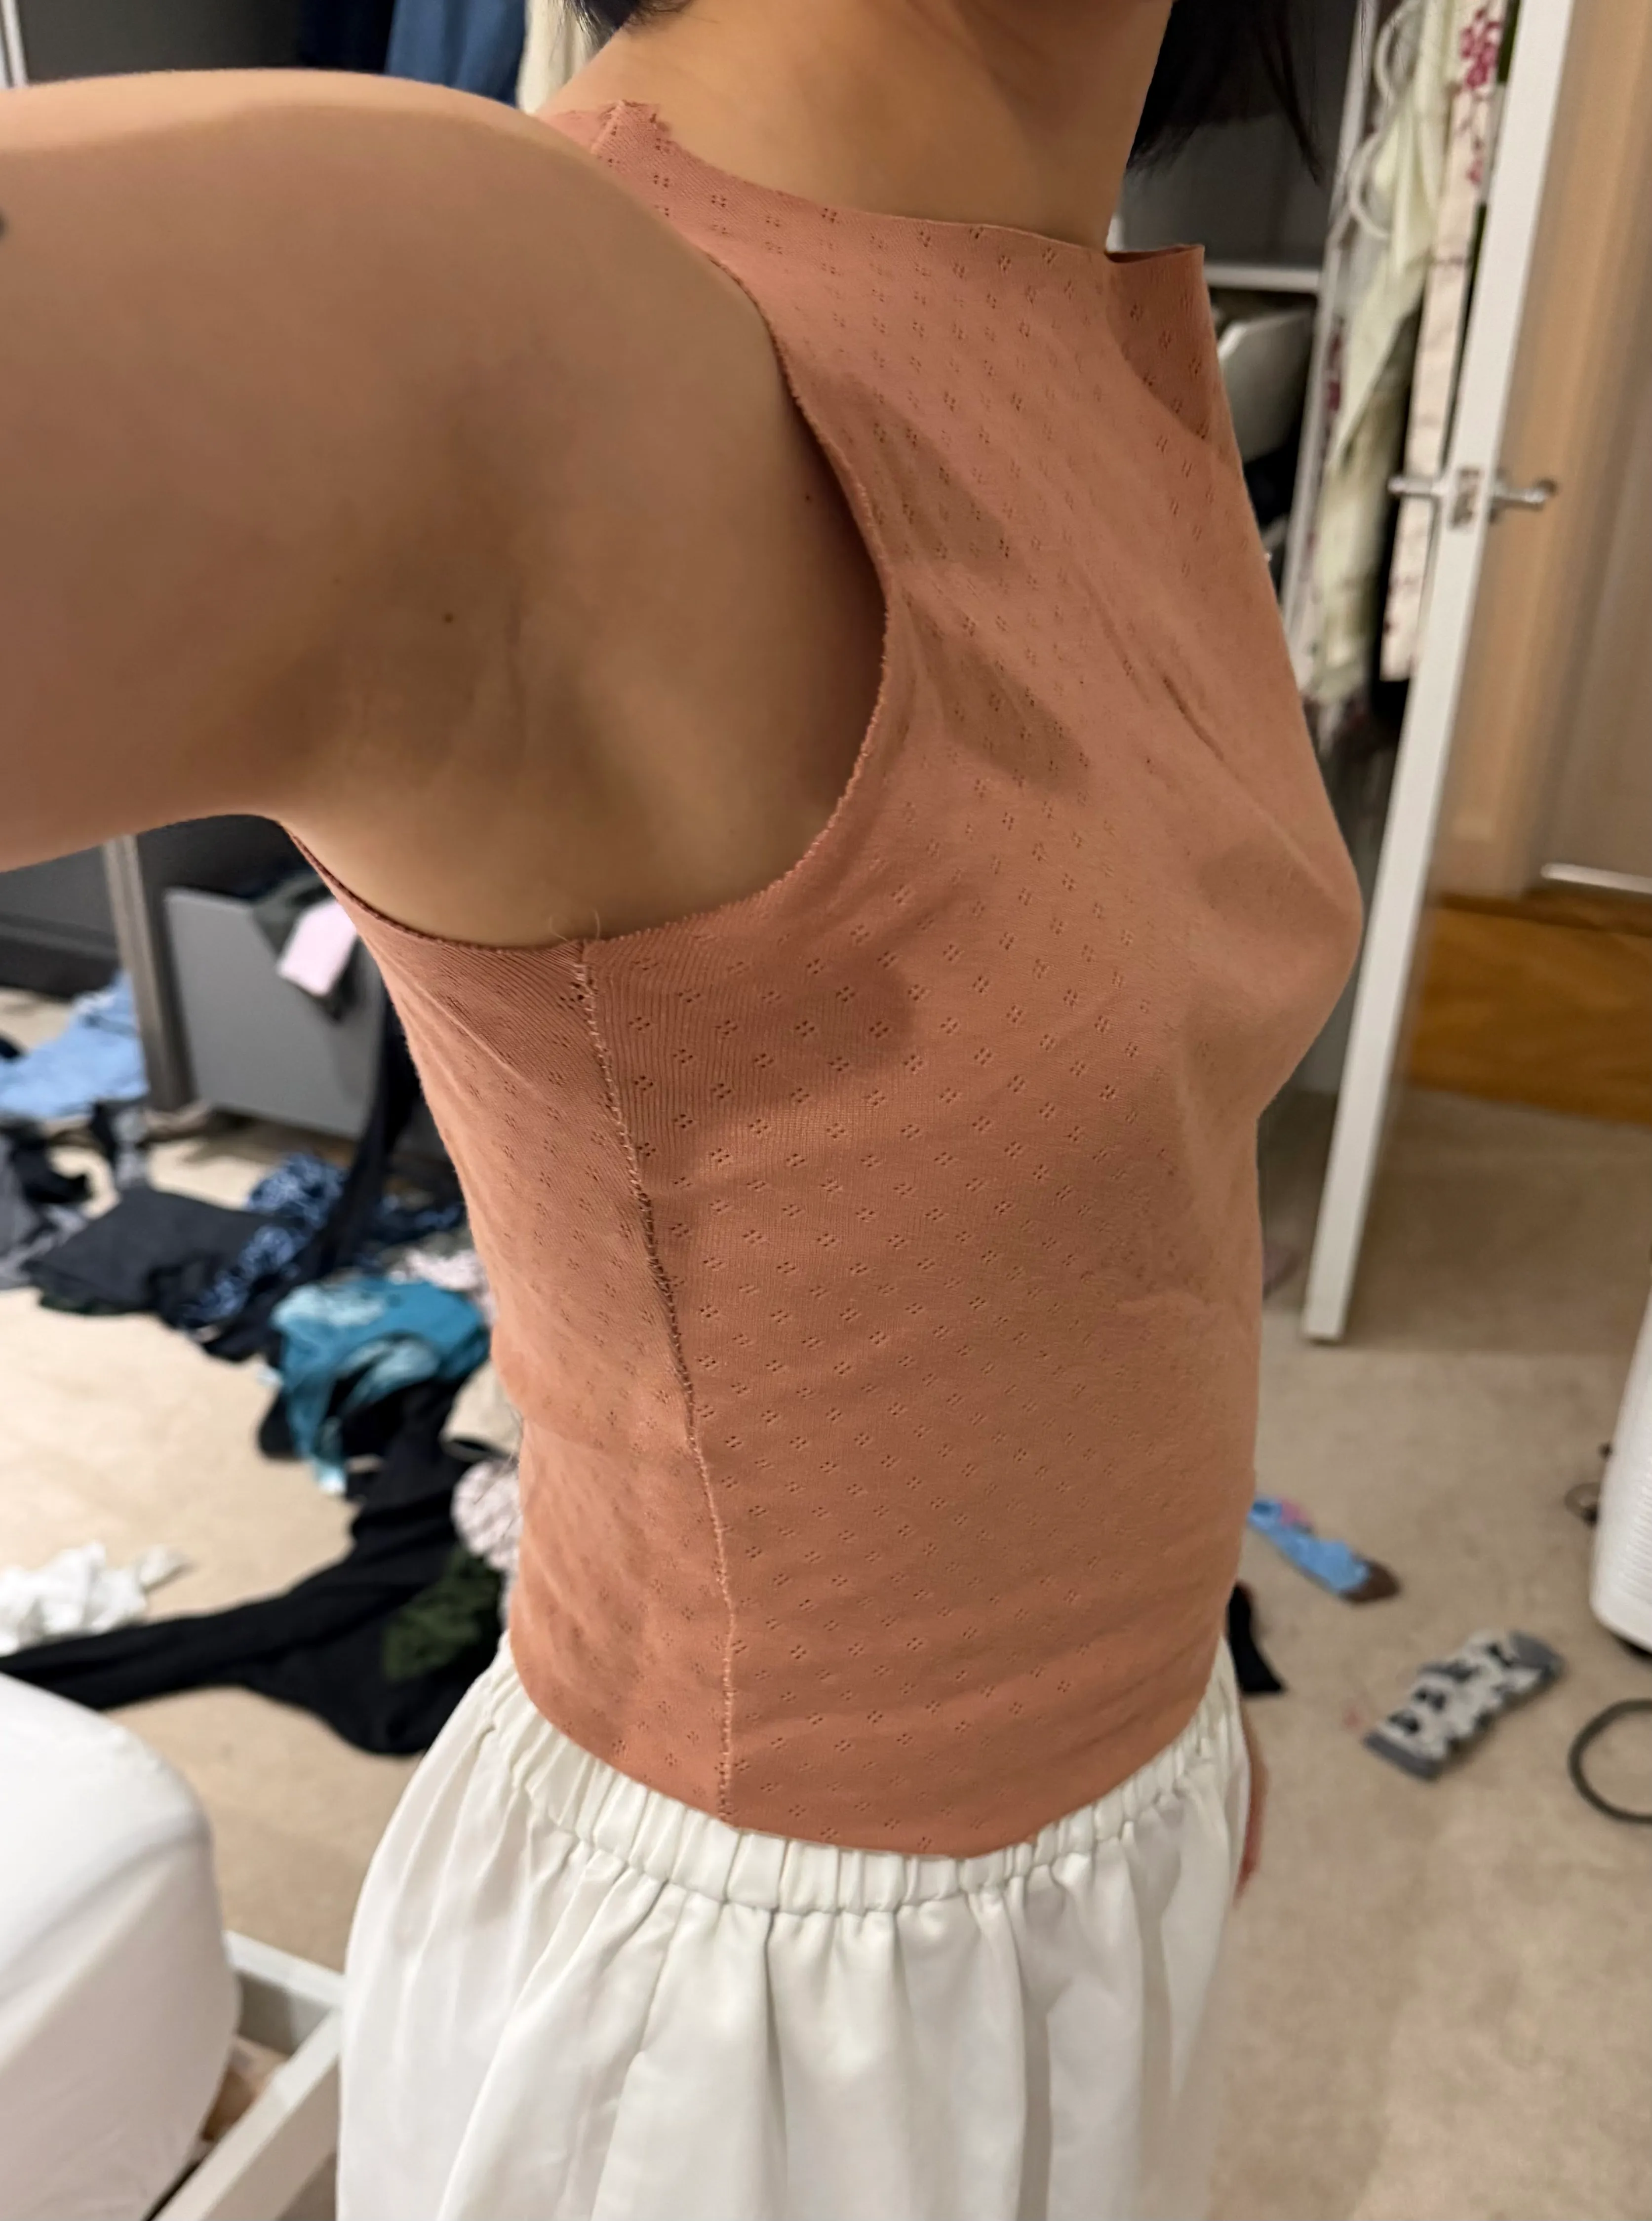
- Outcome: gaping fixed (yay) but not enough ease for my preference (aka I overfit it…_)
make details - v2
- Transferred all the v1-exercise changes to the pattern and brought in the boat neckline. Pattern translation of the on-body work:
- Neckline curve −10mm inward from each shoulder end (blend to CF/CB, centers unchanged).
- Sloped shoulder: outer point lowered 8mm, armhole re-blended.
- Horizontal chest tuck ~14mm front / ~15mm back (back needs slightly more), tapering to nothing before the armhole.
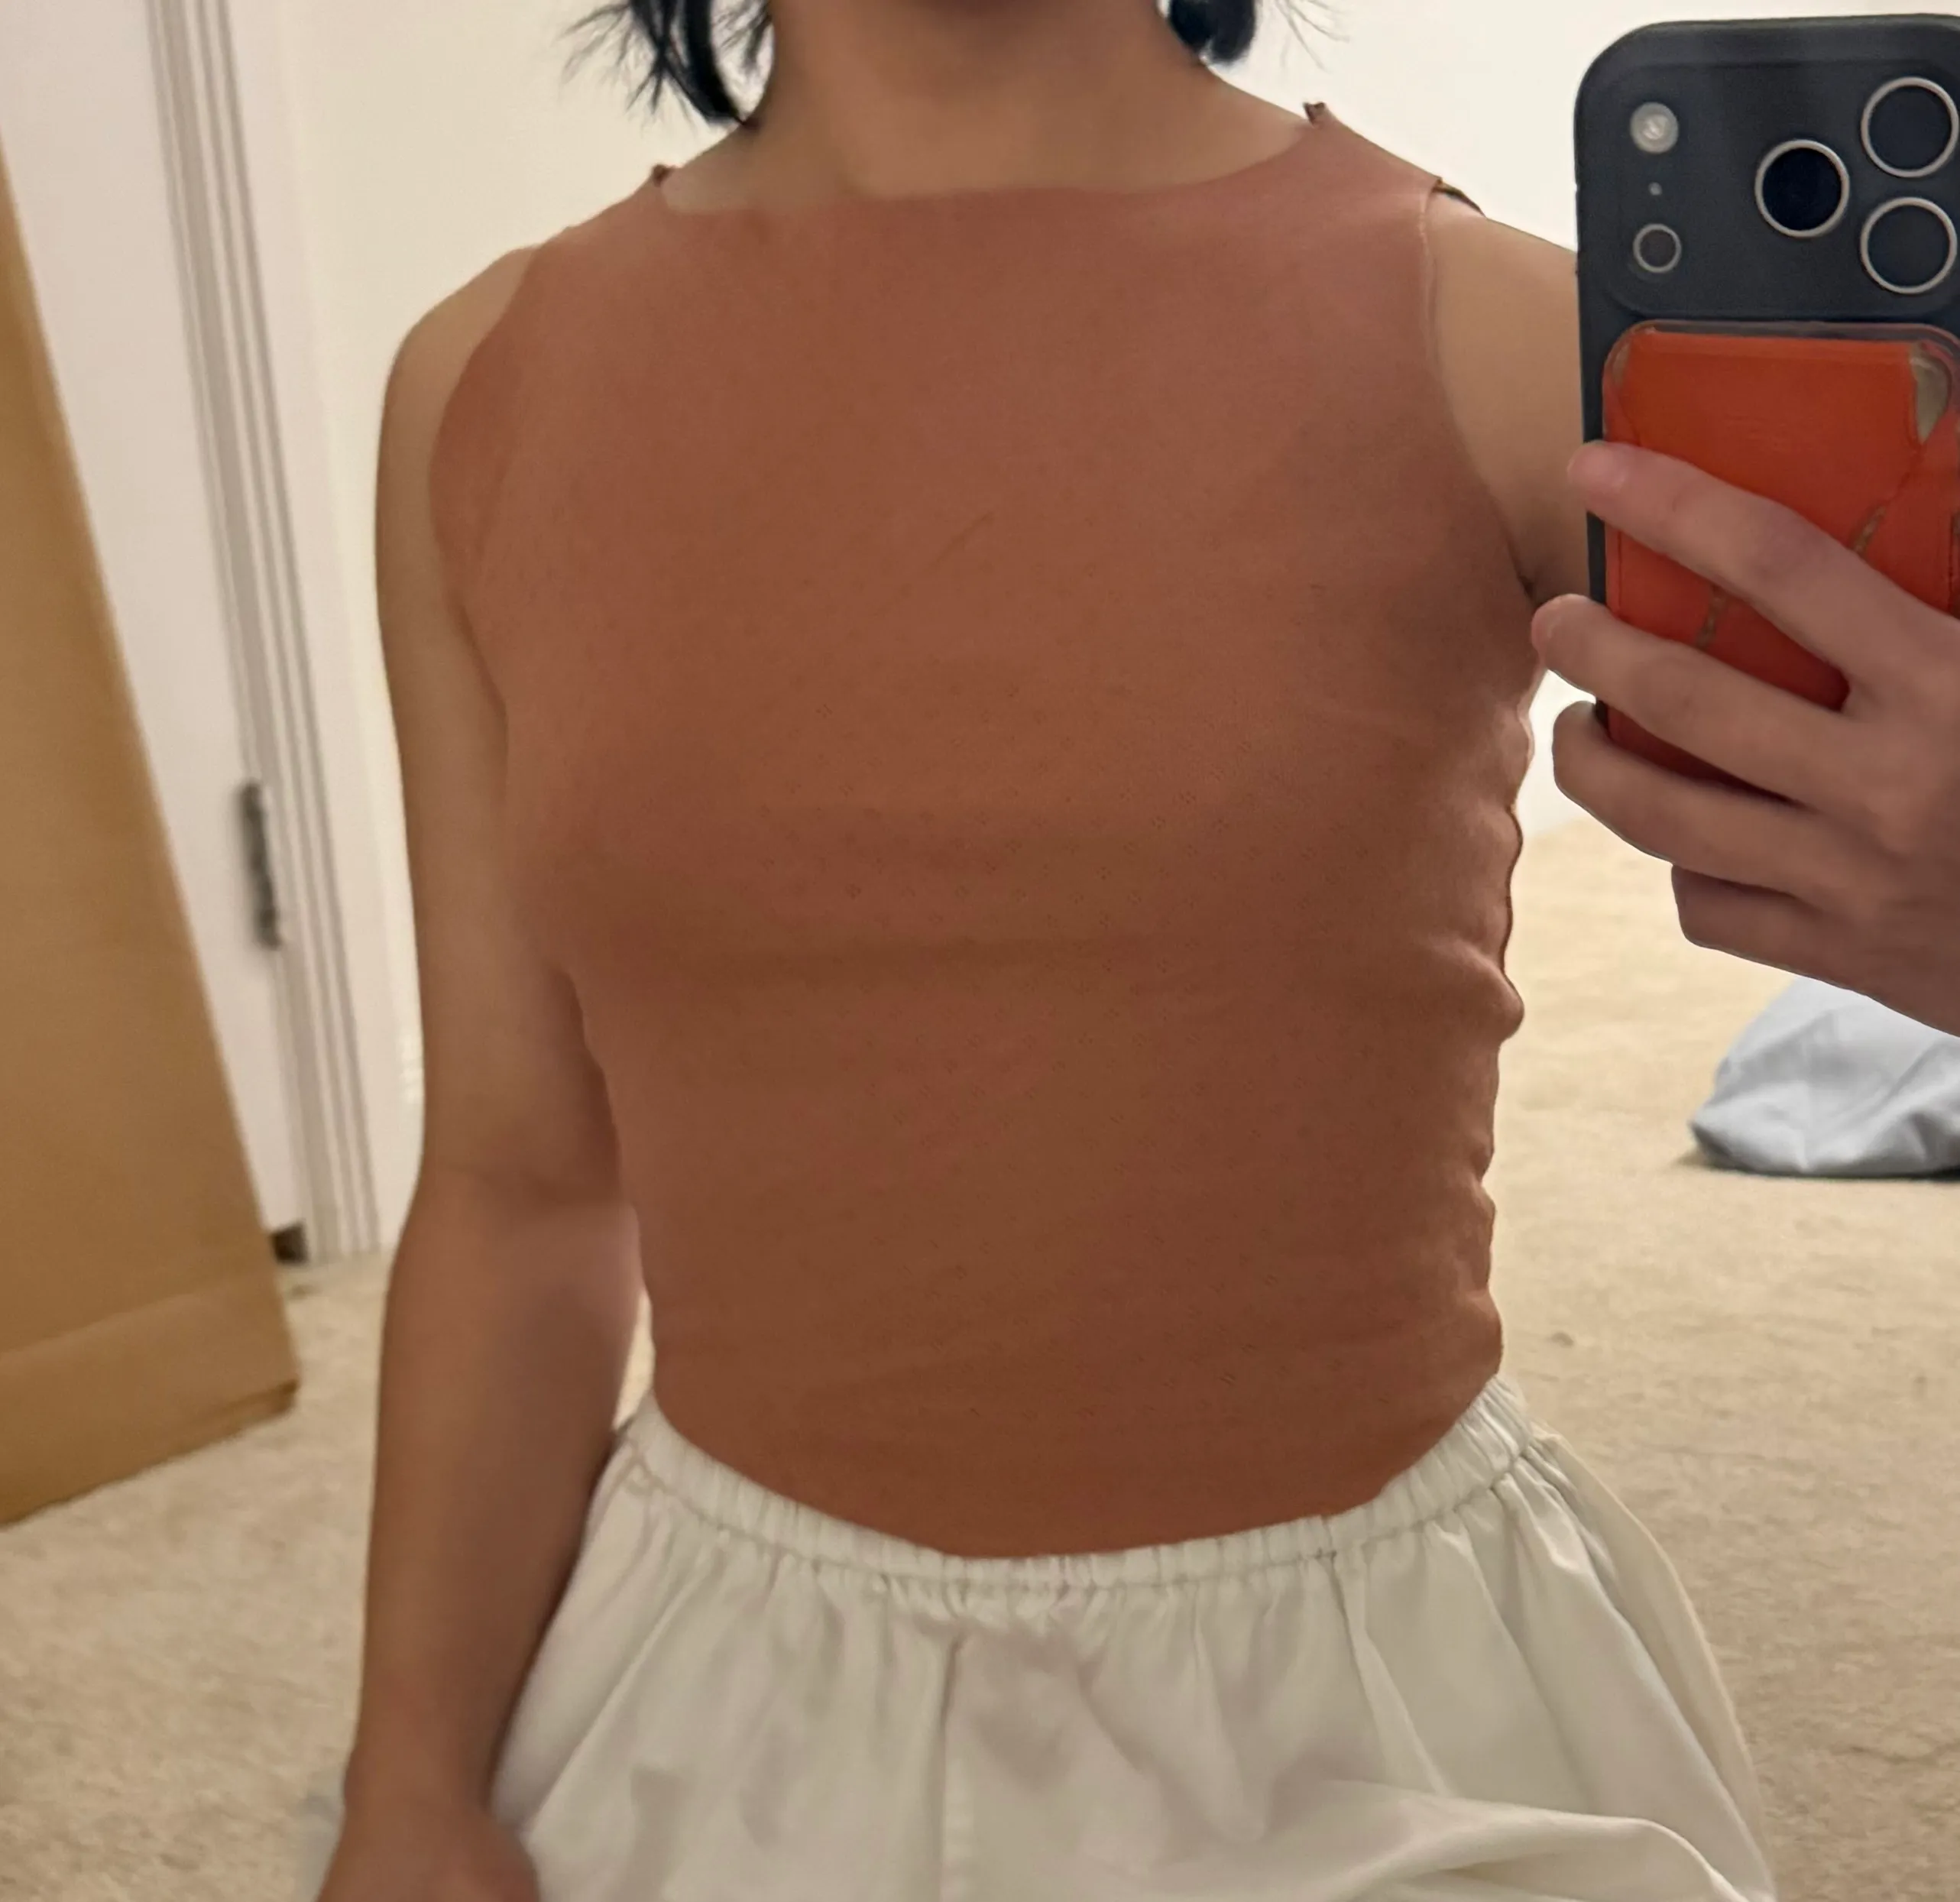
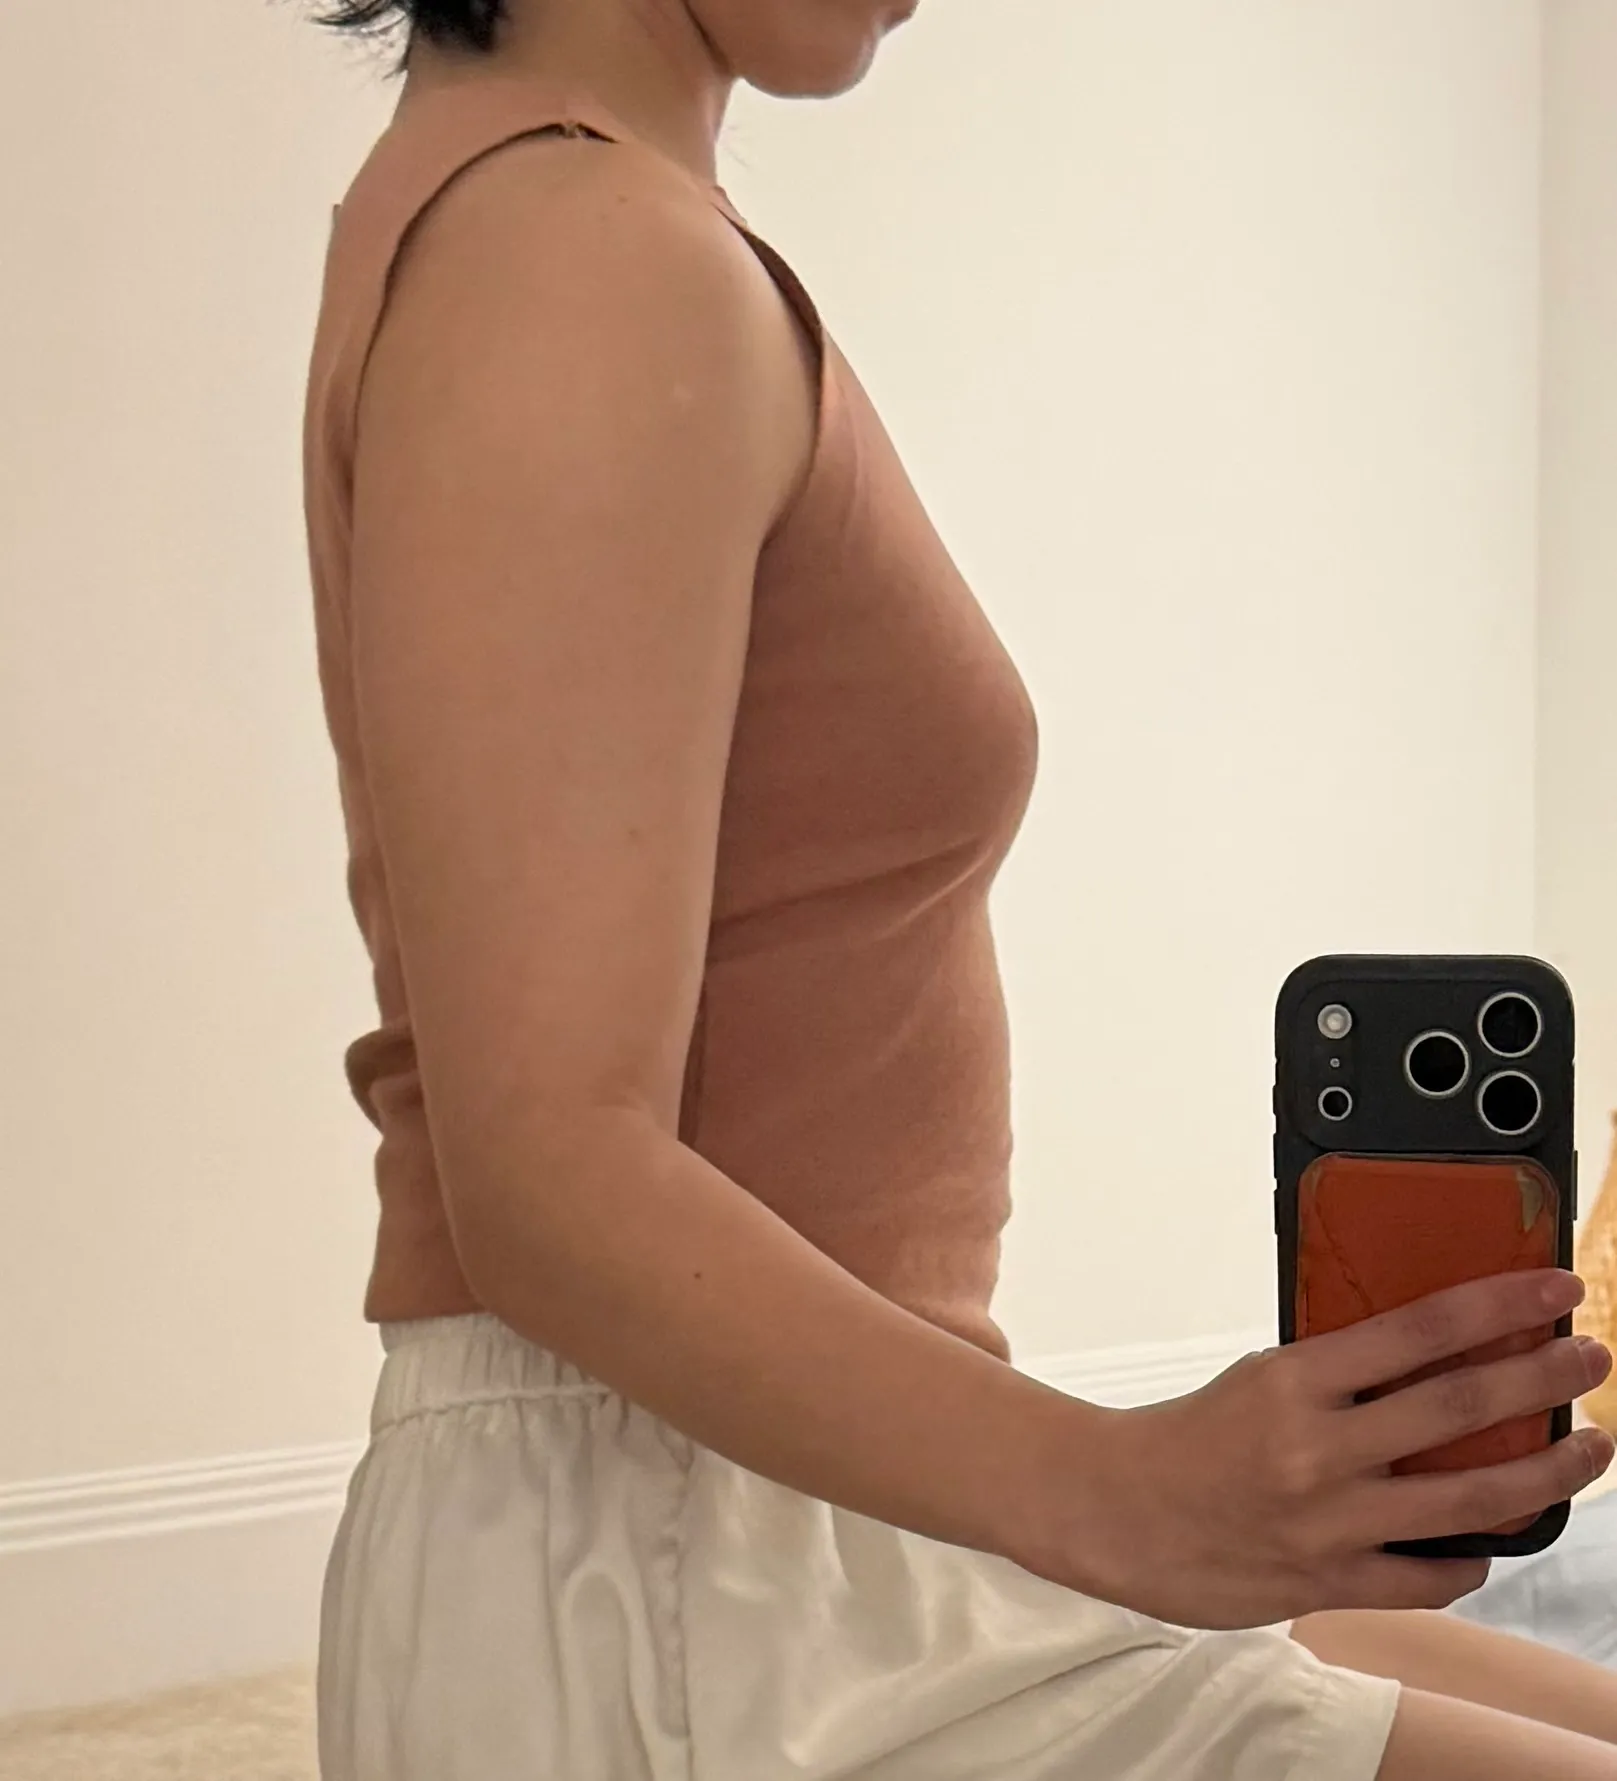
- Overall happy with the gaping issues fixed but I found that it was still too tight / not enough ease, so more on-body work:
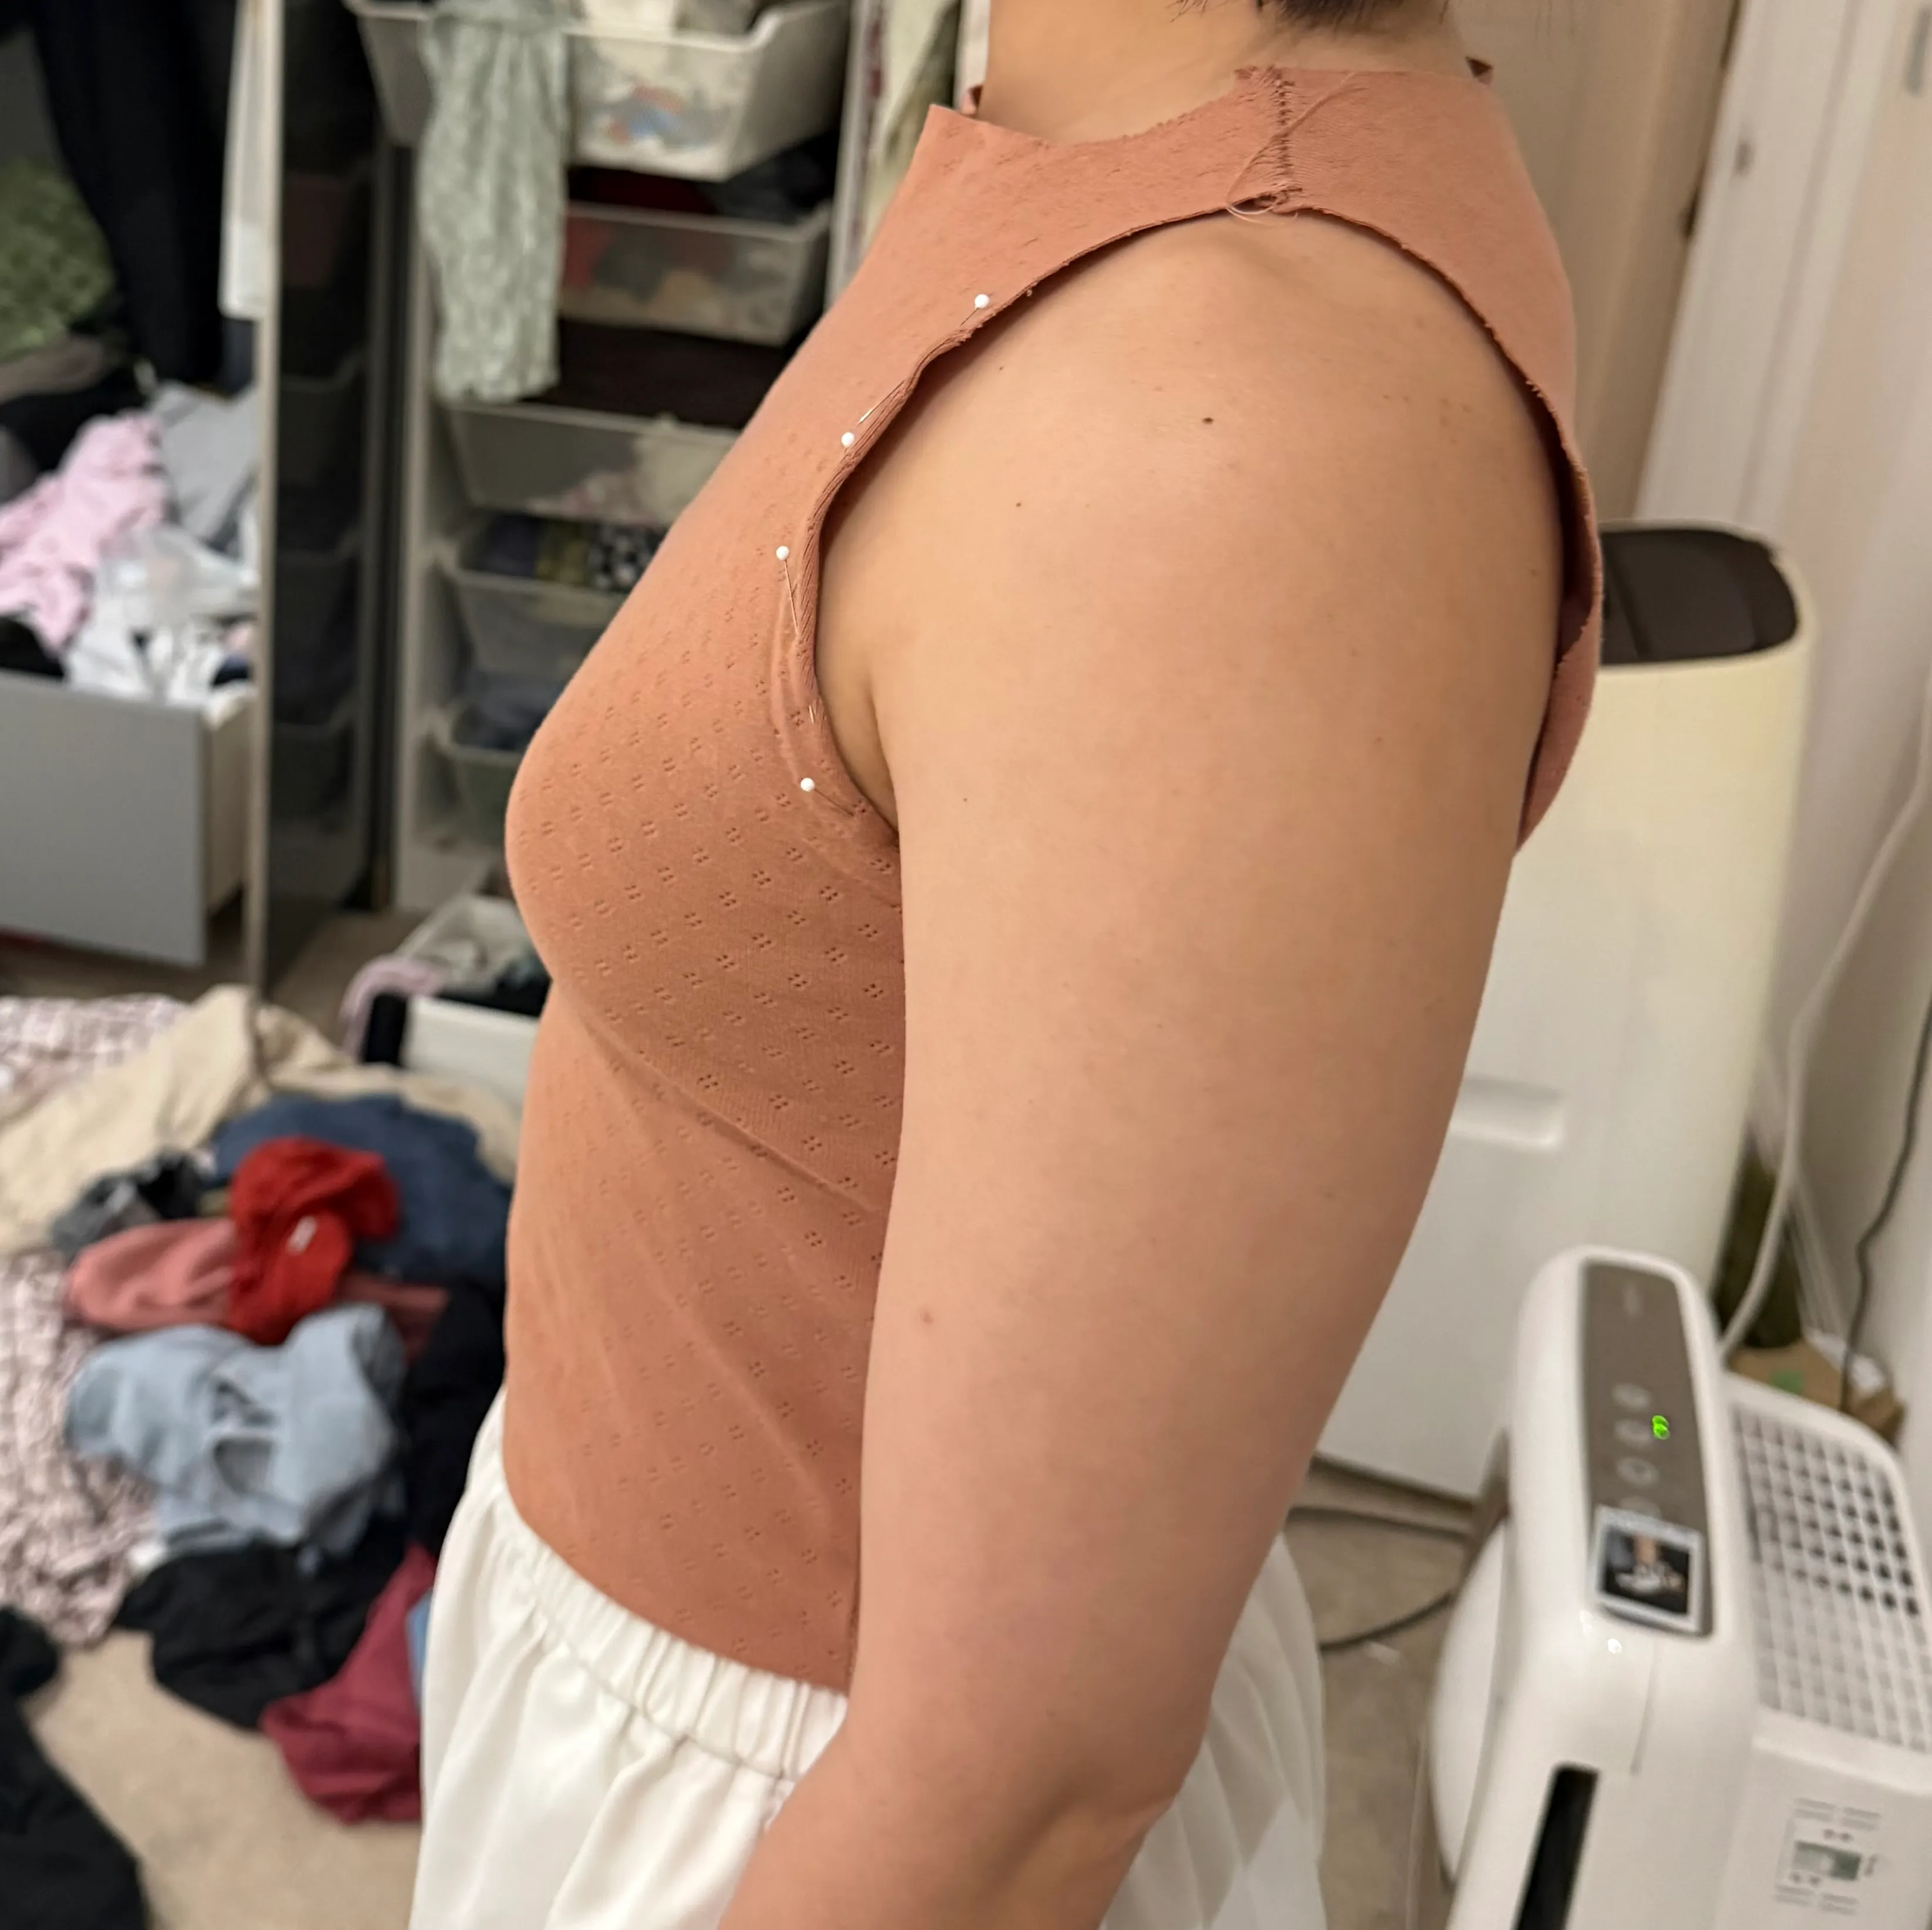
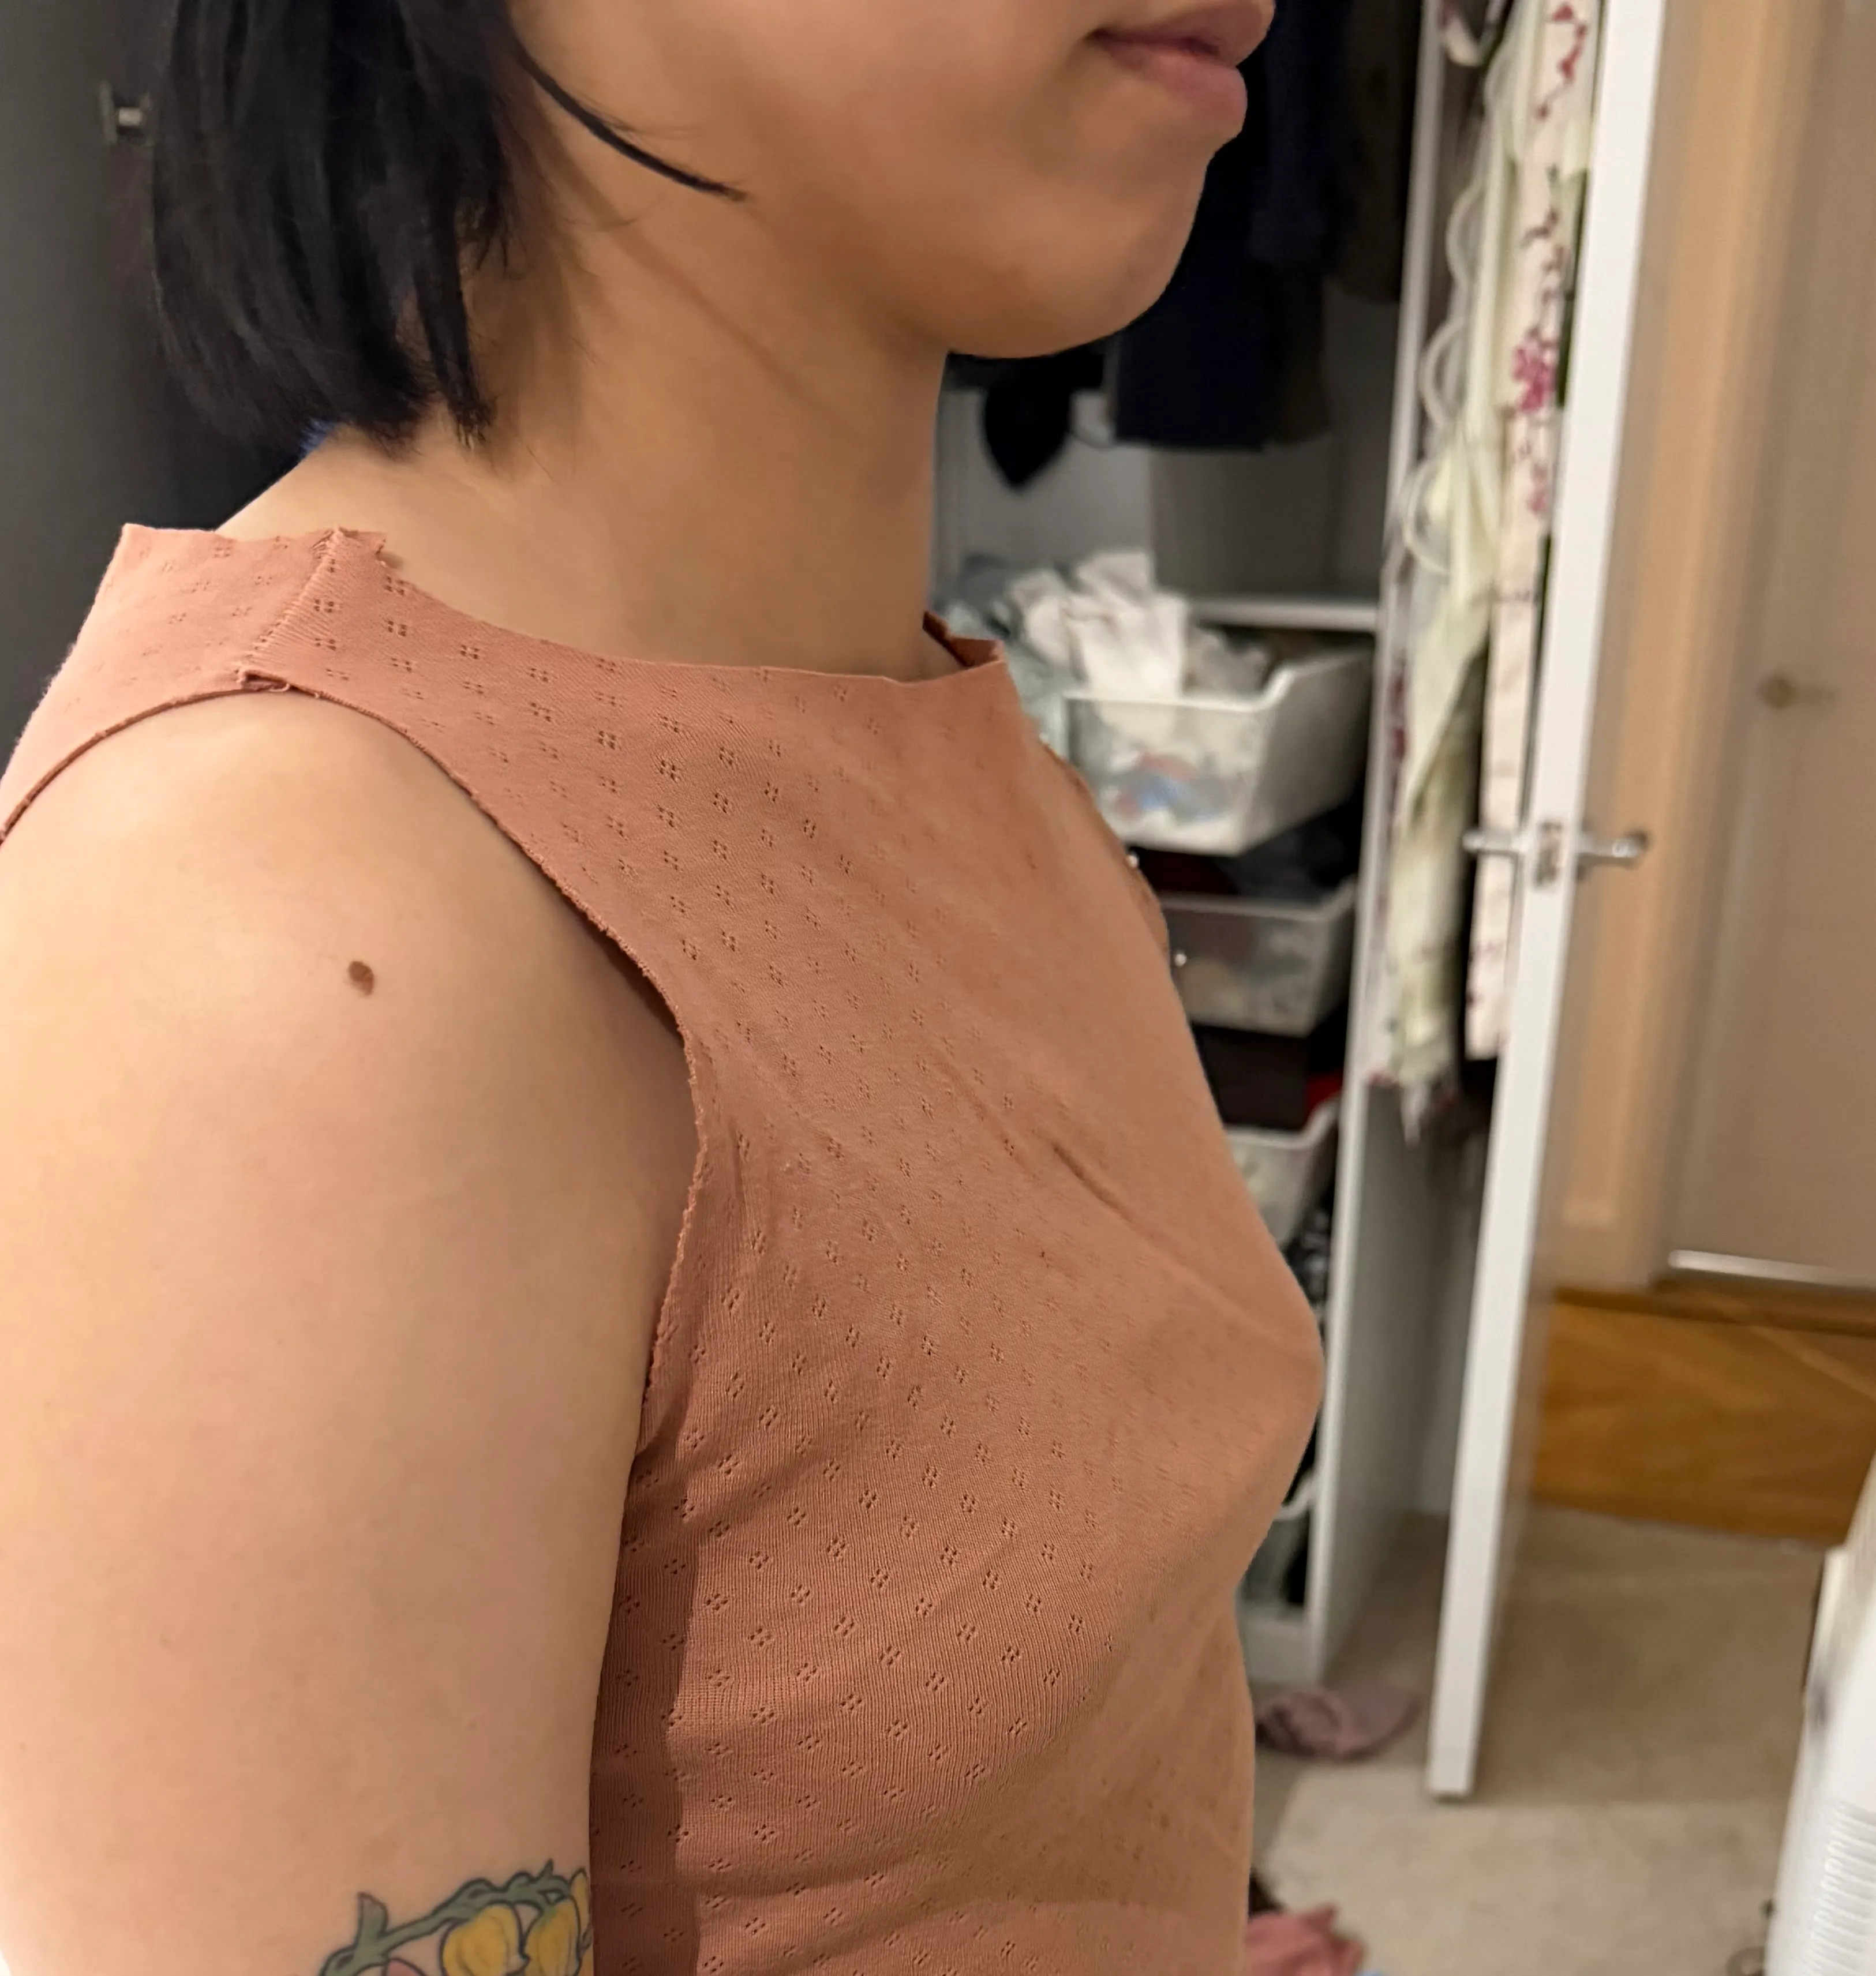
- Cut a V at the armhole bottom until comfortable, then pinned back in any extra to remove at front + back.
- Added +1cm at each lat for ease.
- it was at this point I realised that when I adjusted the pattern I hadn’t taken into account the arm and neckband so I added it to my list of things to adjust on the pattern.
v3 — bands accounted for
- Scope: redid the pattern to account for the neckband + armband lengths (the thing v2 missed)
- Outcome: bands resolved; close to final
- Photos: none dedicated — likely loose / in the “all versions together” shot
make details — v3
- Reworked the bands into the adjusted pattern (hard to reason about, but got there). Final cut lengths:
- Neckband: 42.4cm (40cm seamline + 2.4cm SA).
- Armband: 35cm (33cm seamline + 2cm SA).
- If adding a neckband finish: lower the neckline edge 1.2cm (finished band width) before cutting.
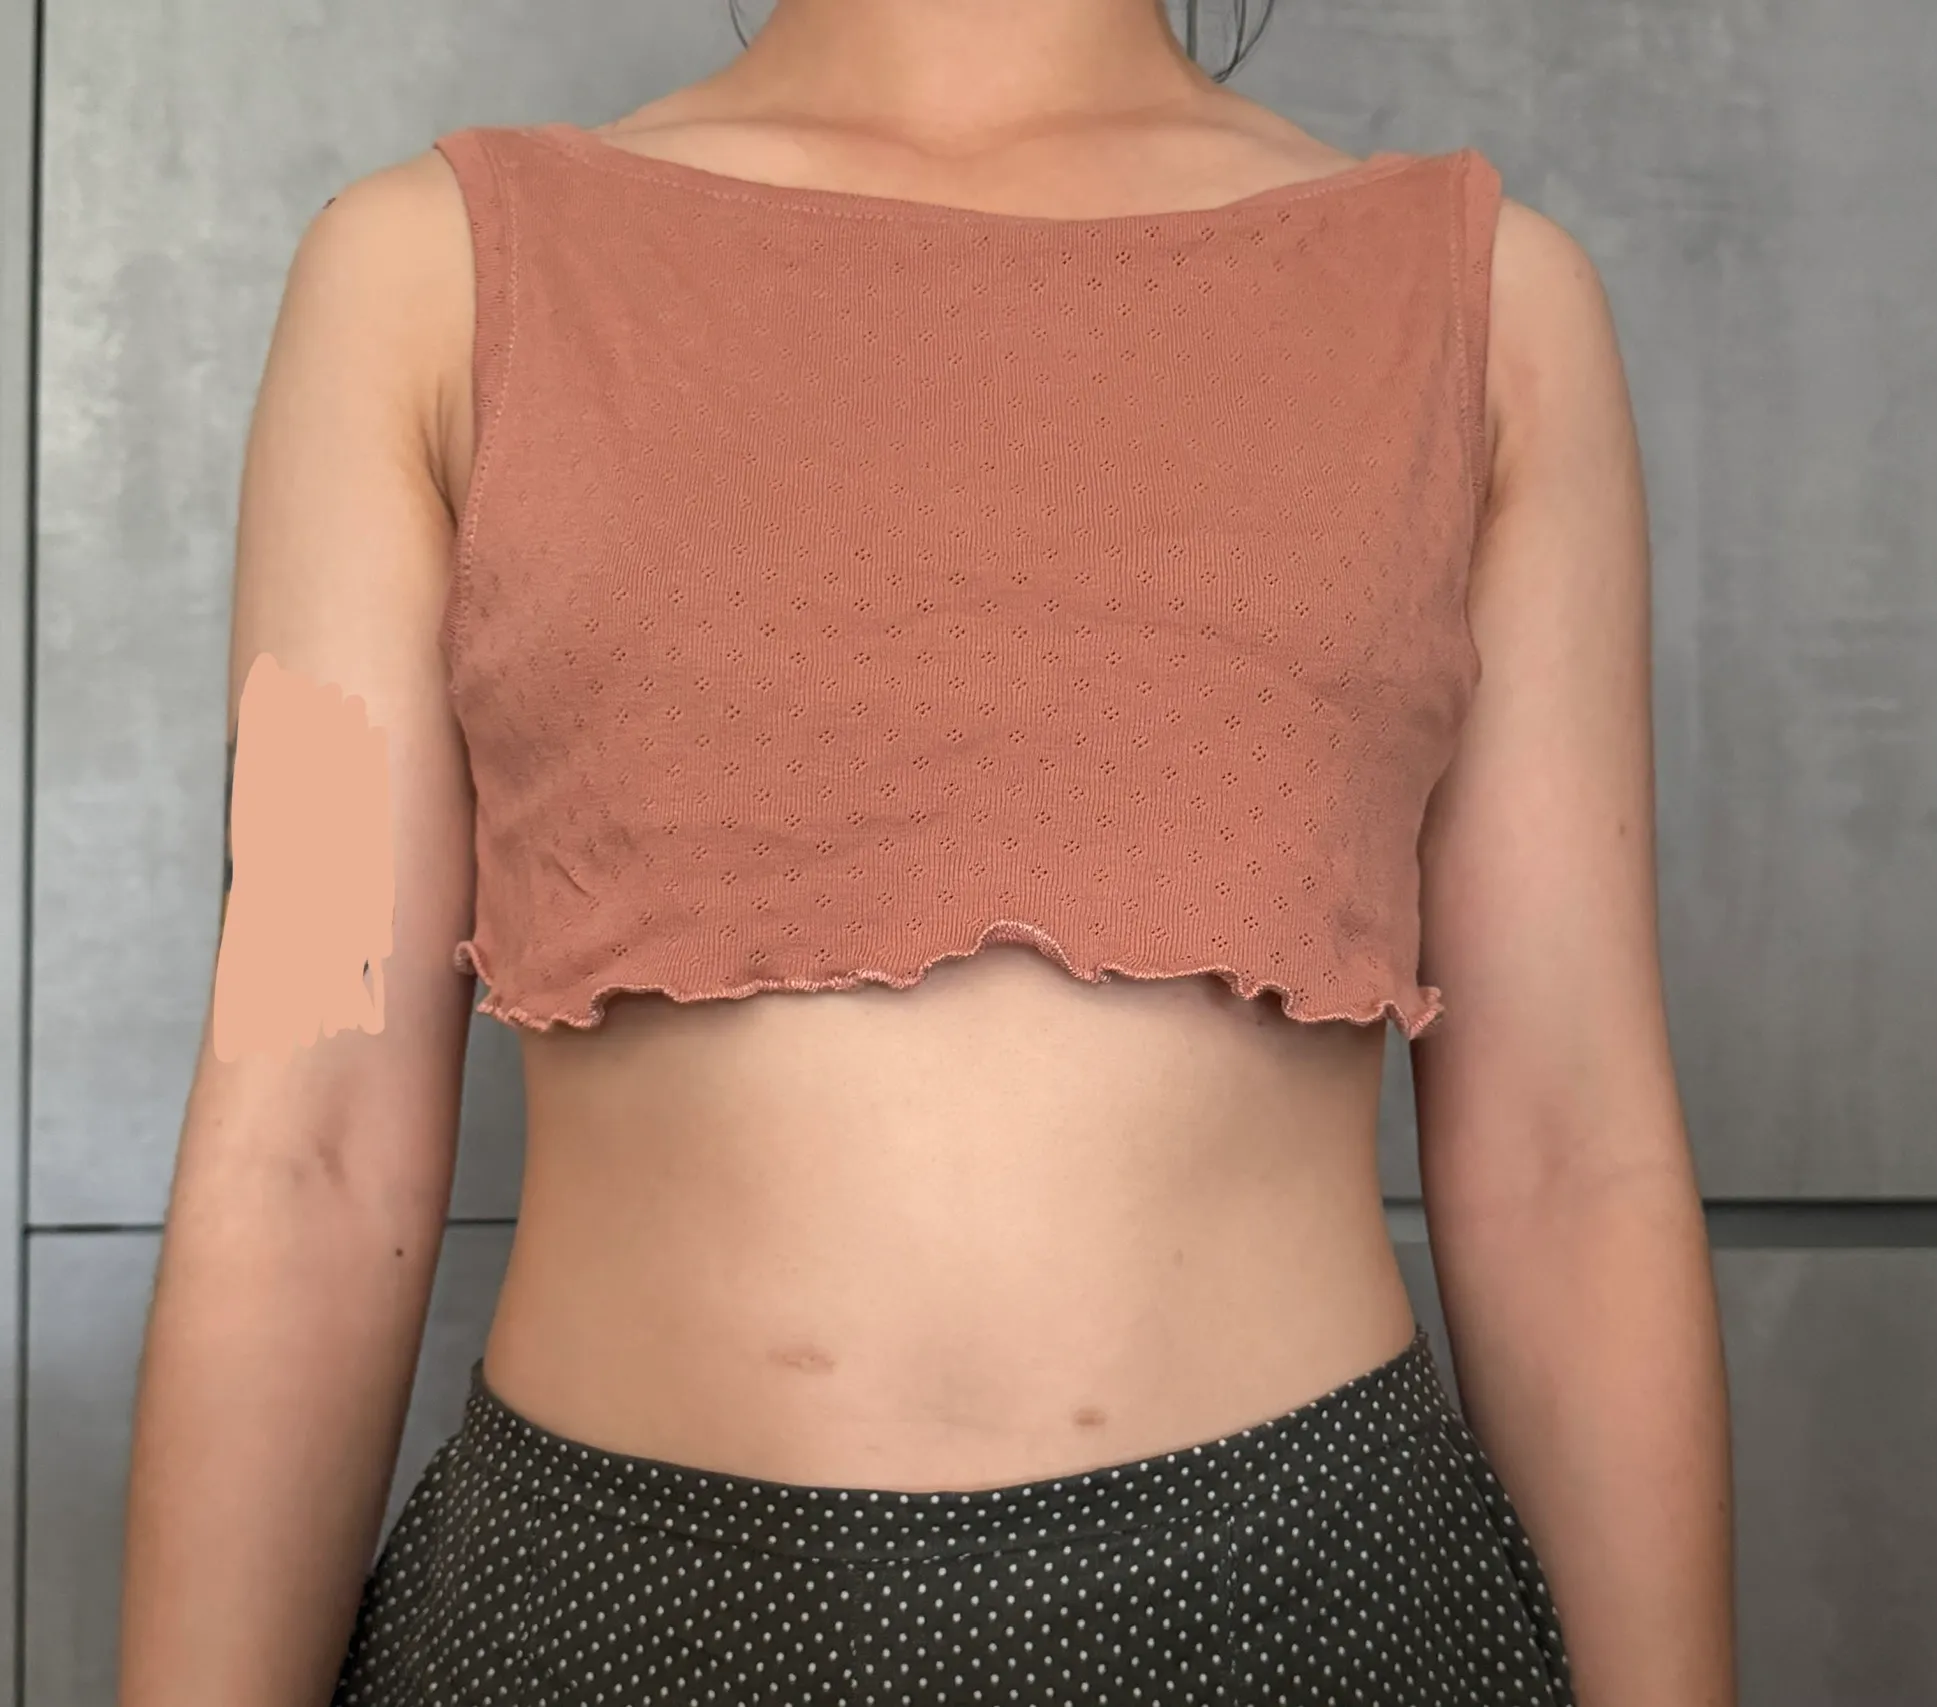
- Cut 90s cut-up-shirt style because at this point I was worried I’d run out of fabric. I tried a lettuce edge for the first time and it turned out cute! This version has been the sleeper hit in my handmade wardrobe and I have been wearing it non-stop to bed during this summer season.
v4 — final
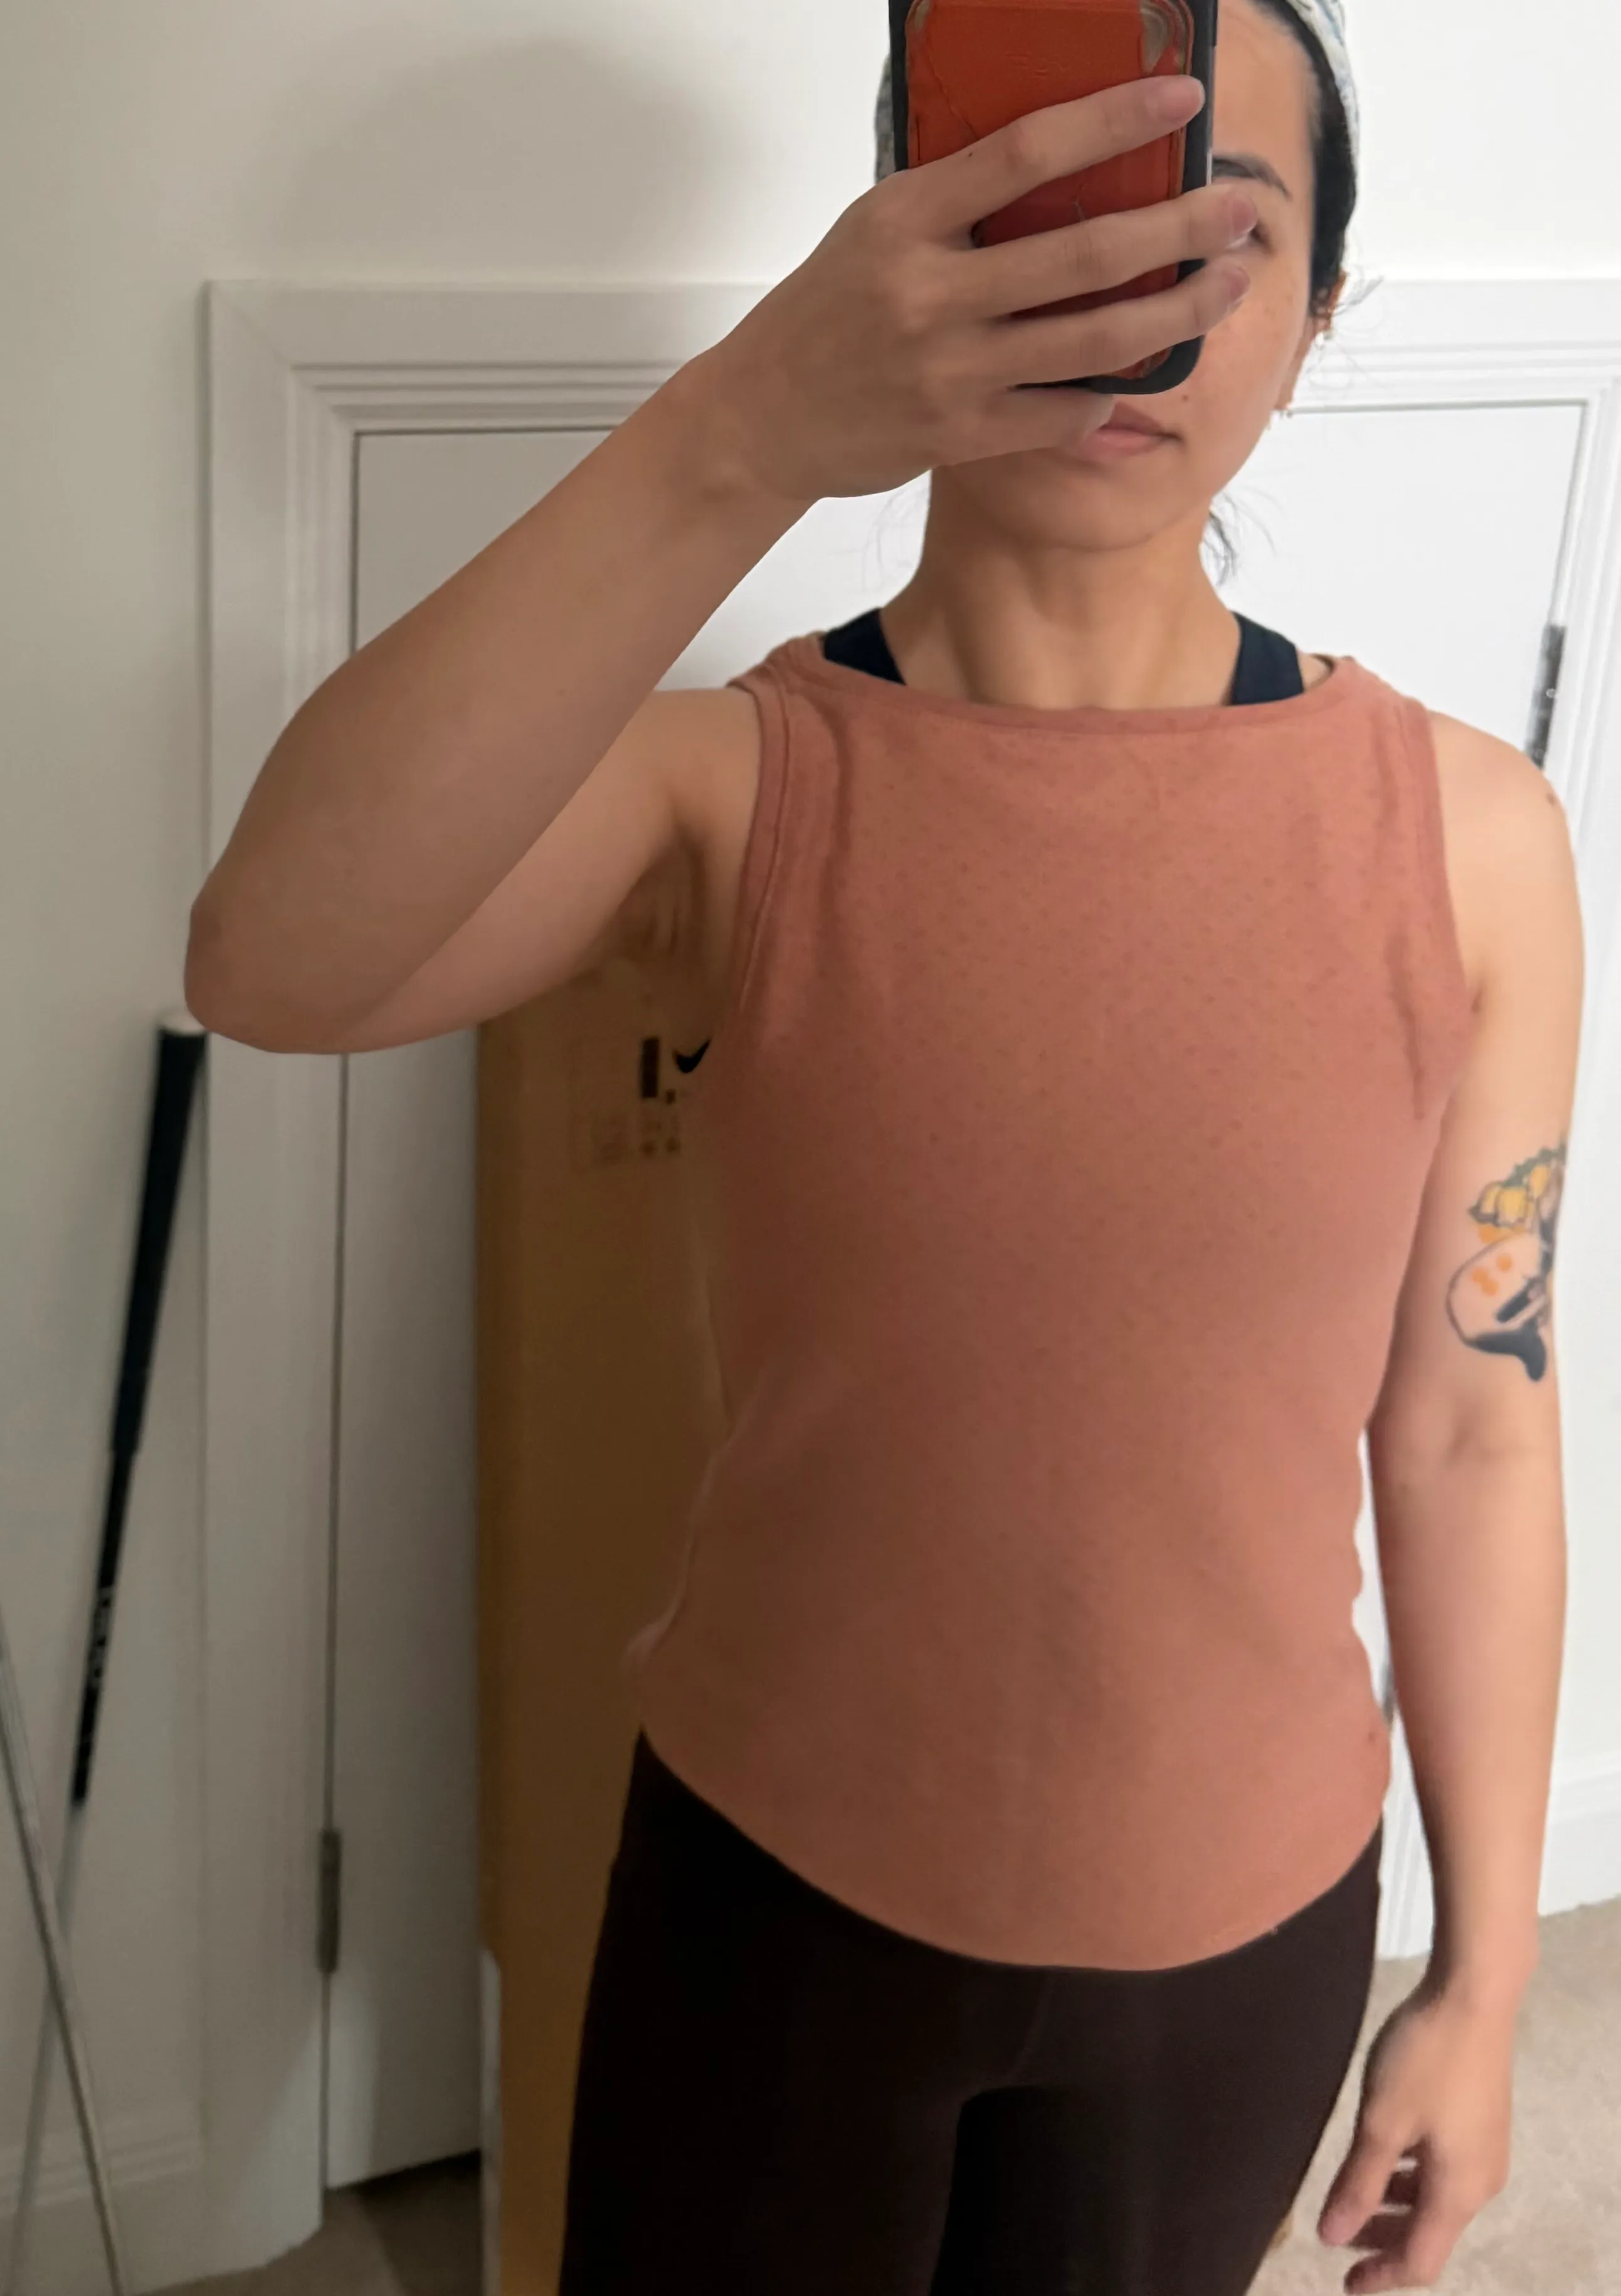
- Scope: base pattern done
- Status: satisfied with the changes!
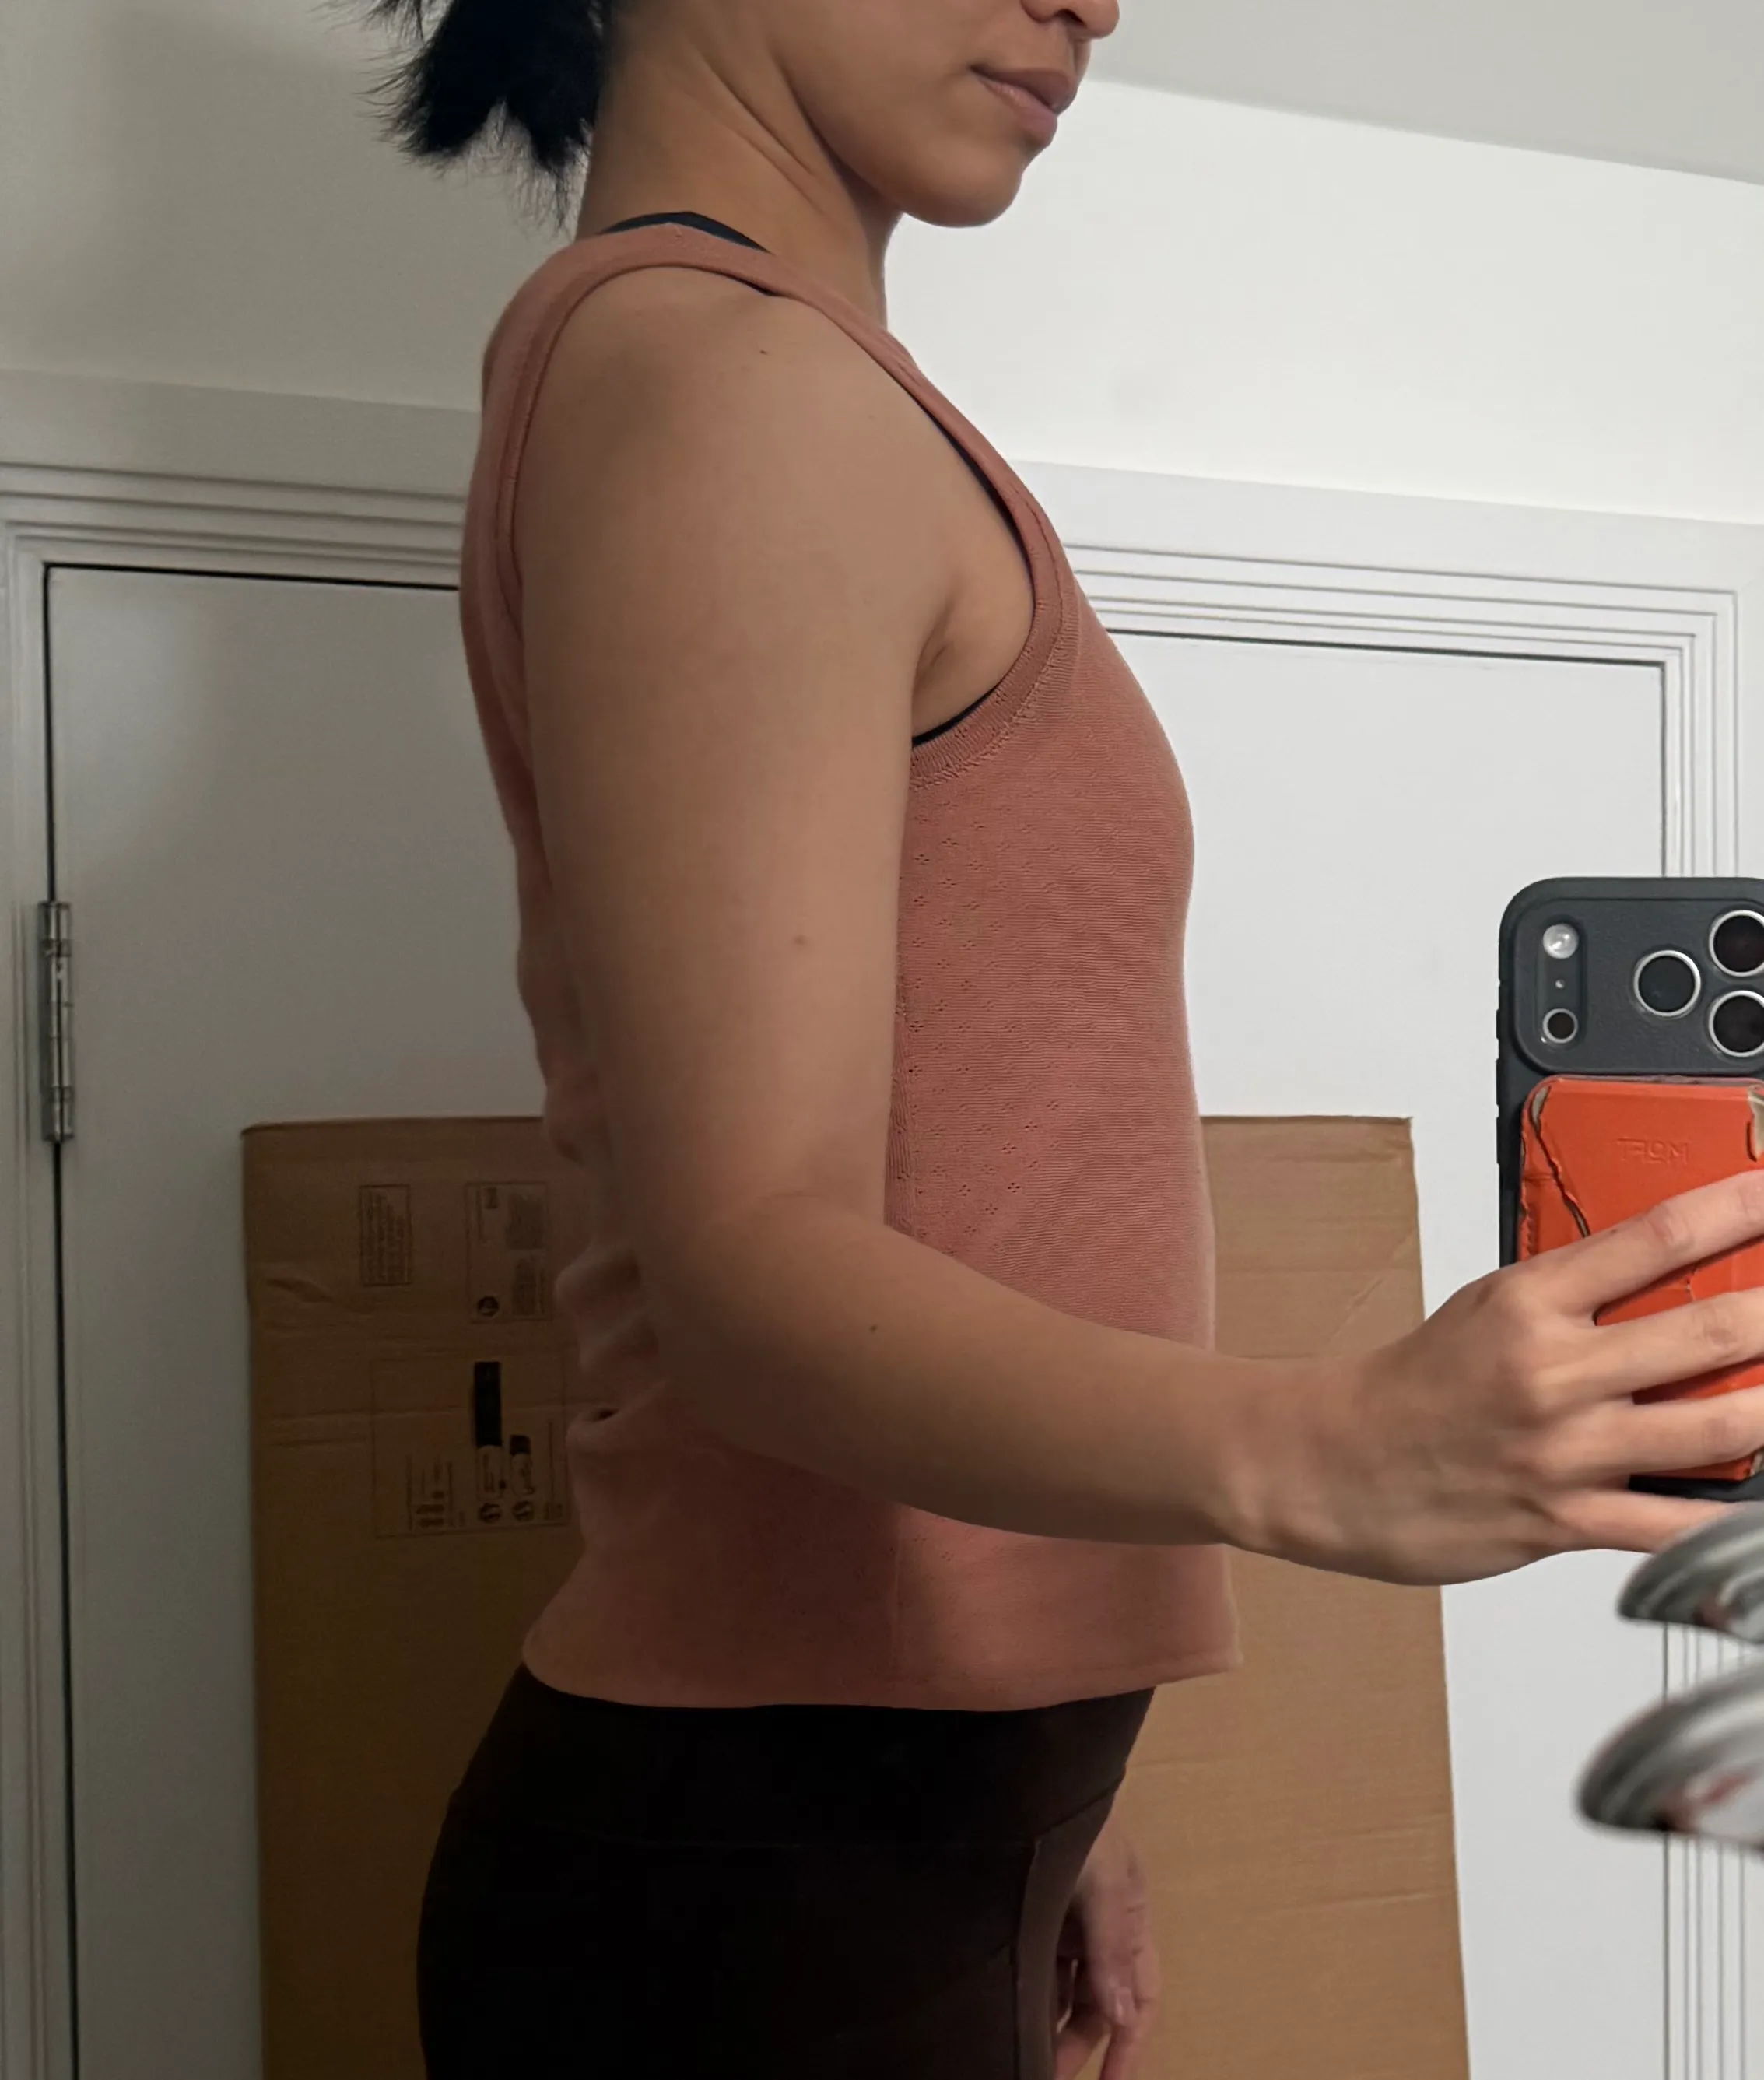
make details — v4
- Error: accidentally cut the front off-grain (all my brain went to the neck/arm bands) but I think it still counts as a win.
reflections + next make notes
- Overfitting v1 is real - the final looks a bit different from the pattern’s intent, but I’m happy with it.
- Next time: in the hip-length view, remove a few cm of length at the waist
- Make it in 5 colours!
The three boatneck fixes work:
- chest tuck addresses proportions,
- neckline -10mm reduction addresses circumference,
- sloped shoulder -8mm addresses armhole placement.
nearby