project complete created updated
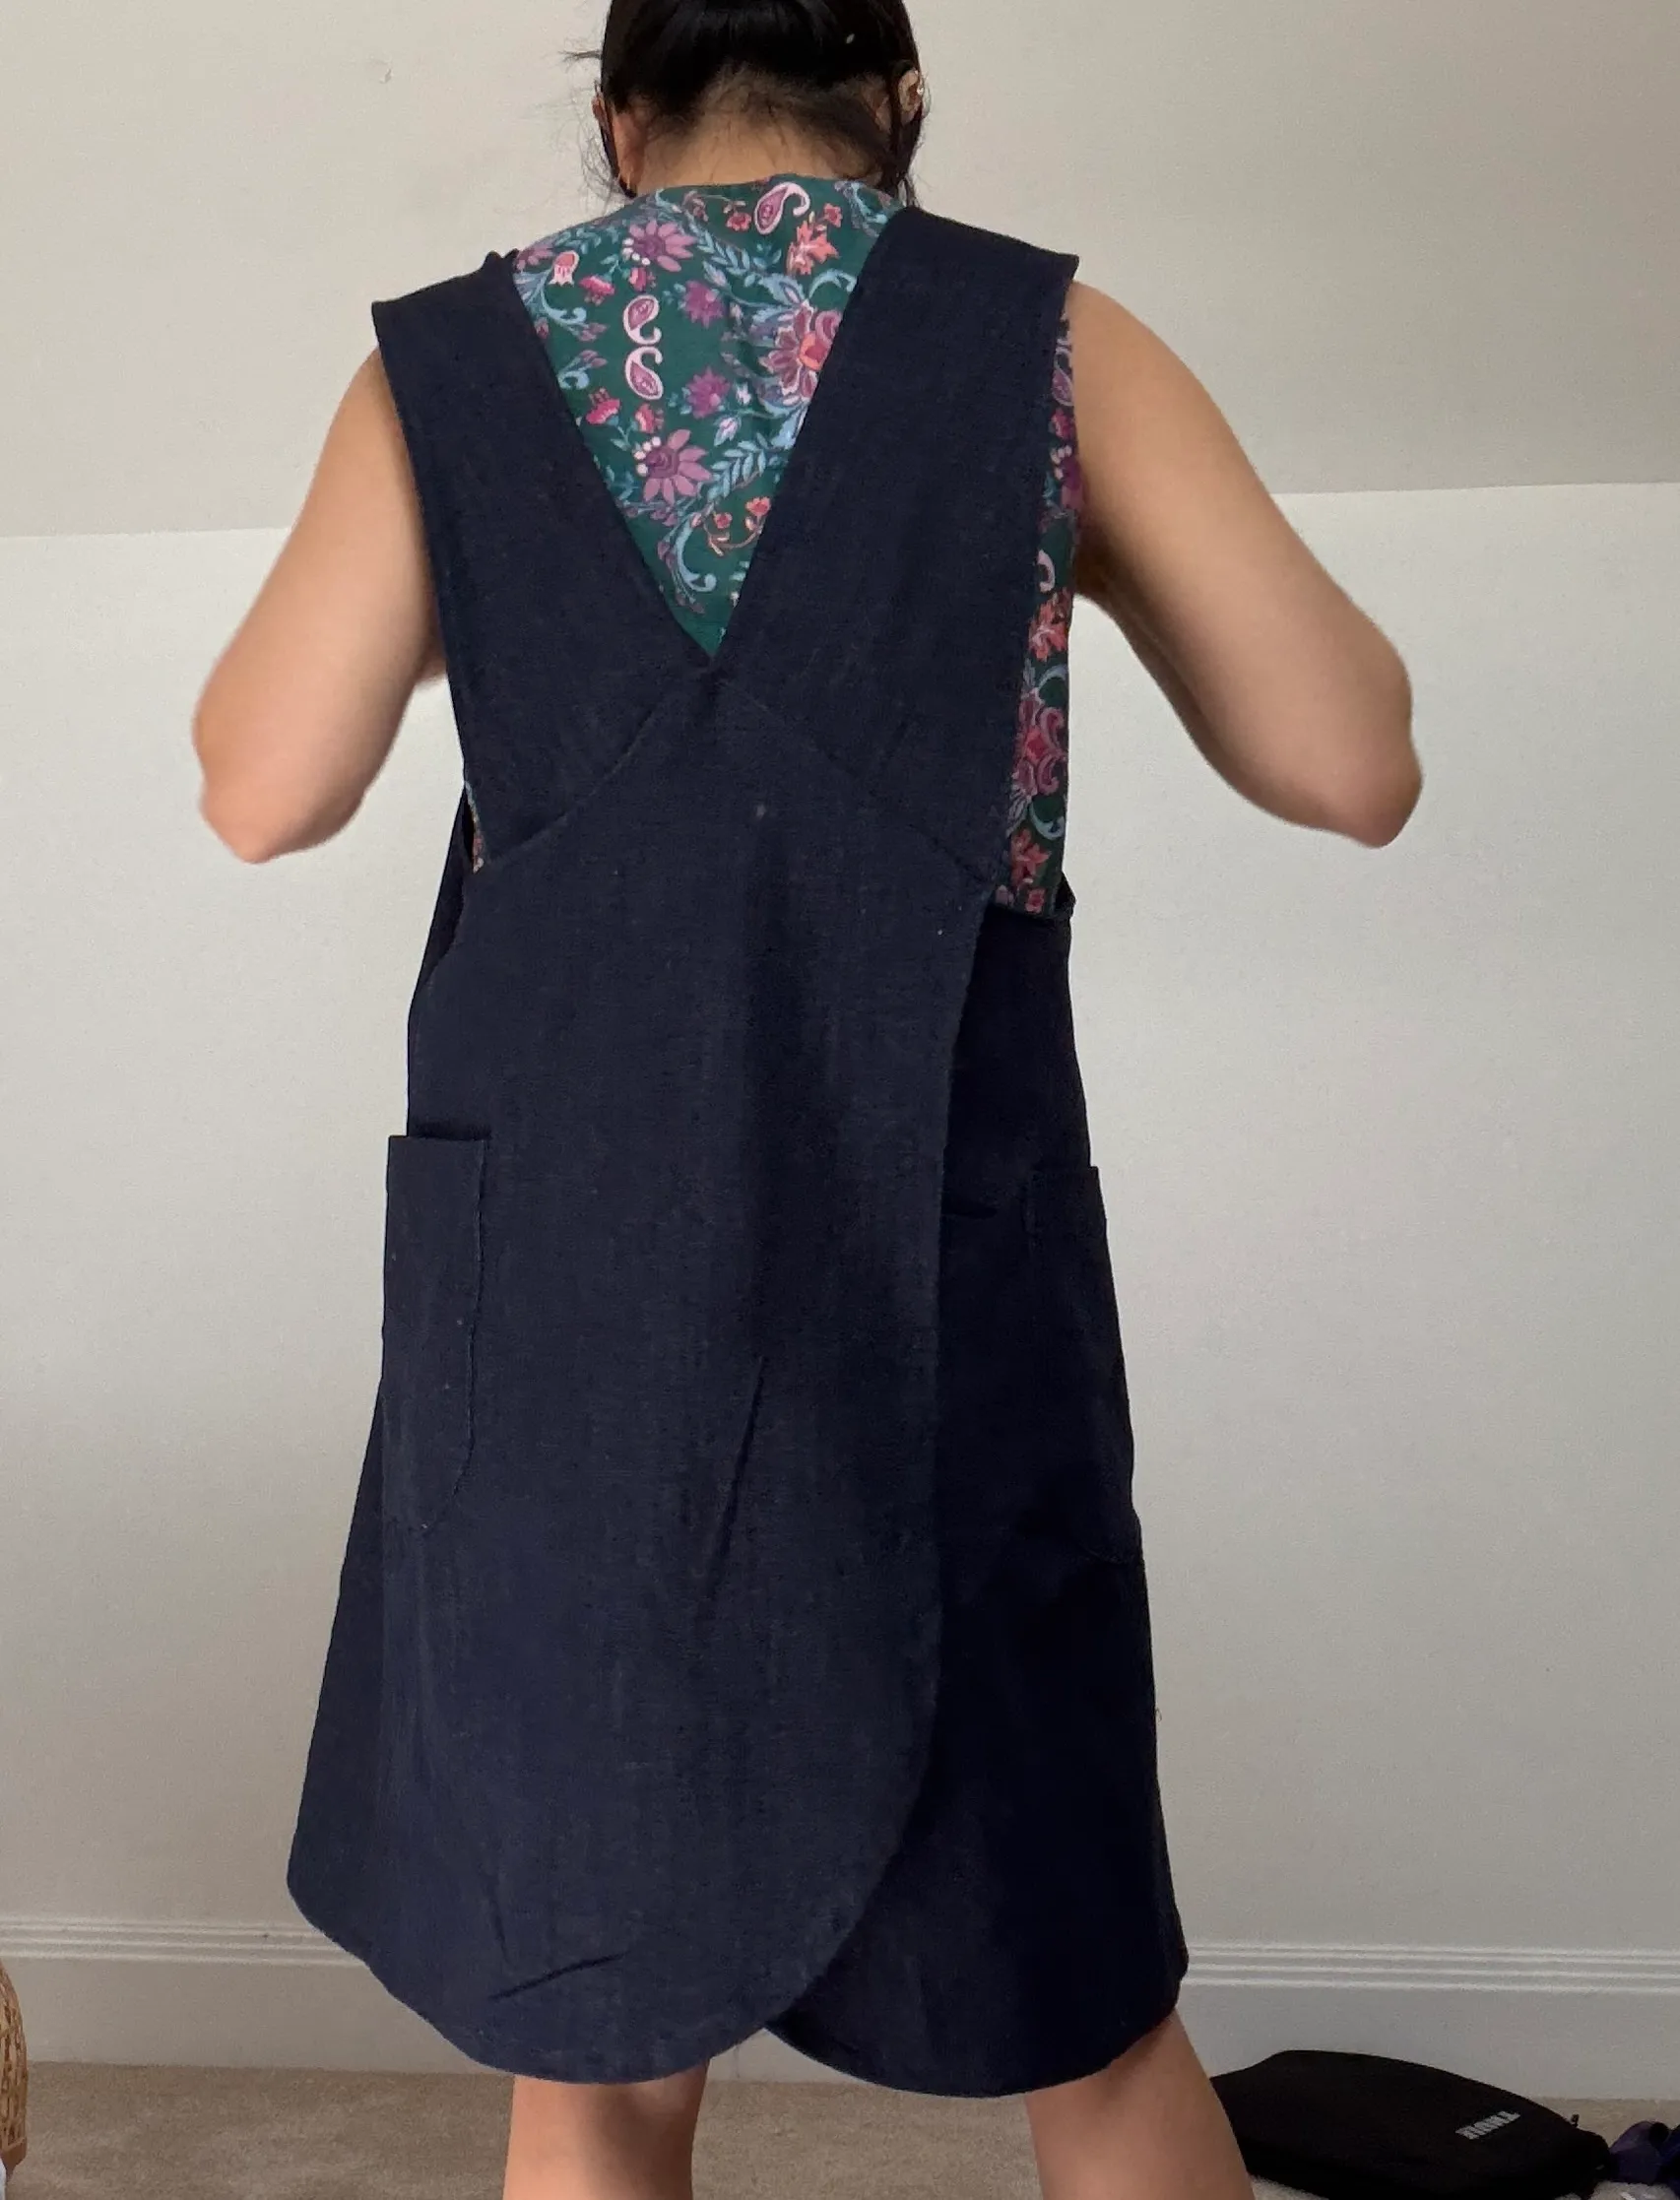
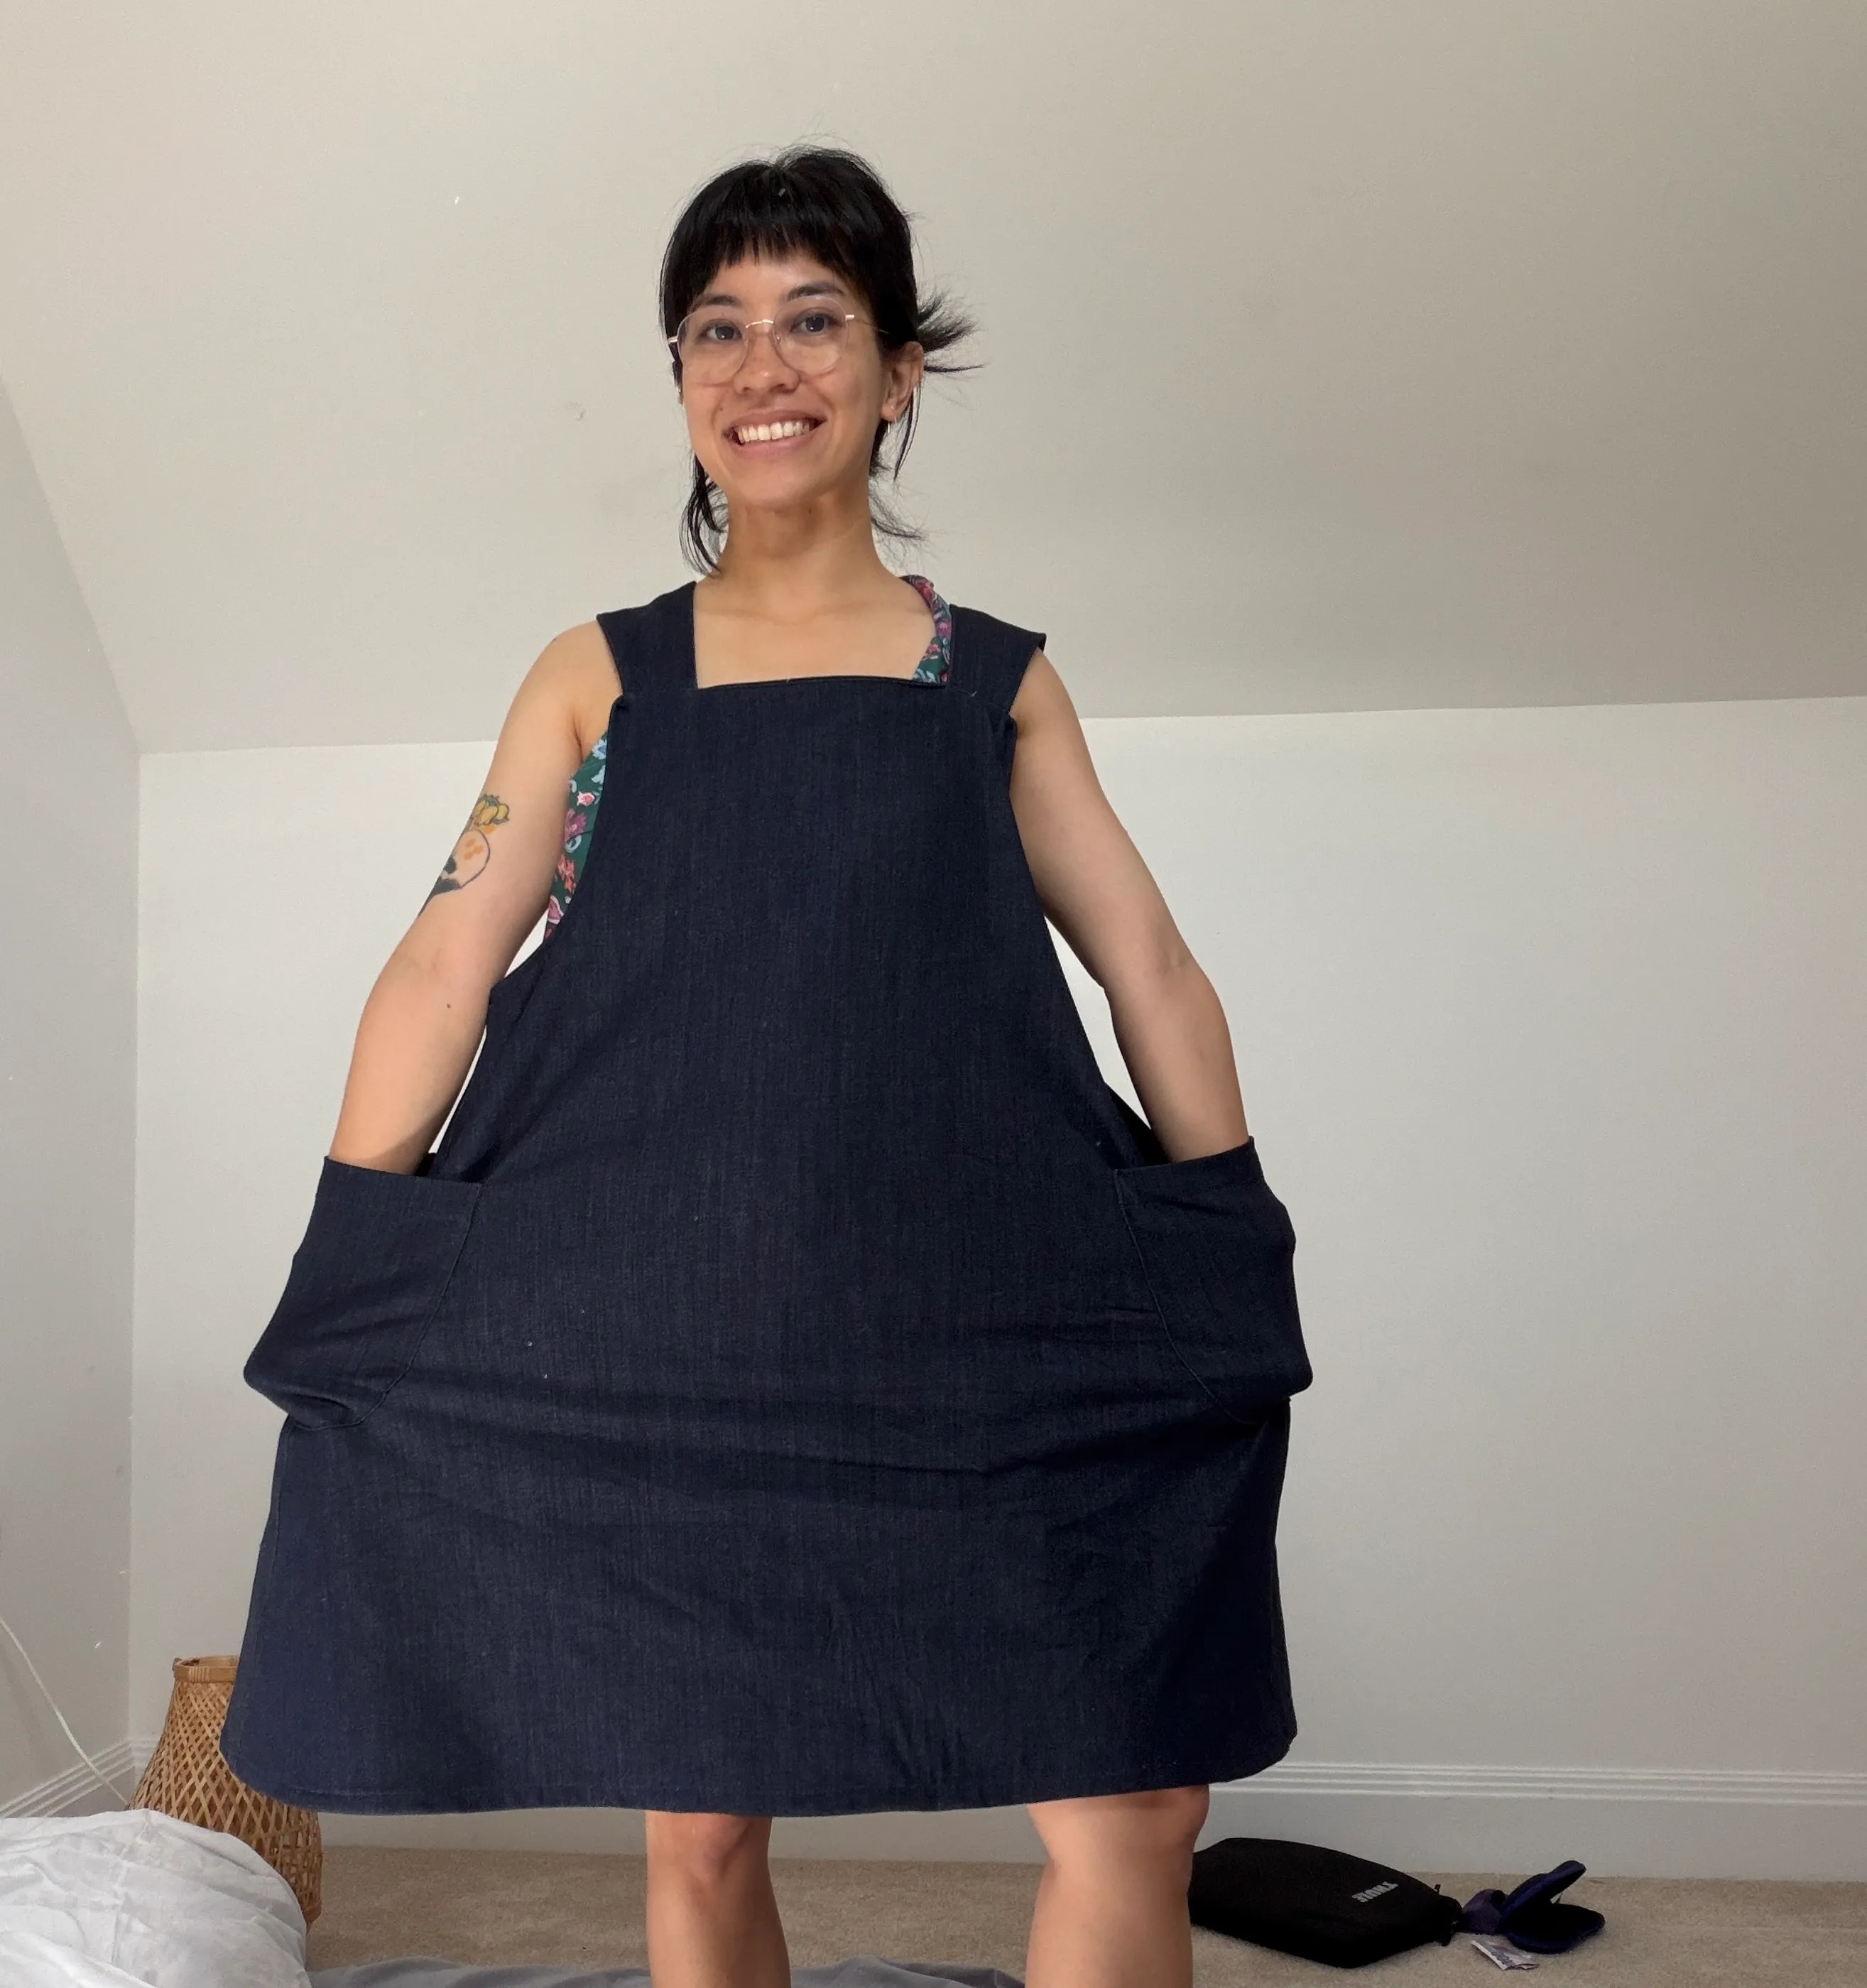
Maven patterns apron for dana
sewing the maven apron for dana
Specs
- Pattern: Maven Maria apron
- View / size: view a, size large
- Status: complete
make notes
- fabric: denim from woolcreset textiles, slightly stretchy
BOM
- main fabric
- 2m @ 112cm
- 1.6m @ 150cm
- woven fusible interfacing - 1m (vlieseline g700 or sf101)
- thread
- 80/12 needles
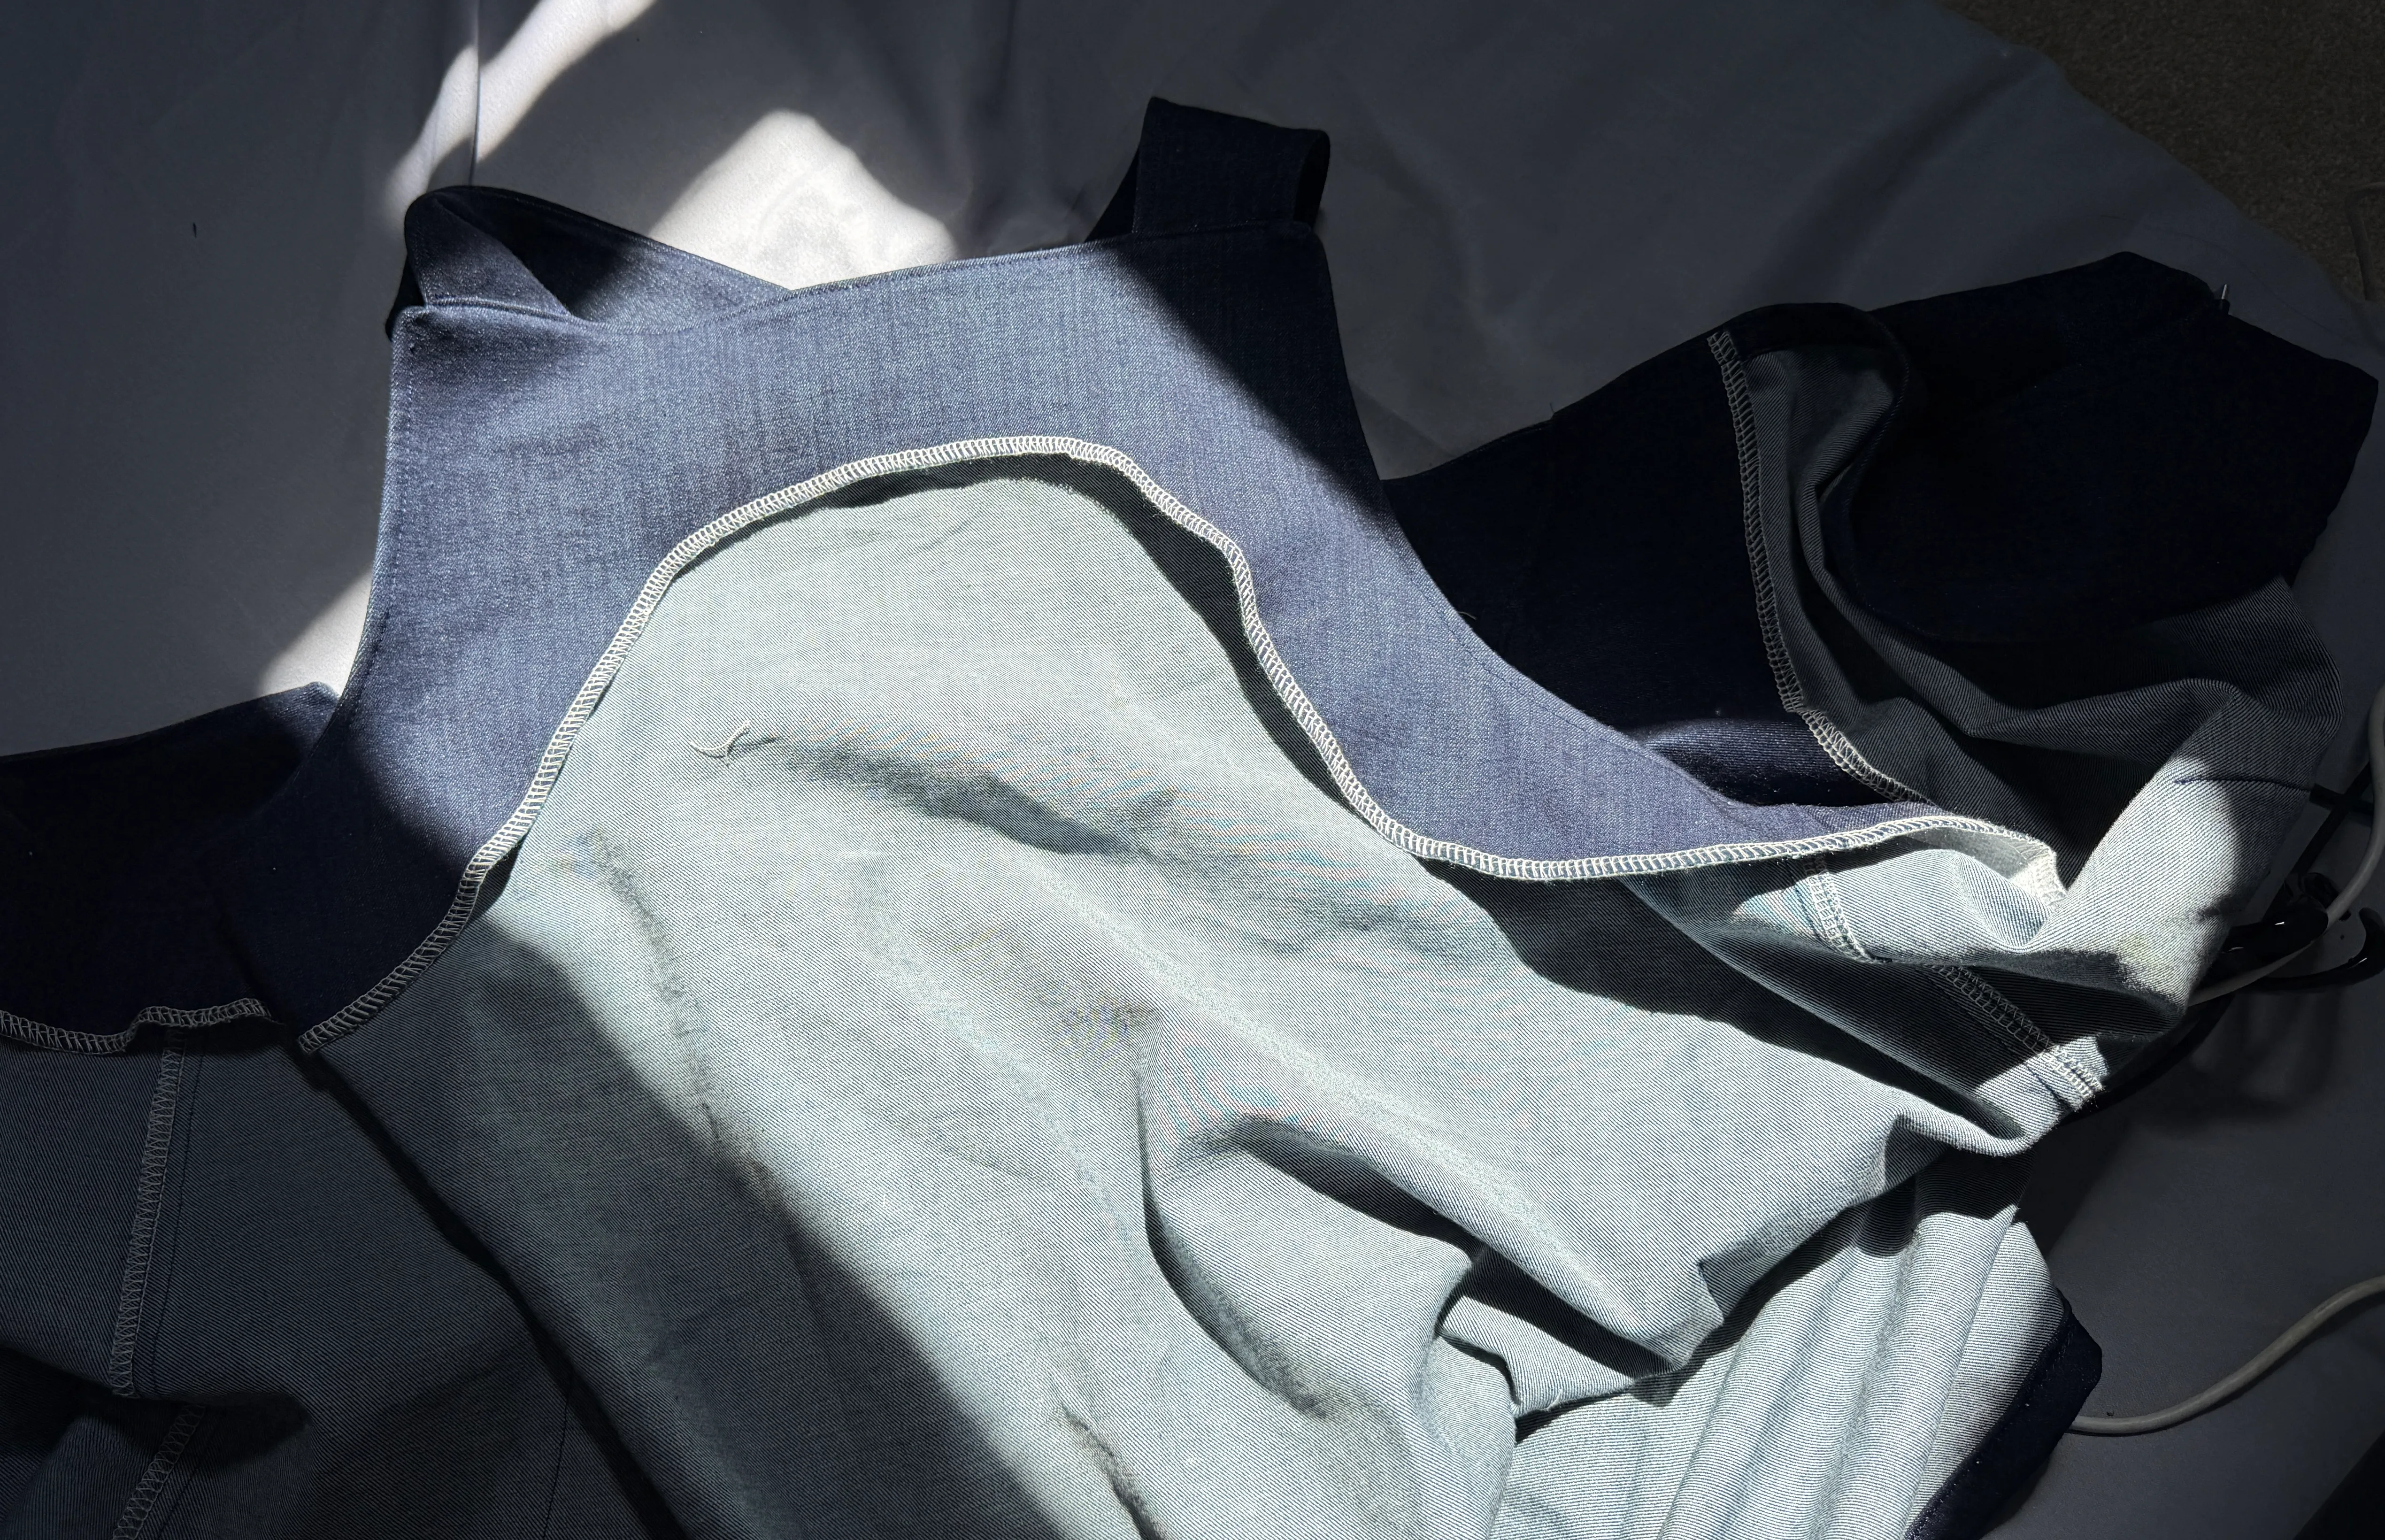
- I accidentally graded the wrong side of the seam allowance so I ended up top stitching the underarm area. it was too early in the process to do that (before attaching the straps, so now the straps don’t sit flush to the side of the apron) but it’s not too bad.
- I bought topstitching thread for this project but I forgot to buy topstitching needle. only realised when I got home, so I just topstitched with regular thread instead.
- the instructions were such a pain. they’re indicated to be intermediate / advanced (idk why I thought all apron patters would be considered beginner when I bought this), and it definitely does not hold your hand. what I do like though, is that there’s a quick list version, and that there’s a legend on every page of what the right side / wrong side colours are.
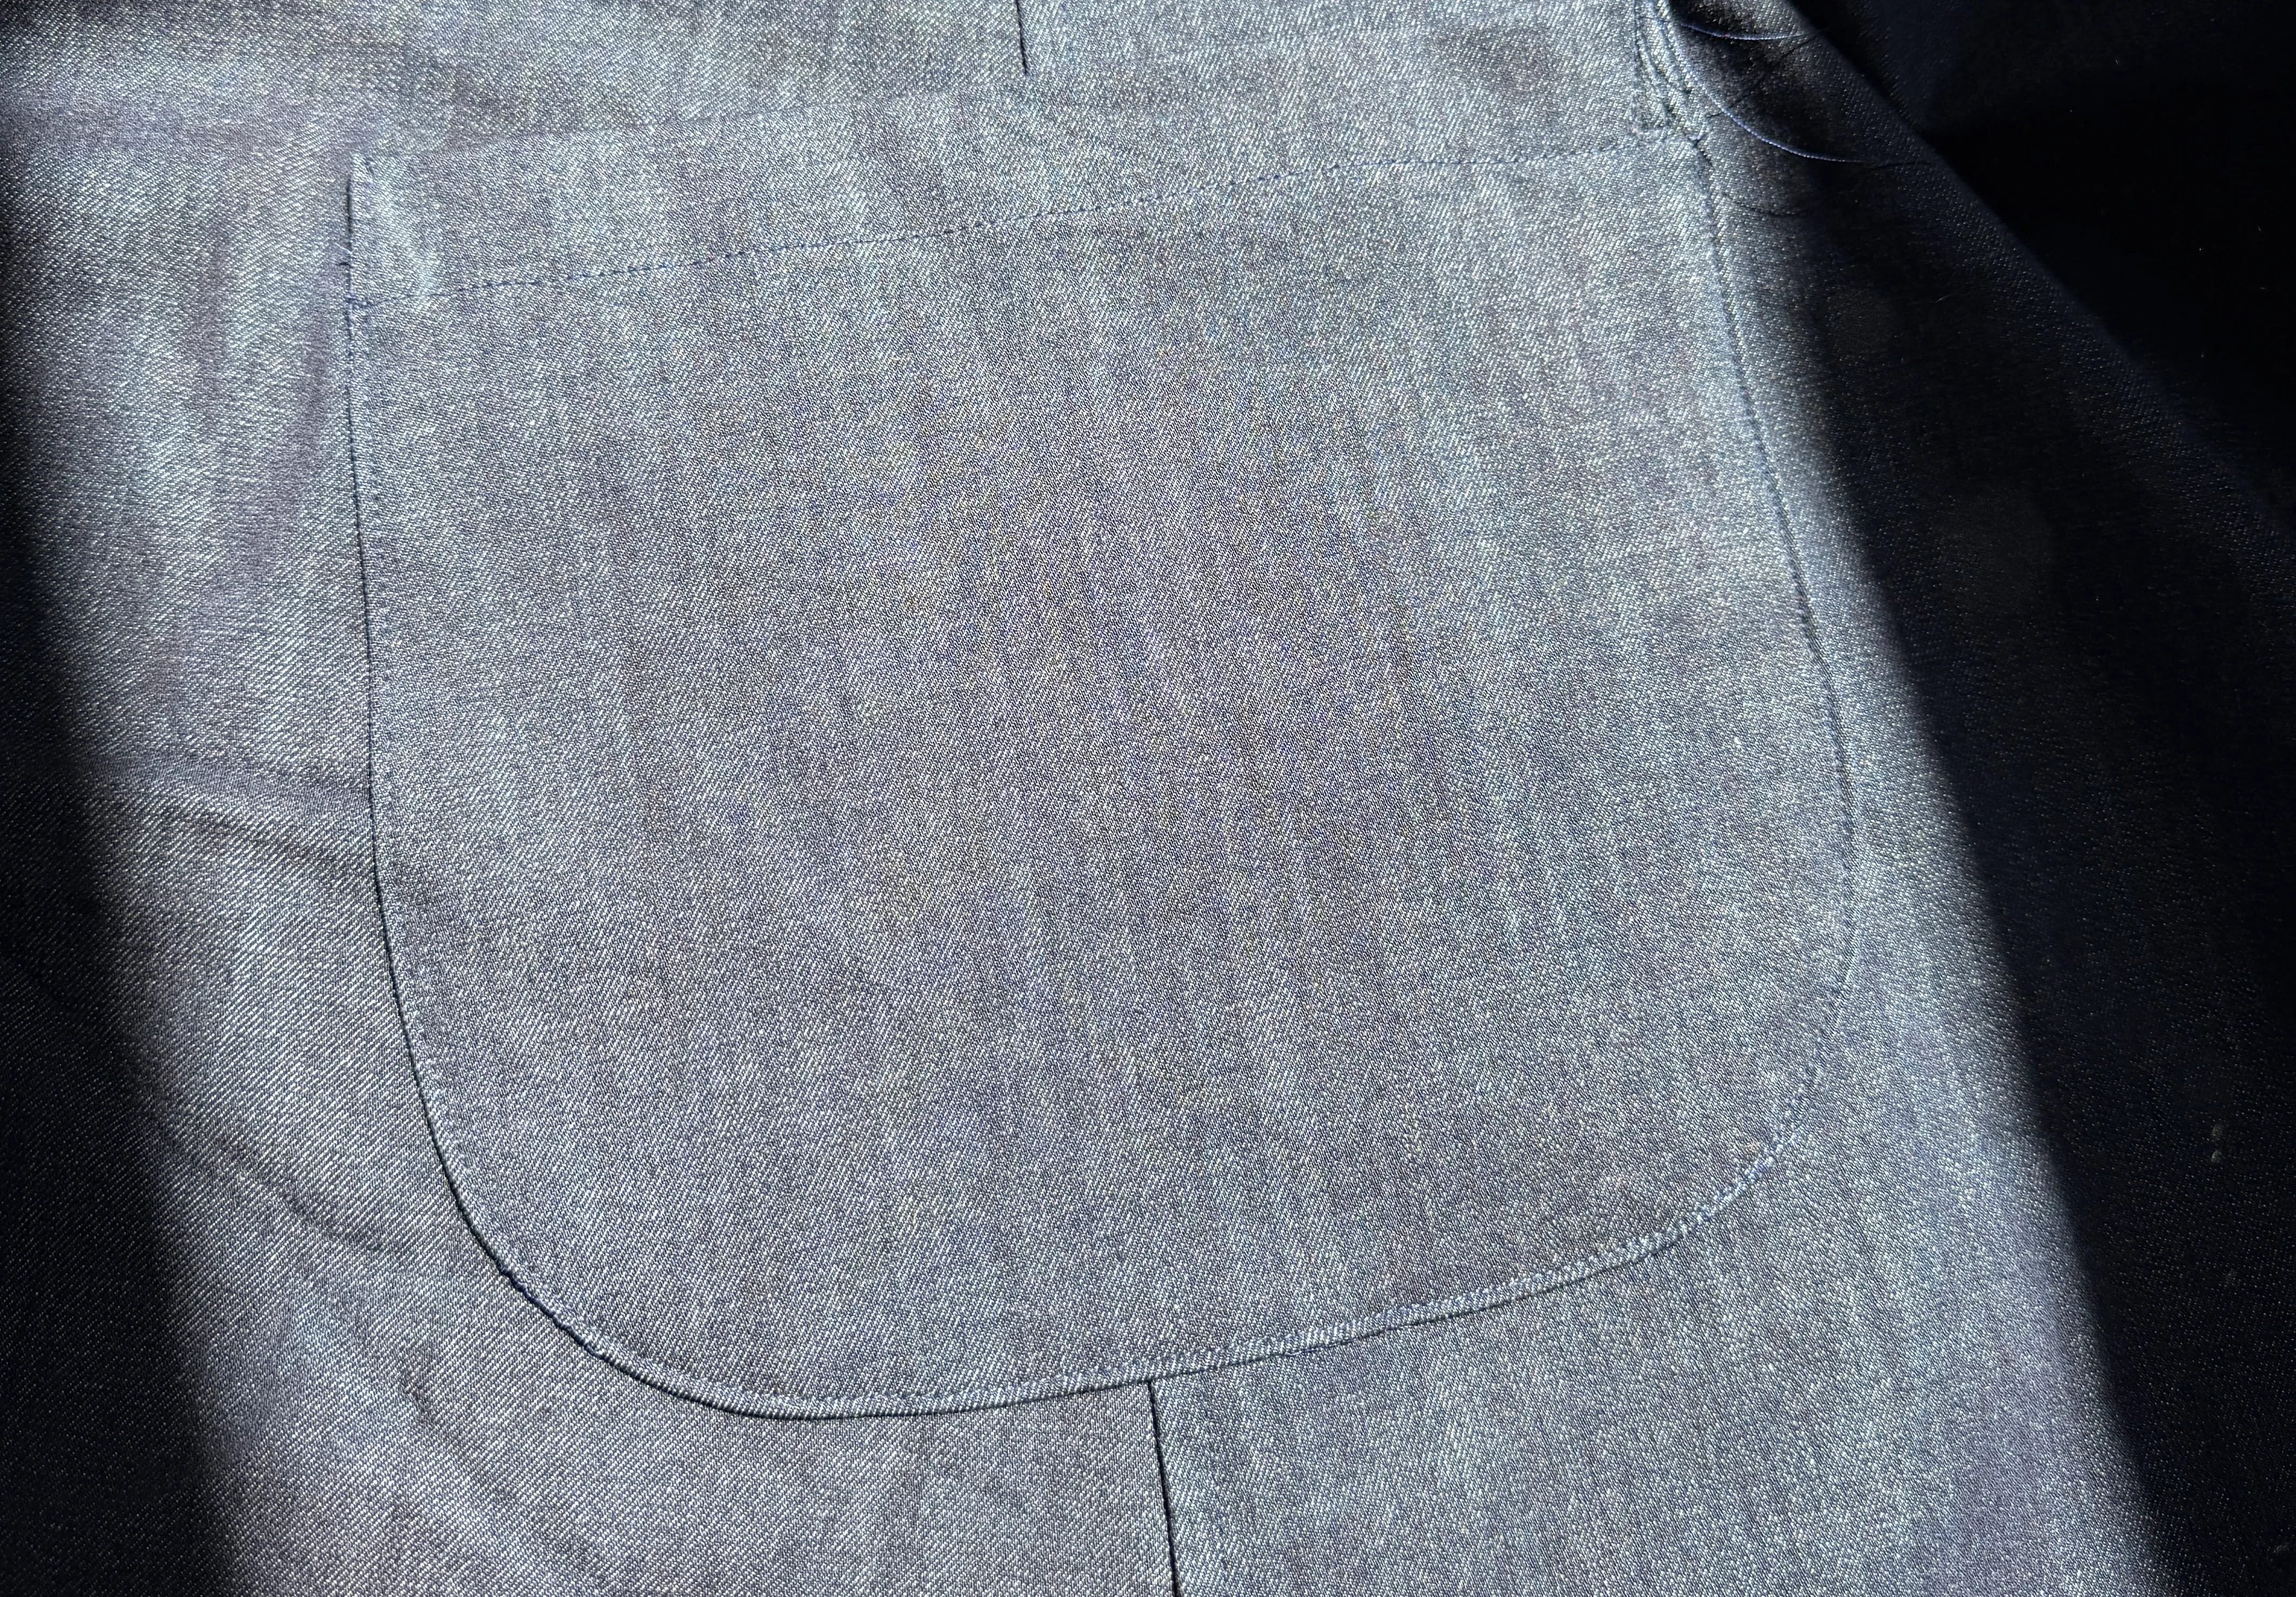
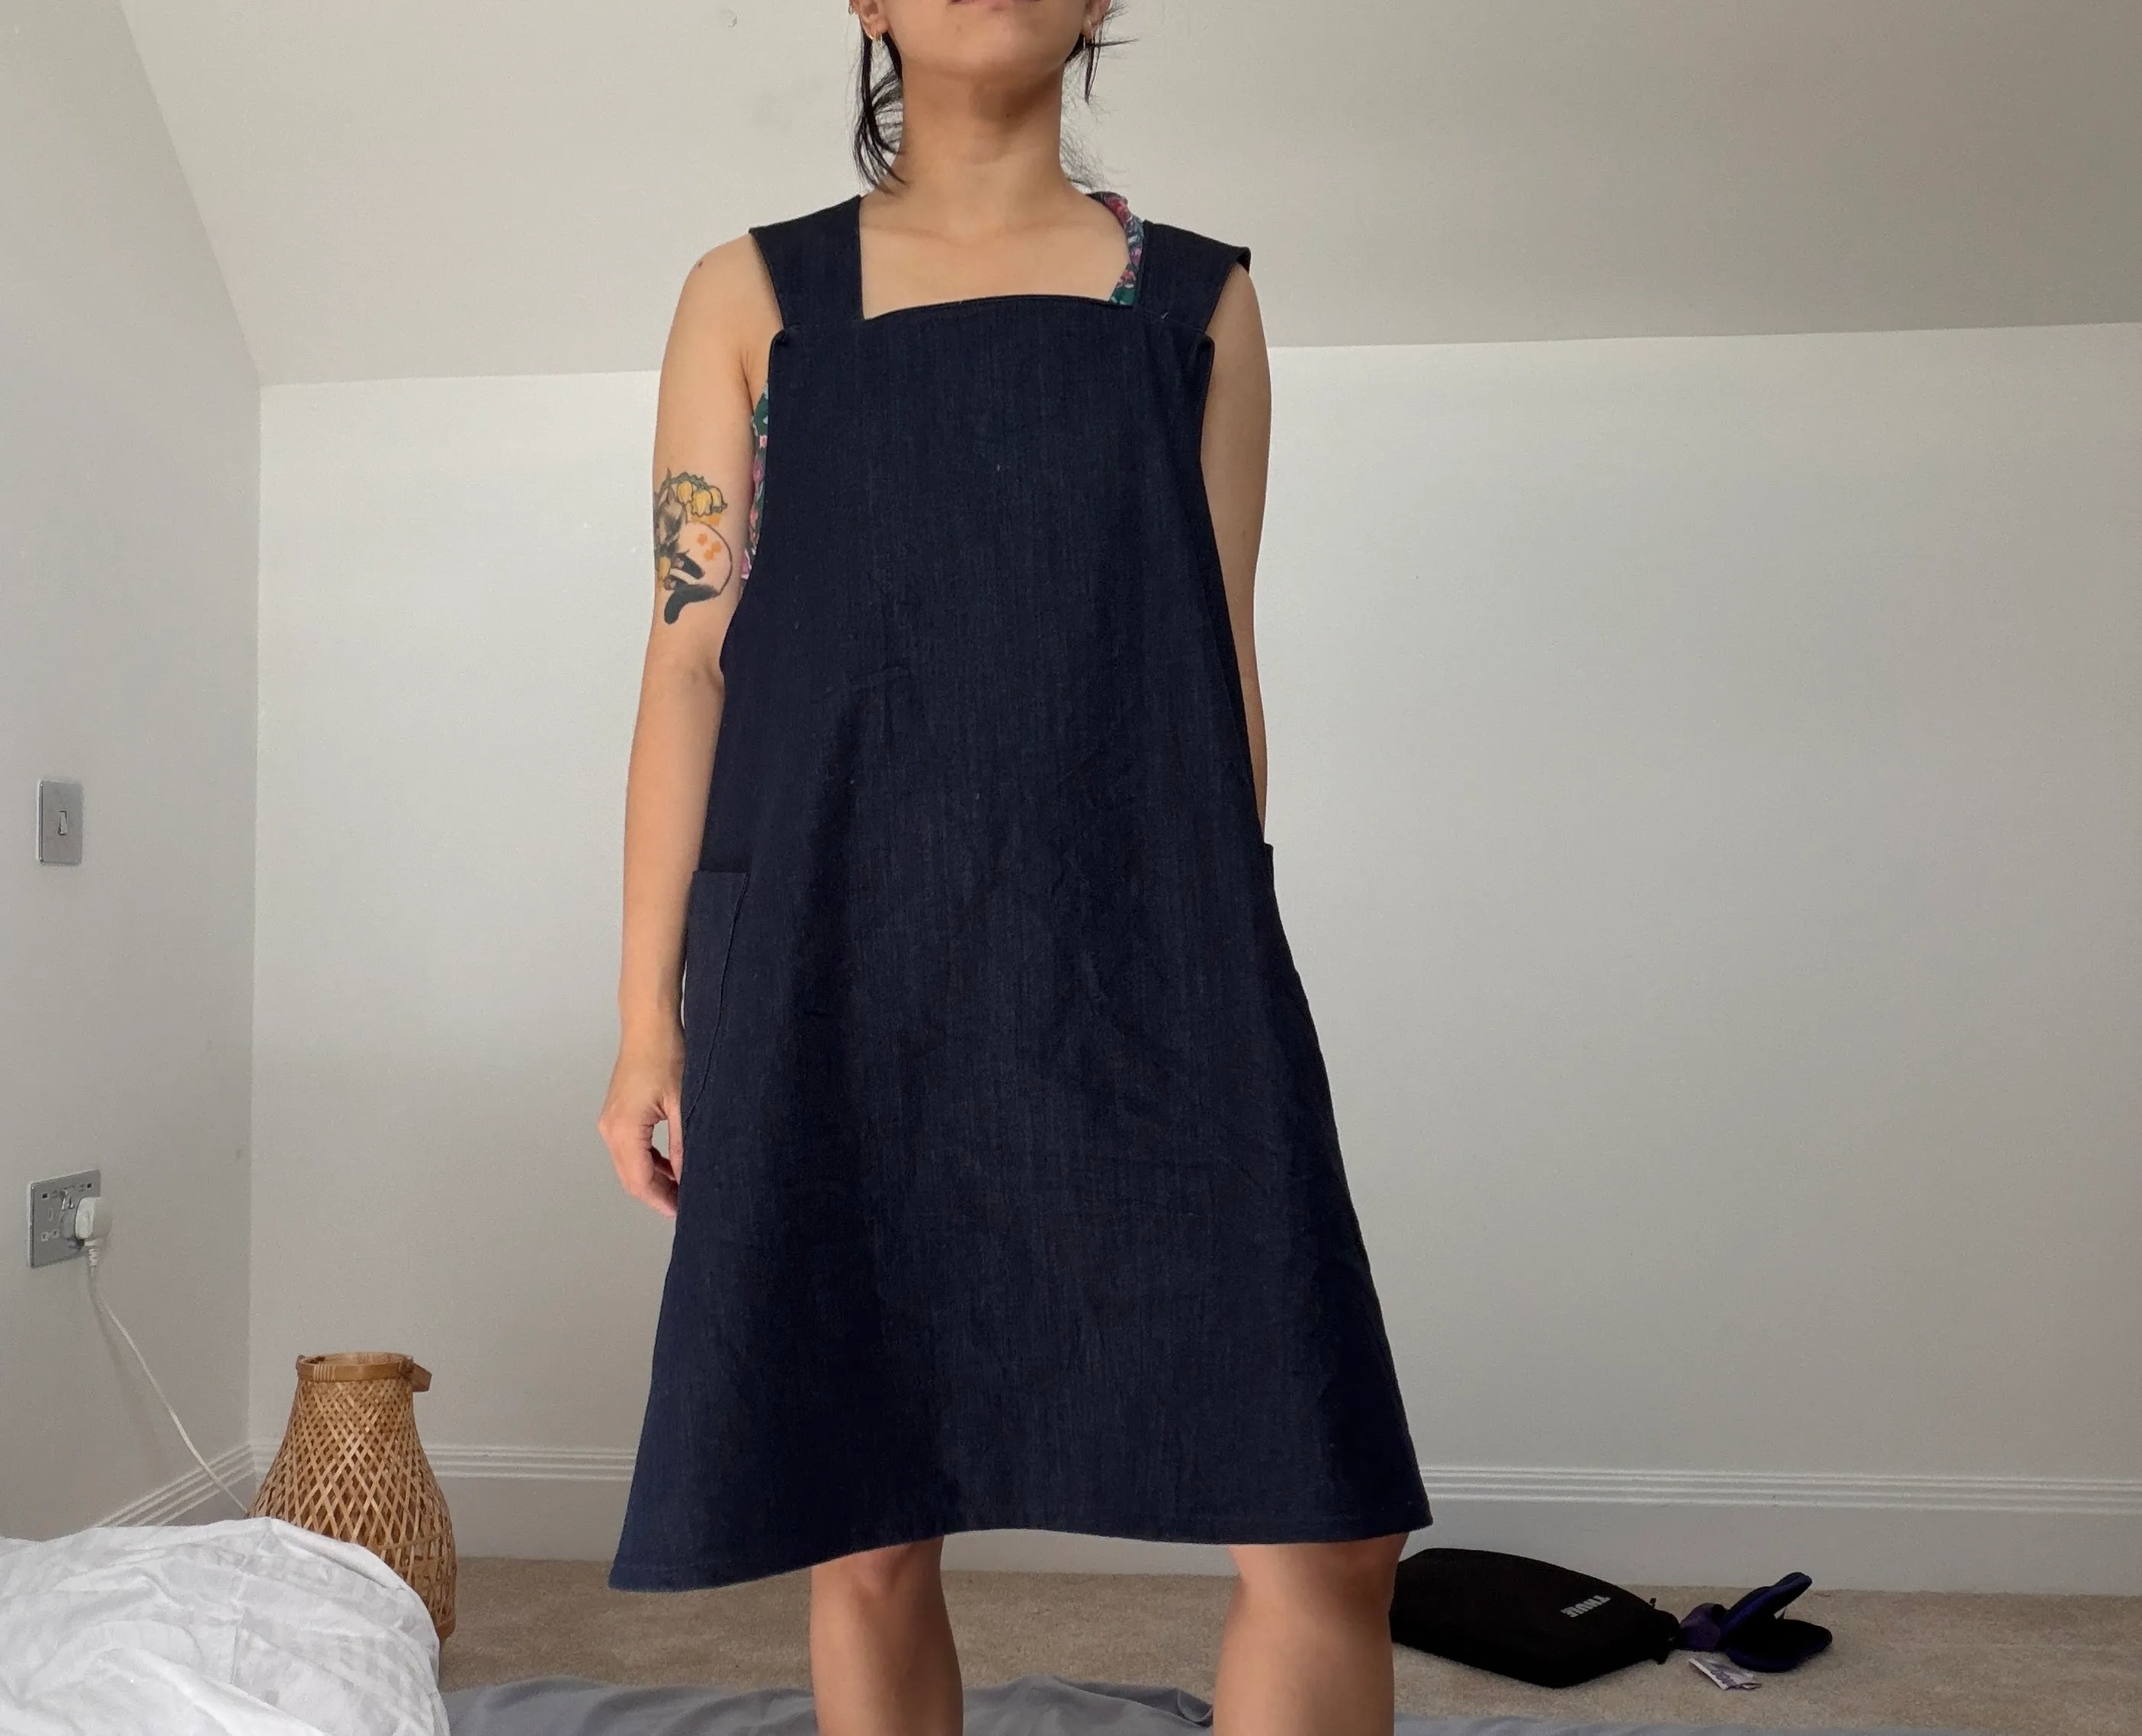
- it’s a great pattern but you need to do a lot of research. the patch pockets are super deep (a wooden spoon is comfortable in them) which I really like.
pockets
- I forgot to mark the pocket notch placements, so I had to place them manually with pins.
- I first thought placing them parallel to the grainline would make the pockets straight, but instead they slanted toward the back when worn.
- so I pinned them while wearing the apron. the grainlines ended up not parallel to each other like I’d expected, but the pockets sat more level to the ground.
curved hem
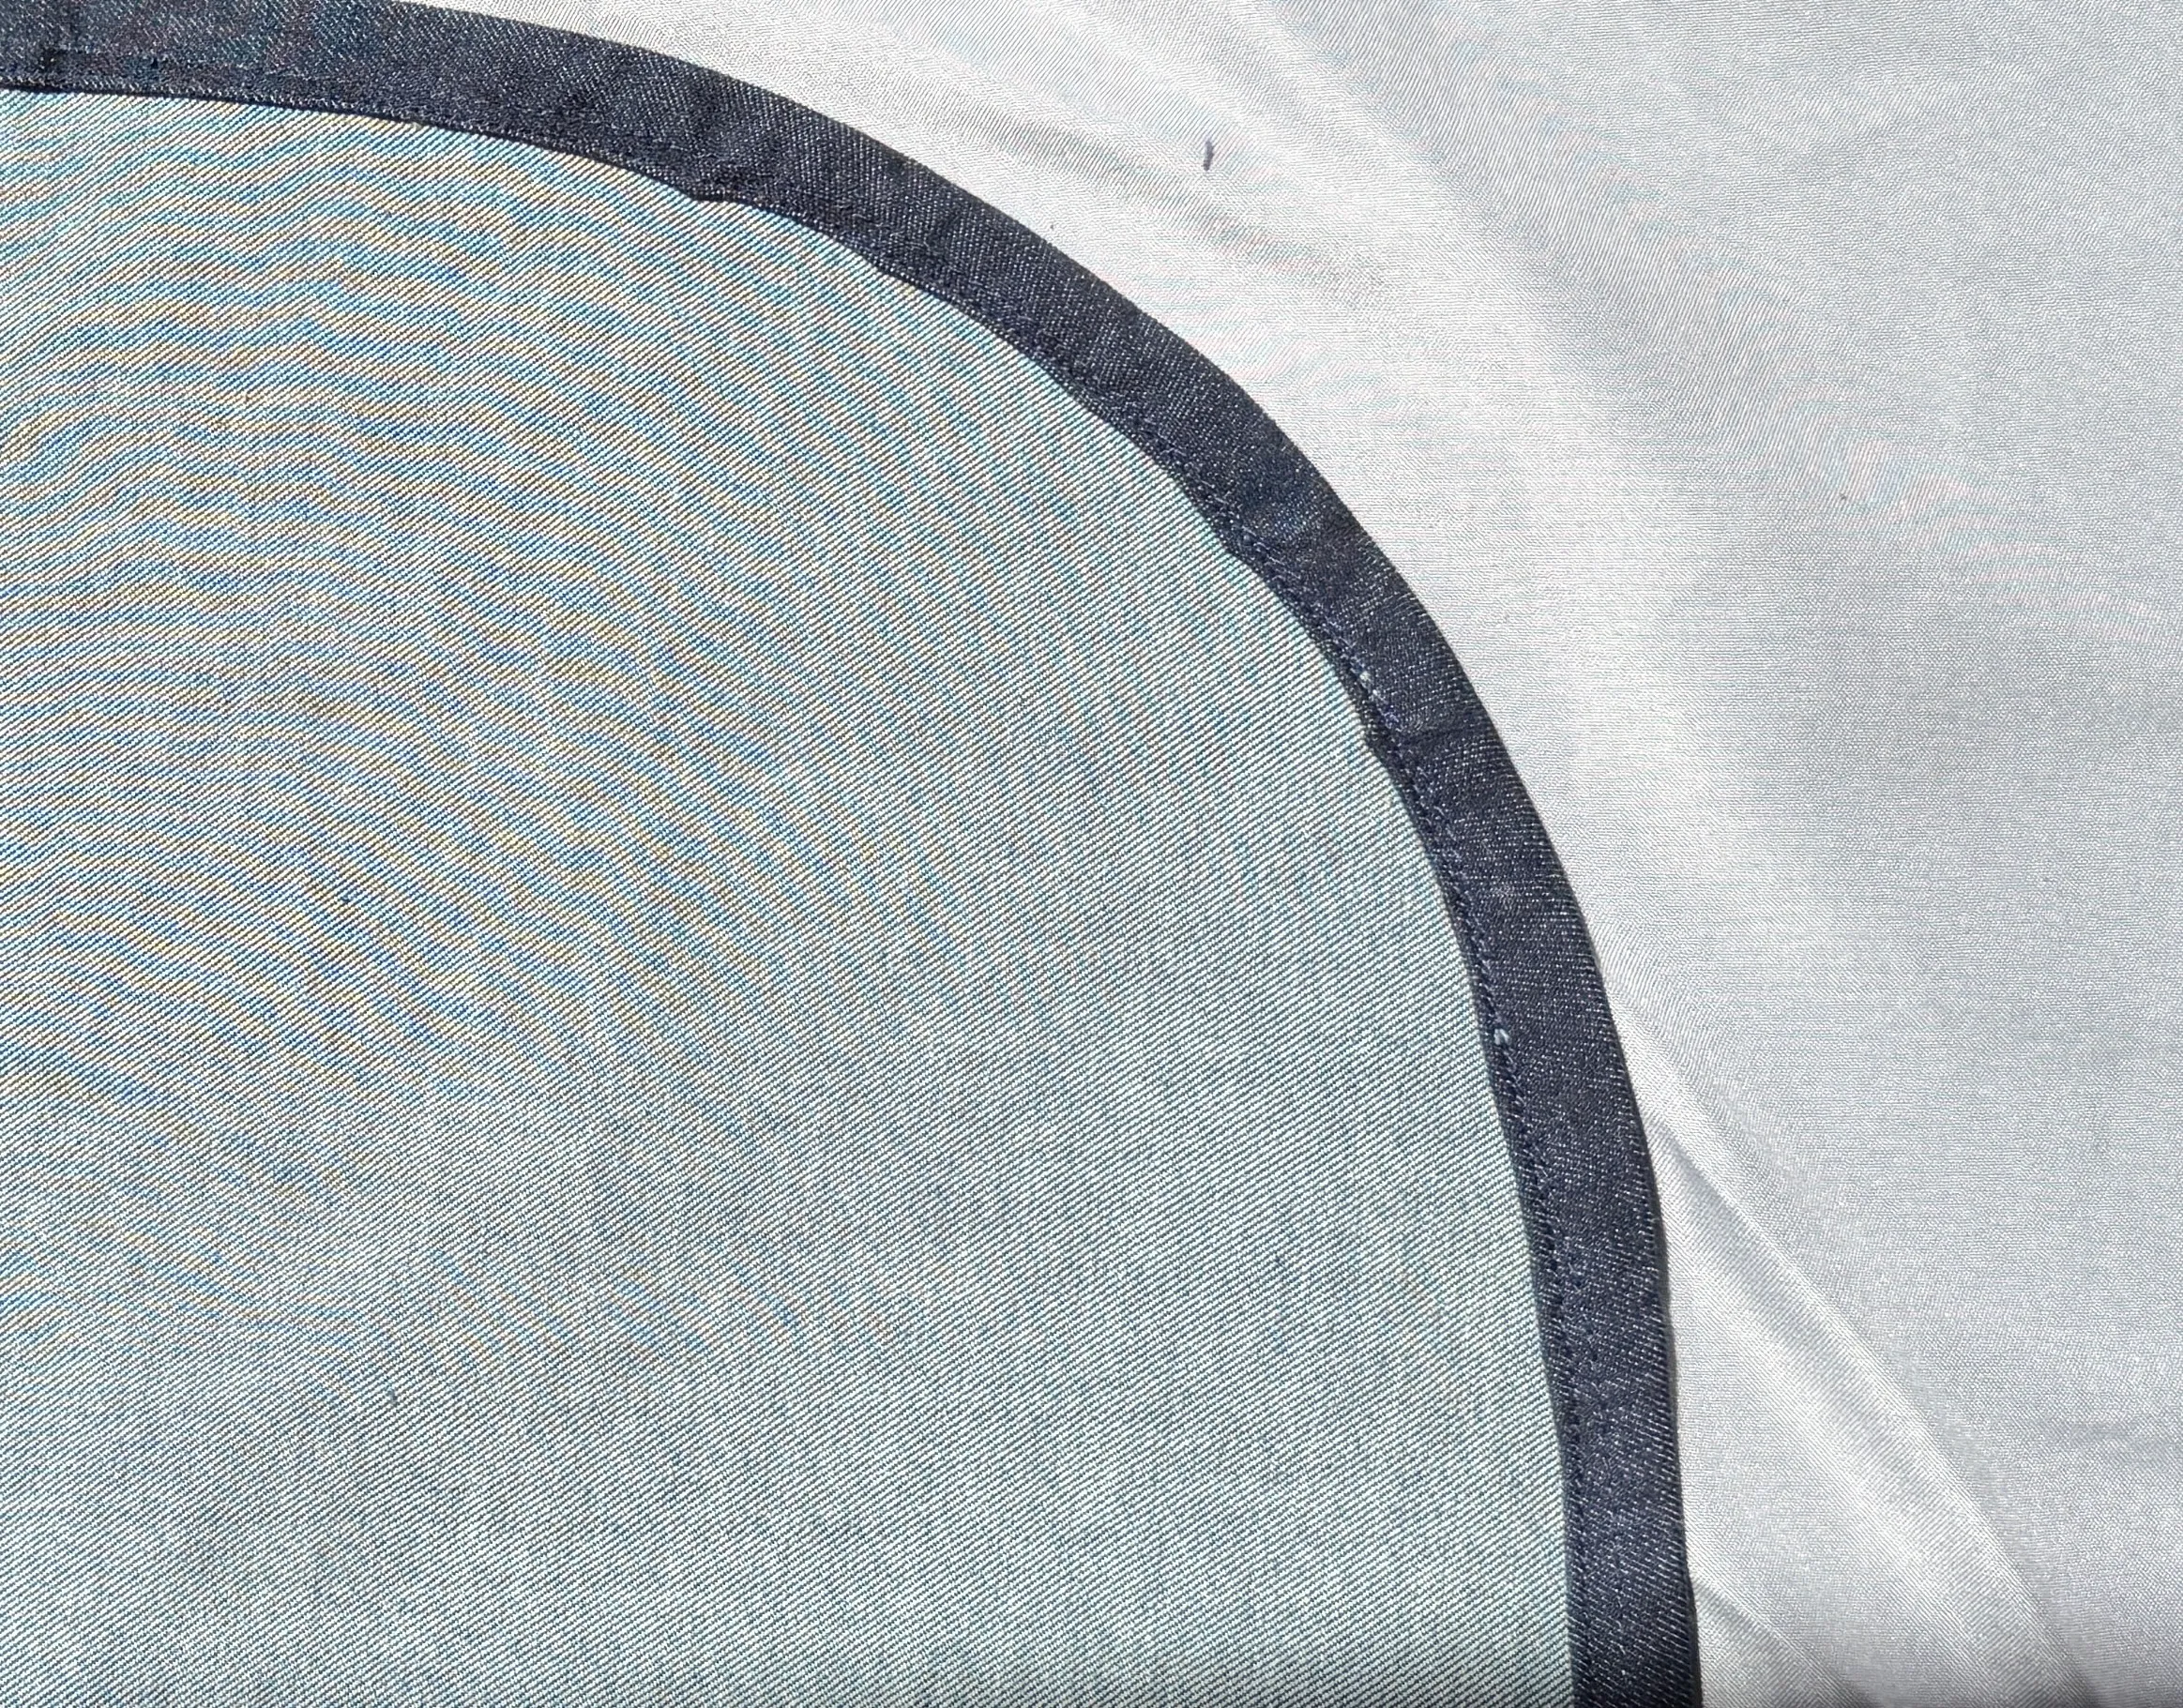
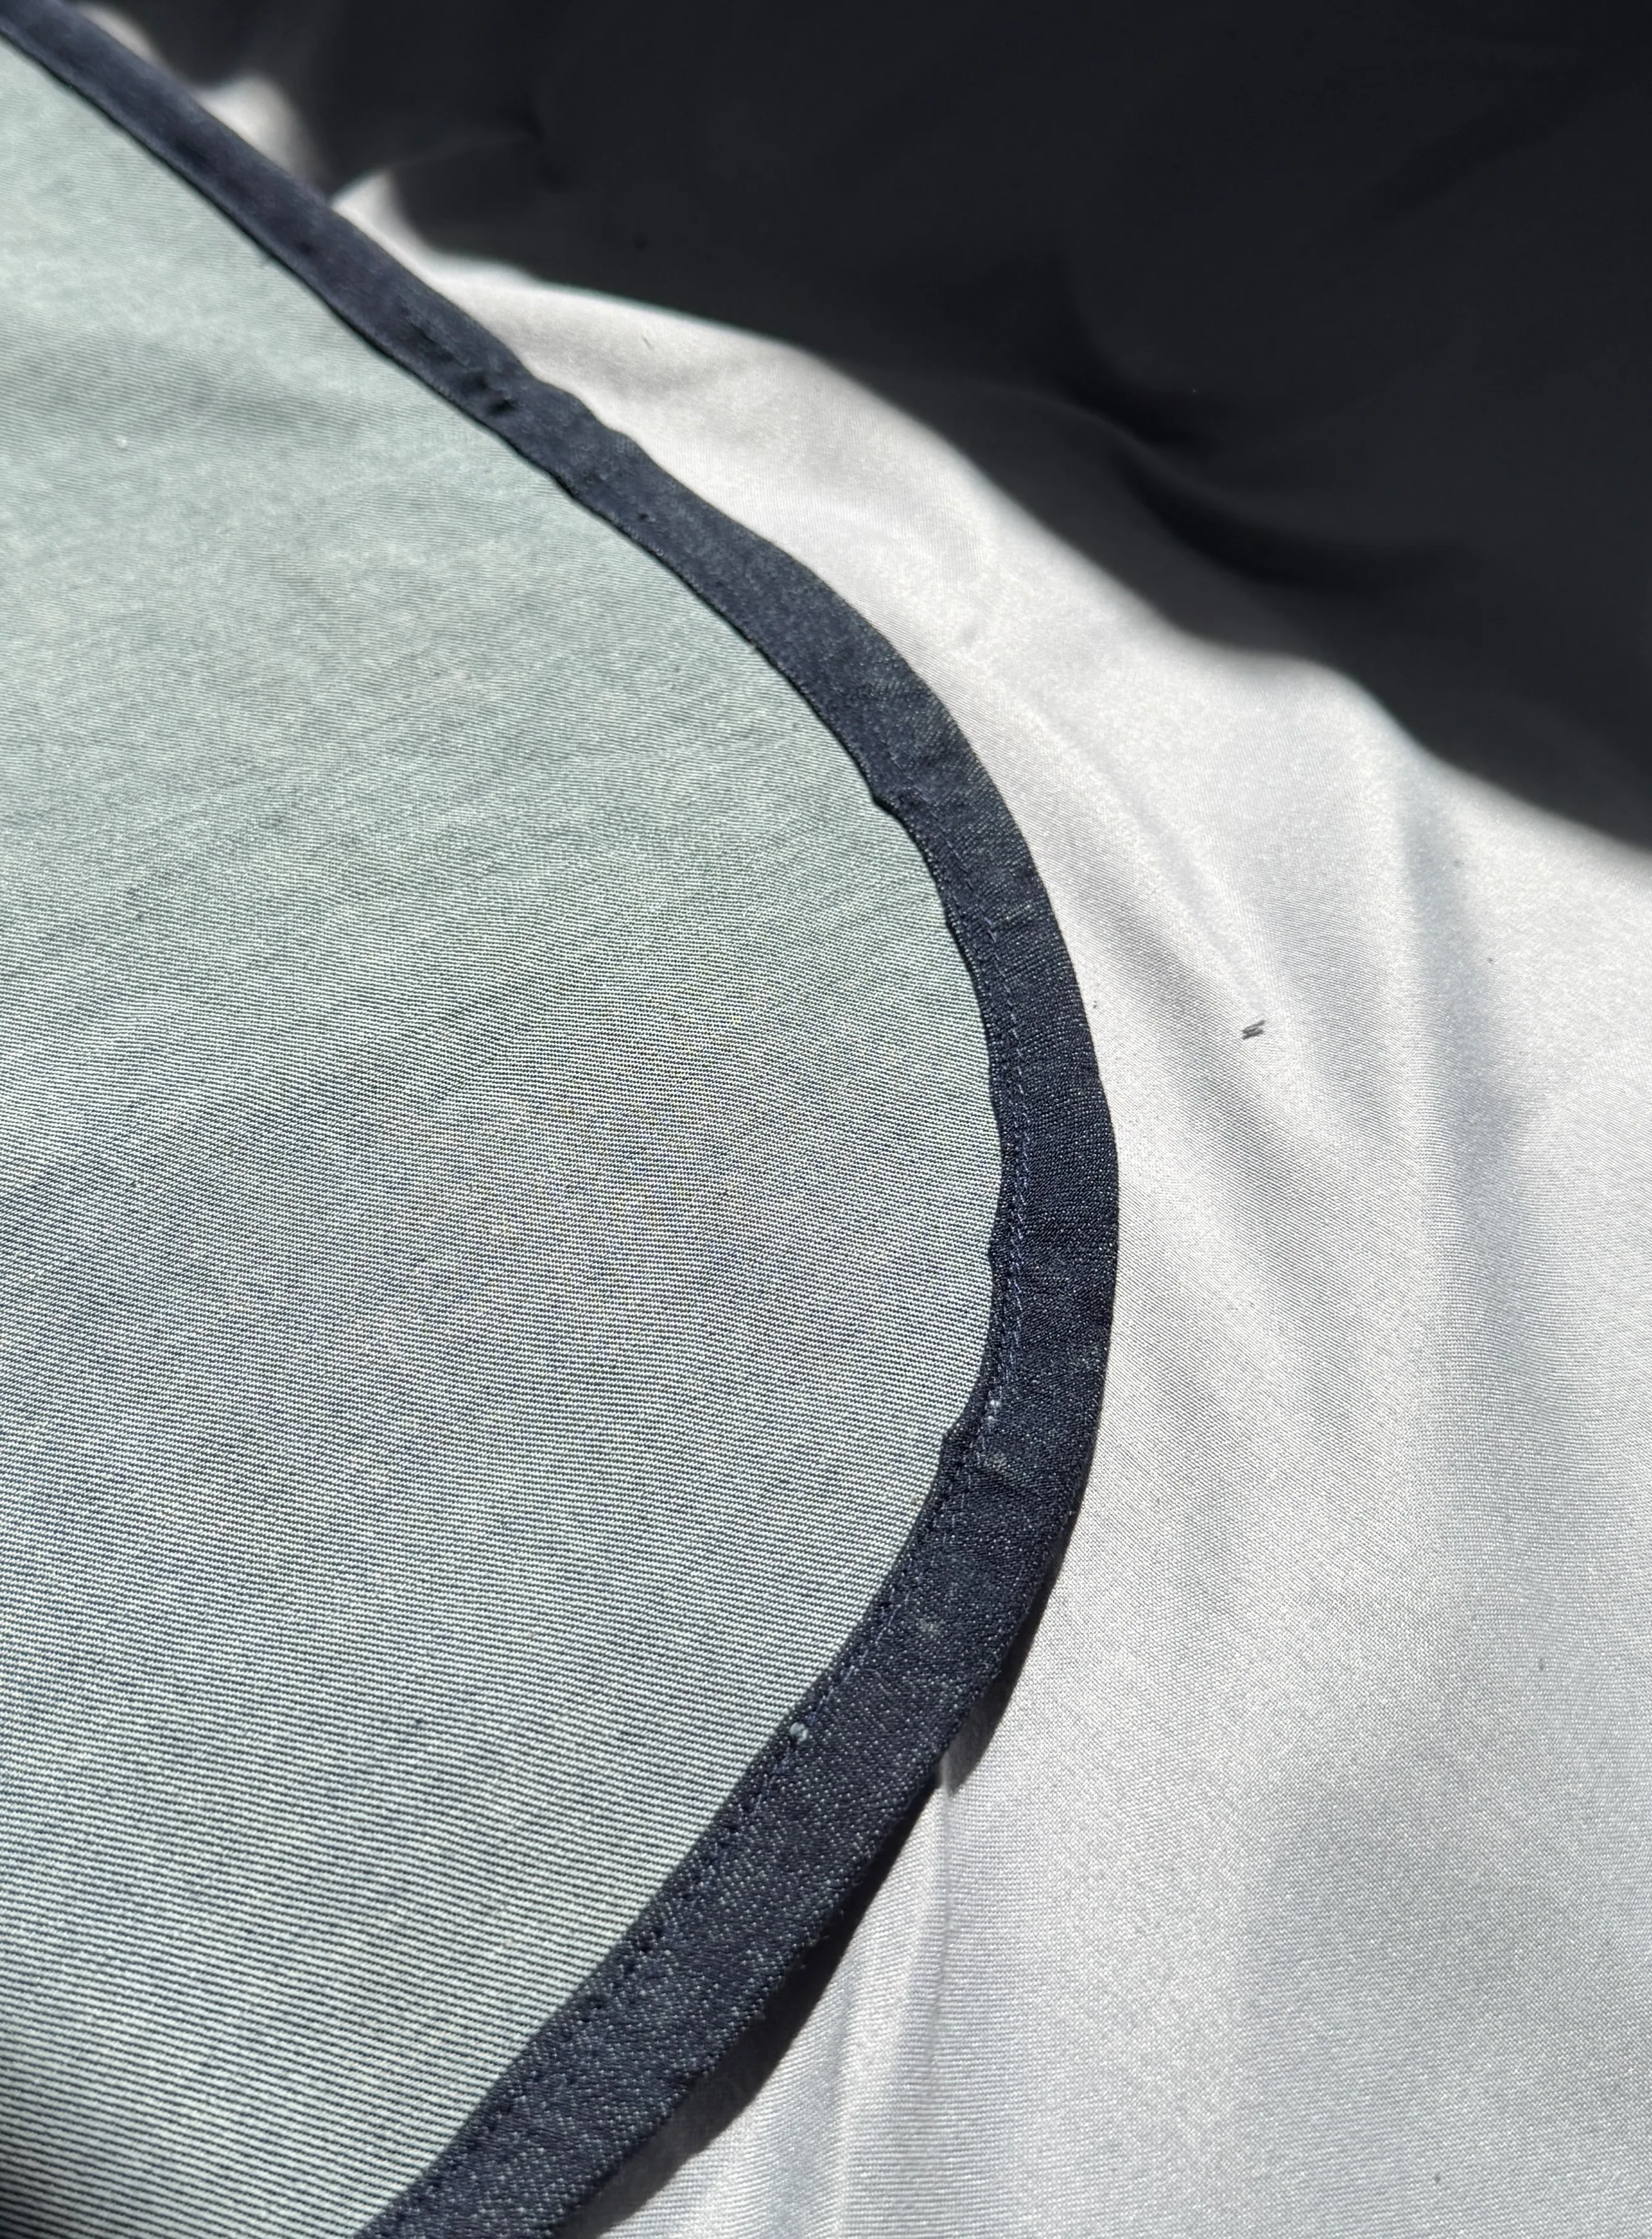
- to sew the curved hem, I first ran a basting stitch along the curves and gathered it.
- once gathered, I pressed it and used the basting stitch line as a guide for the hem.
- I basted in 4 sections so the threads were easier to pull when gathering.
nearby