project finished
A box
A 3D-printed box with interference-fit panels — tight enough to hold sugar without leaking.
Design Prompt
Design a box that is made up of flat panels with fingerjoints/boxjoints, tabs, or another joining method design for sheet material. Your panels and all tabs need to be 3d printed, but you cannot 3D print the box in one piece. Design for an interference fit, that is, when you press the panels together they should join tightly and not need additional fasteners and screws. Furthermore, they should provide a close enough fit that your resulting box can hold something like sugar without leaking.
My 3D printer arrived just in time for this assignment (yay!!!) and I did want to try CNC milling, but instead I decided to focus on my new printer and try and get used to it first. I had it set up and did a few test prints including a sewing gear I printed for a very old brother sewing machine my friend was having repaired. It took me almost the whole day printing that file to make sure everythhing was in order.
Research Design and Iterations of Prints
I did all 3 at the same time which was not ideal.
As usual, I started off thinking that I would complete this quickly (spoiler alert… nope) and decided not to start with tutorials and go straight into printing. Well, I printed at least 10 failed interlocking prints that did not fulfill the sugar requirement in the slightest.
Attempts without tutorials
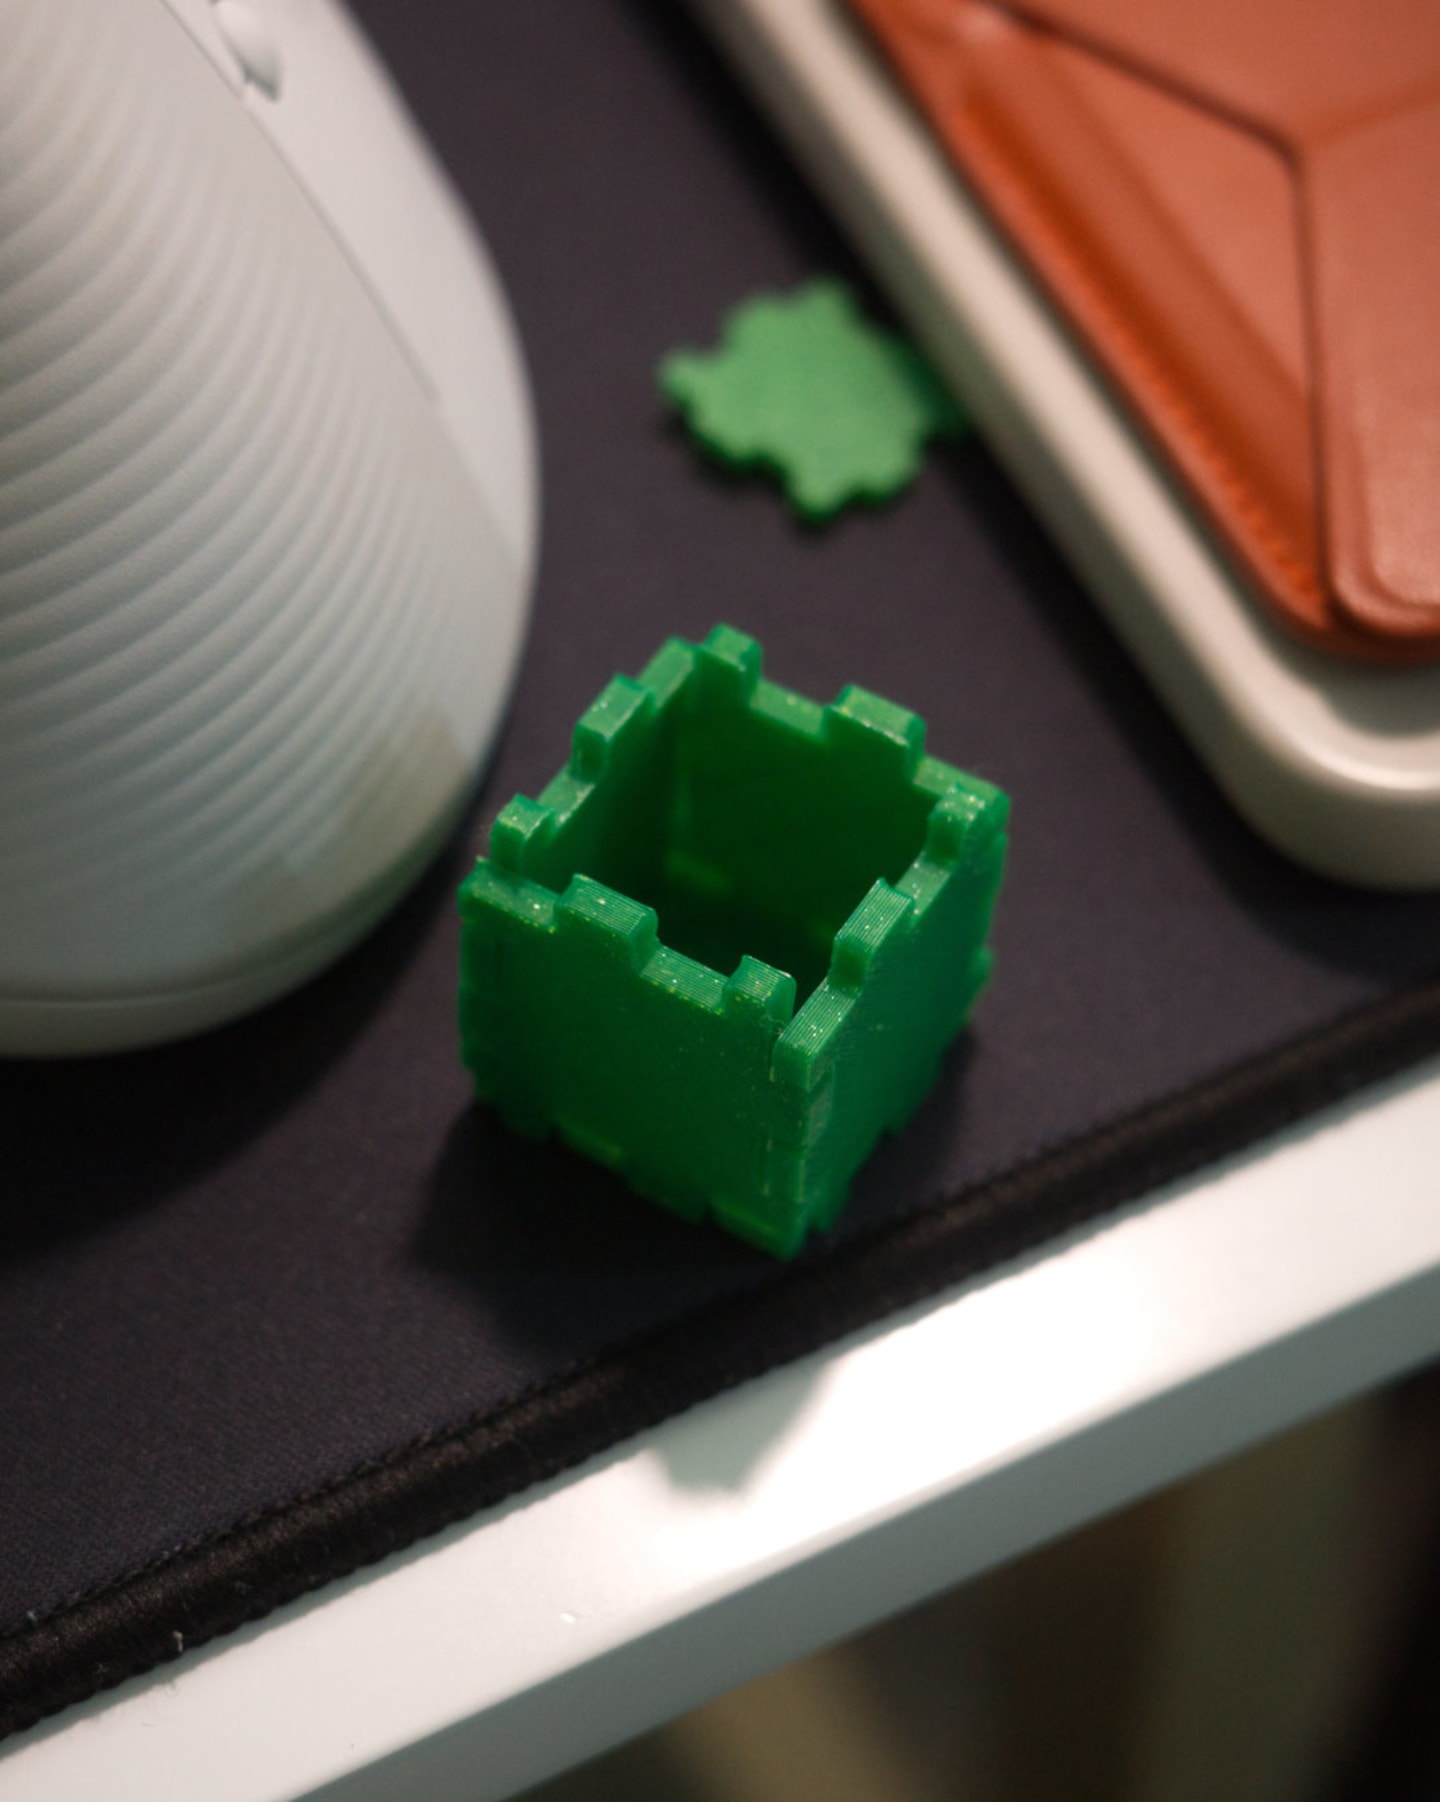
I couldn’t get the interference fit and the panels didn’t join tightly enough to even block out a bit of light. They were obviously not going to be able to hold sugar unless it was a sugar cube or really old brown sugar.
Tutorials

I printed out the box that I followed the tutorial to, and I was excited it actually printed, except it was a totally solid box. It finally worked, but I had to adapt it to a shape that could hold sugar. I tried multiple ideas and iterations - thicker wall, thinner wall, etc. My original solid dovetail had a very snug fit (it wasn’t possible to remove them), but it didn’t seem to translate when I tried putting them on a different position.
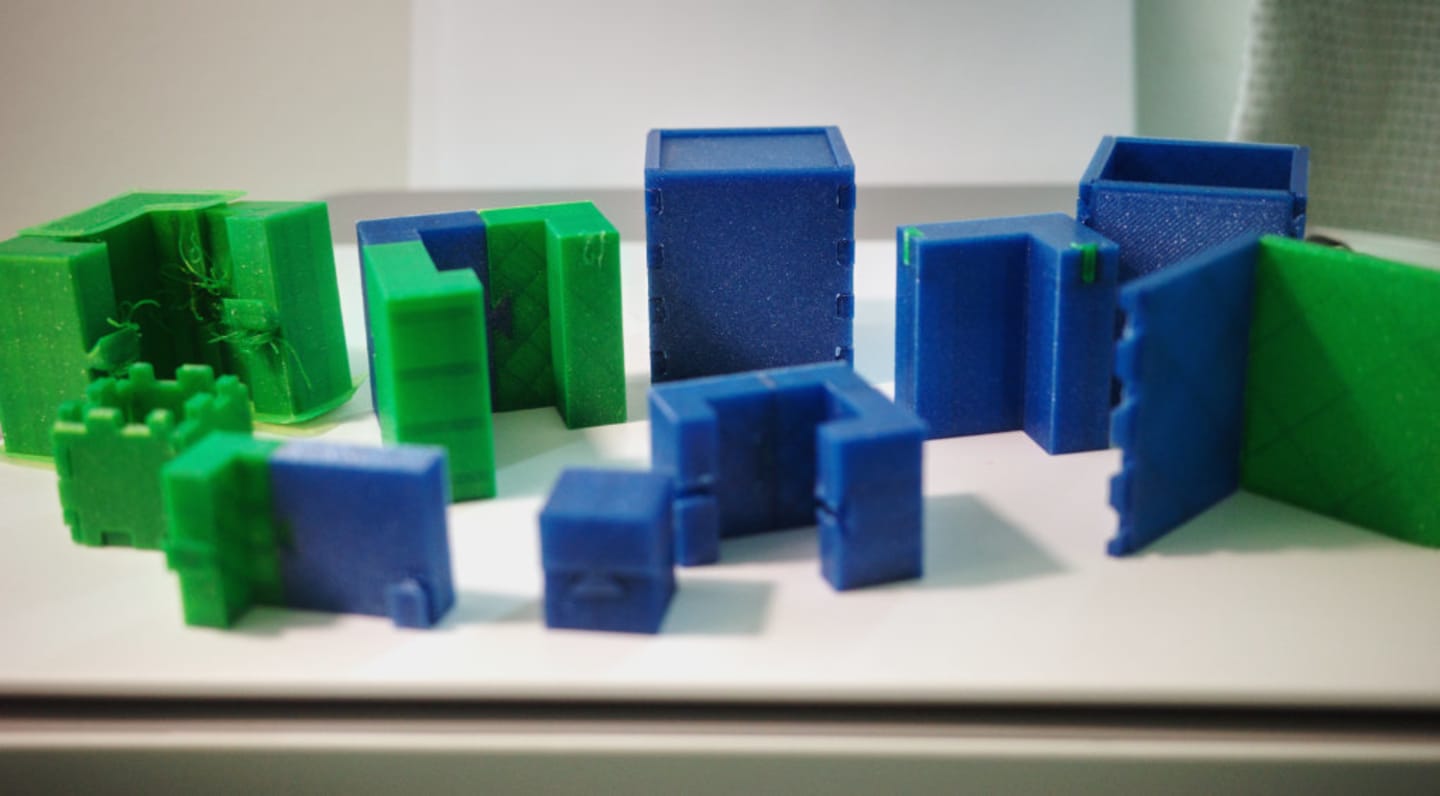
Here’s a photo of all my fail prints:
Multiple prints later, finally:
Final Design

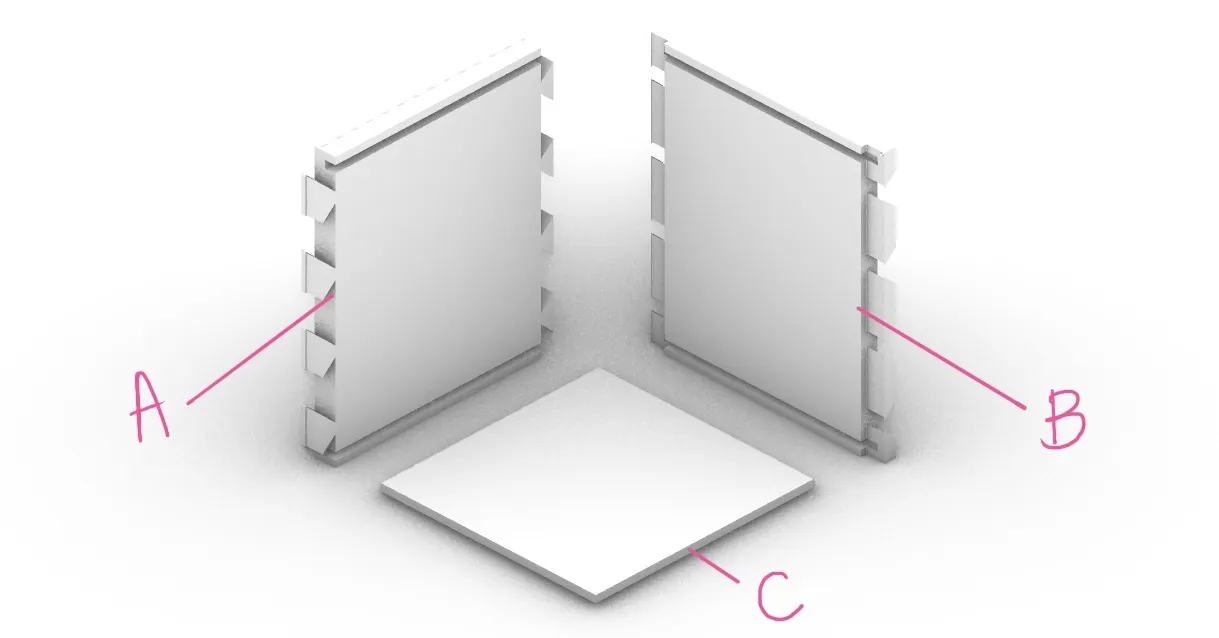
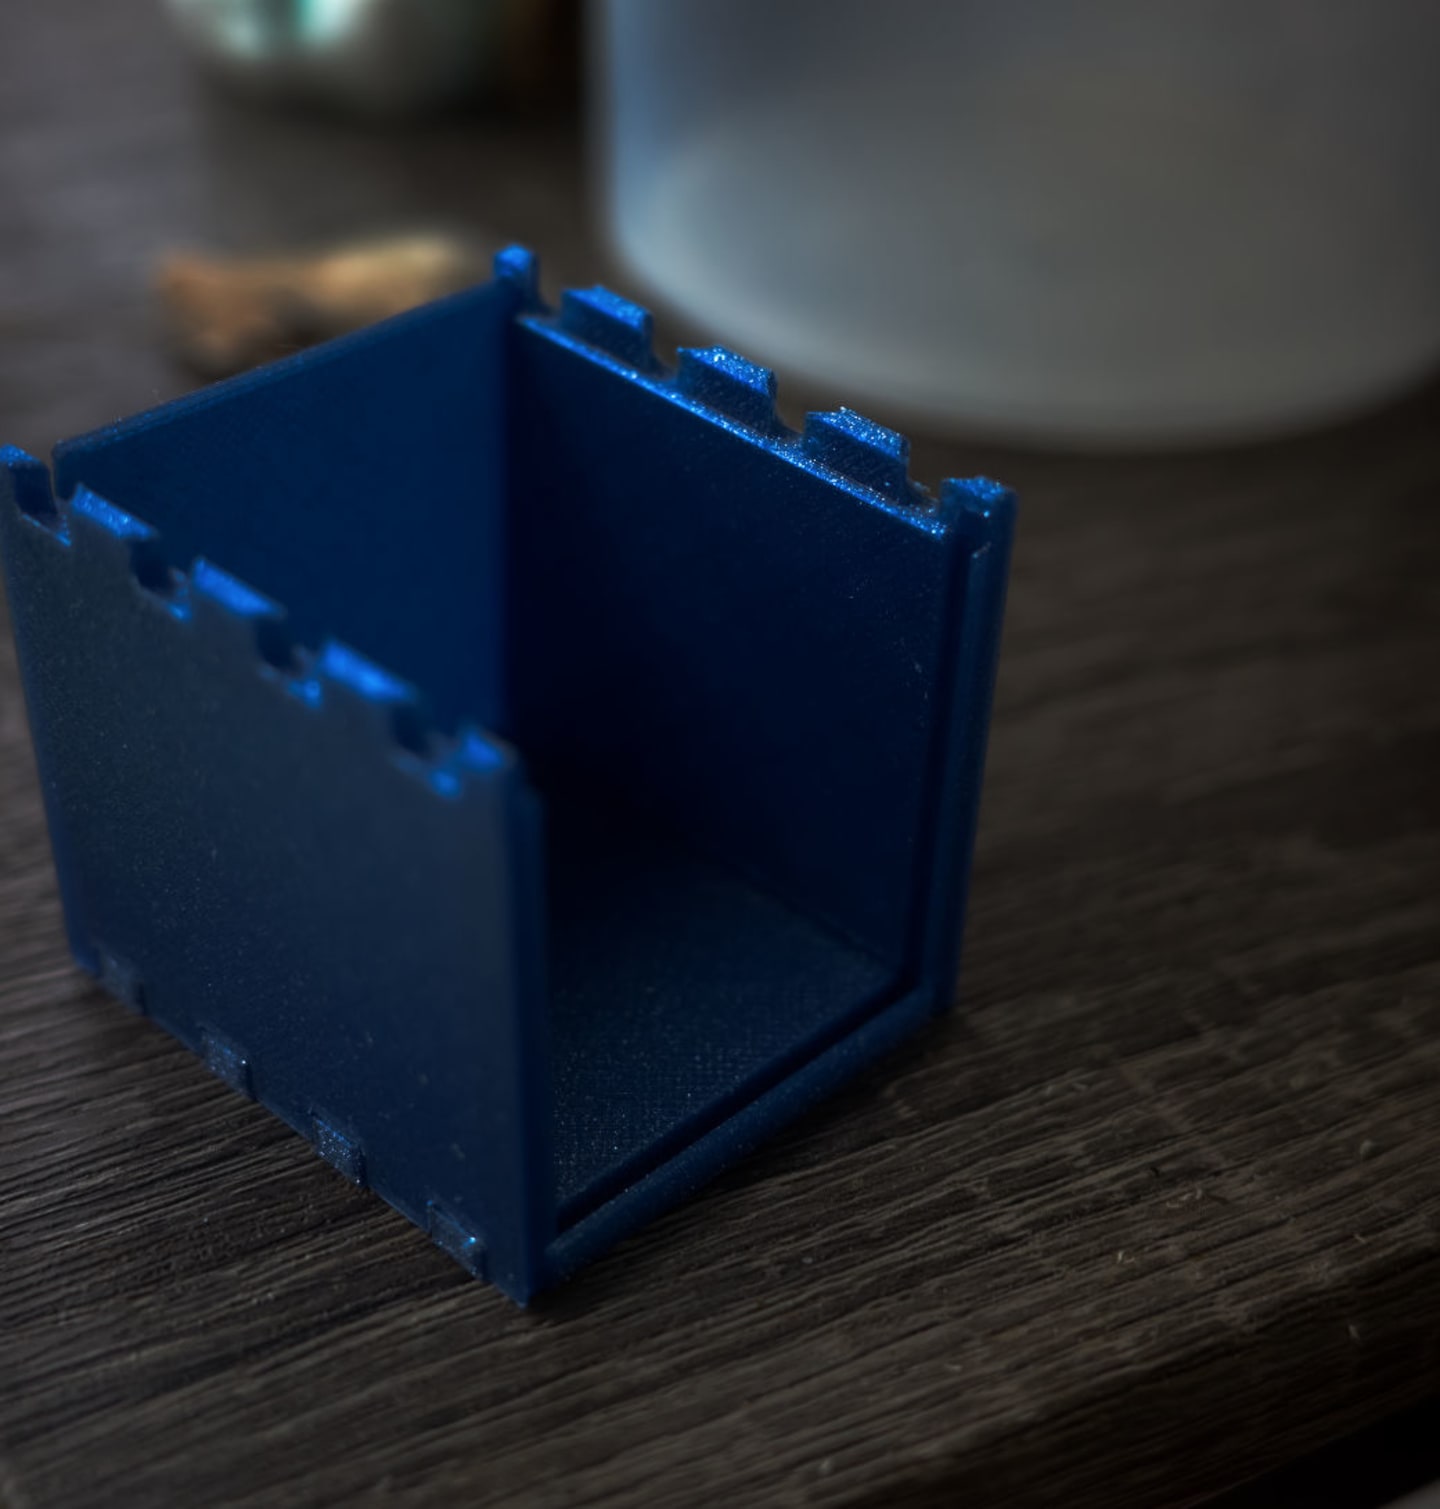
The cube has 3 sides - a, b, c (as seen in the photo below). These sides have different designs in order for them to interlock. One of the things I learned from many of my fails is that if I want them to slot together, they need to have some sort of stopper. Cardboard was much easier to get away with printing something too thin, unlike 3d printing where things have to be more exact.
Designing a snug fit
The tutorial of the solid single dovetail was useful in teaching me about tolerances. The two parts have a 0.5mm tolerance, but to get them to fit snug you can have a small extrusion on the capping edge that is the original size (-0.5mm) in order to keeep them together.
I attempted to sketch it out here:
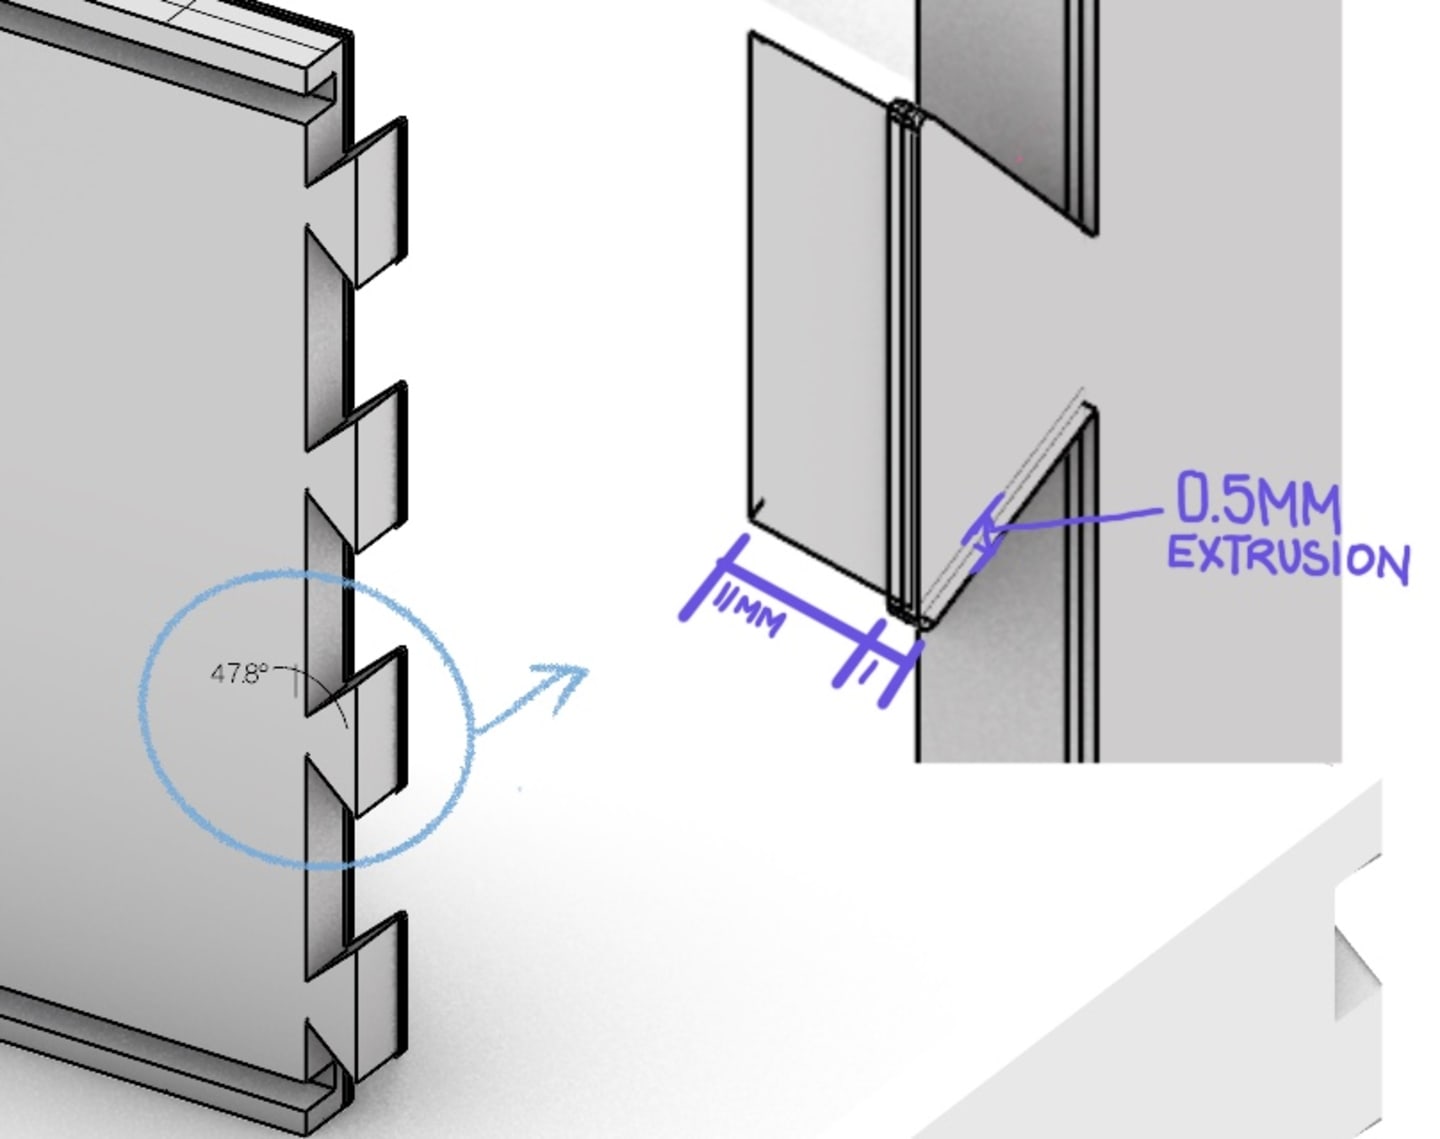
After applying this change, my first two sided print fit great together. I did another two test prints to compare boxes with the extrusion and without the extra extrusion, and the box with the extra extrusion really did result into a tighter fit.
After this, I grouped the box together, created side C panel that would be slid in. I grouped side A and B (4 sides), mirrored C panel to top and bottom, then did a boolean difference to cut both. The first panel I printed that was 0.2mm smaller than the cutting object was too loose, so I made it bigger by 0.1mm.
Final design
This is what it looked like almost fully assempled!
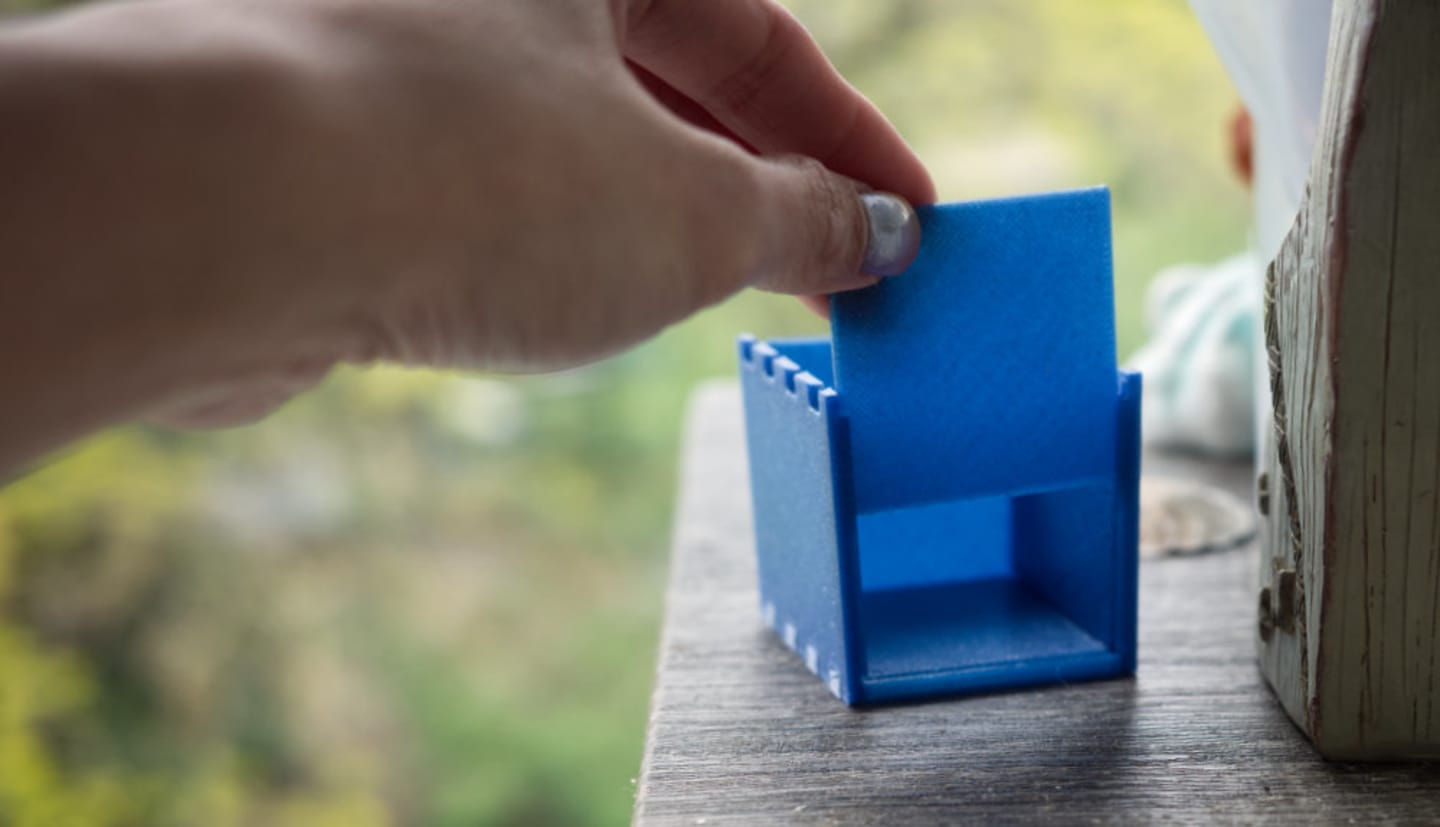
I’m pretty happy with the turnout of my iterations - it has a satisfying click when assembling together and it looks really clean and sleek.