project finished
Molding and casting
Making a silicone mold from a 3D print, then casting a rubber duck — and learning the difference between a mold and a mold of a mold the hard way.
Requirements
- Mold for a mold
Design
It never goes as planned
More time than necessary was spent on finding a cute stl file on the free 3d printing platforms and ended up with this rubber duckie that was optimized for casting. I found a good tutorial on fusion 360 which was 100x more straightforward than Rhino that I was able to do in a shorter amount of time.
Draft analysis: I was able to test how my mold might fill through this feature in fusion 360. At first, my pouring hole was too deep, and I was able to notice / fix it through this function.
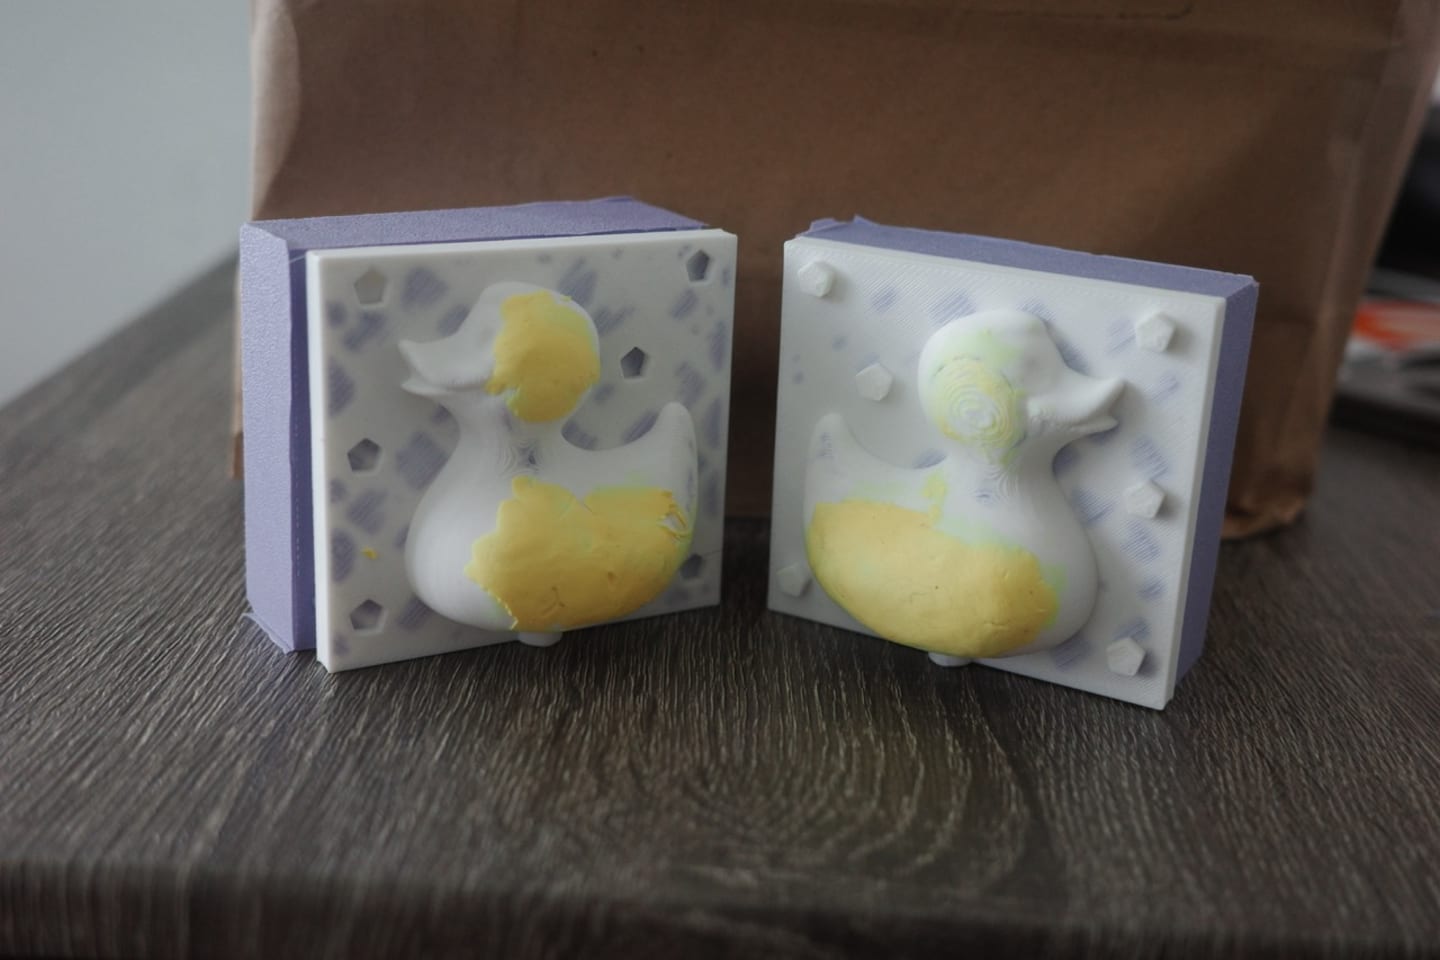
Unfortunately, the tutorial was for a mold, not a mold of a mold… and I had only realized by the time I was curing the silicone. I ended up not watching any more tutorials and just split the bodies the way I thought they might need to be split.
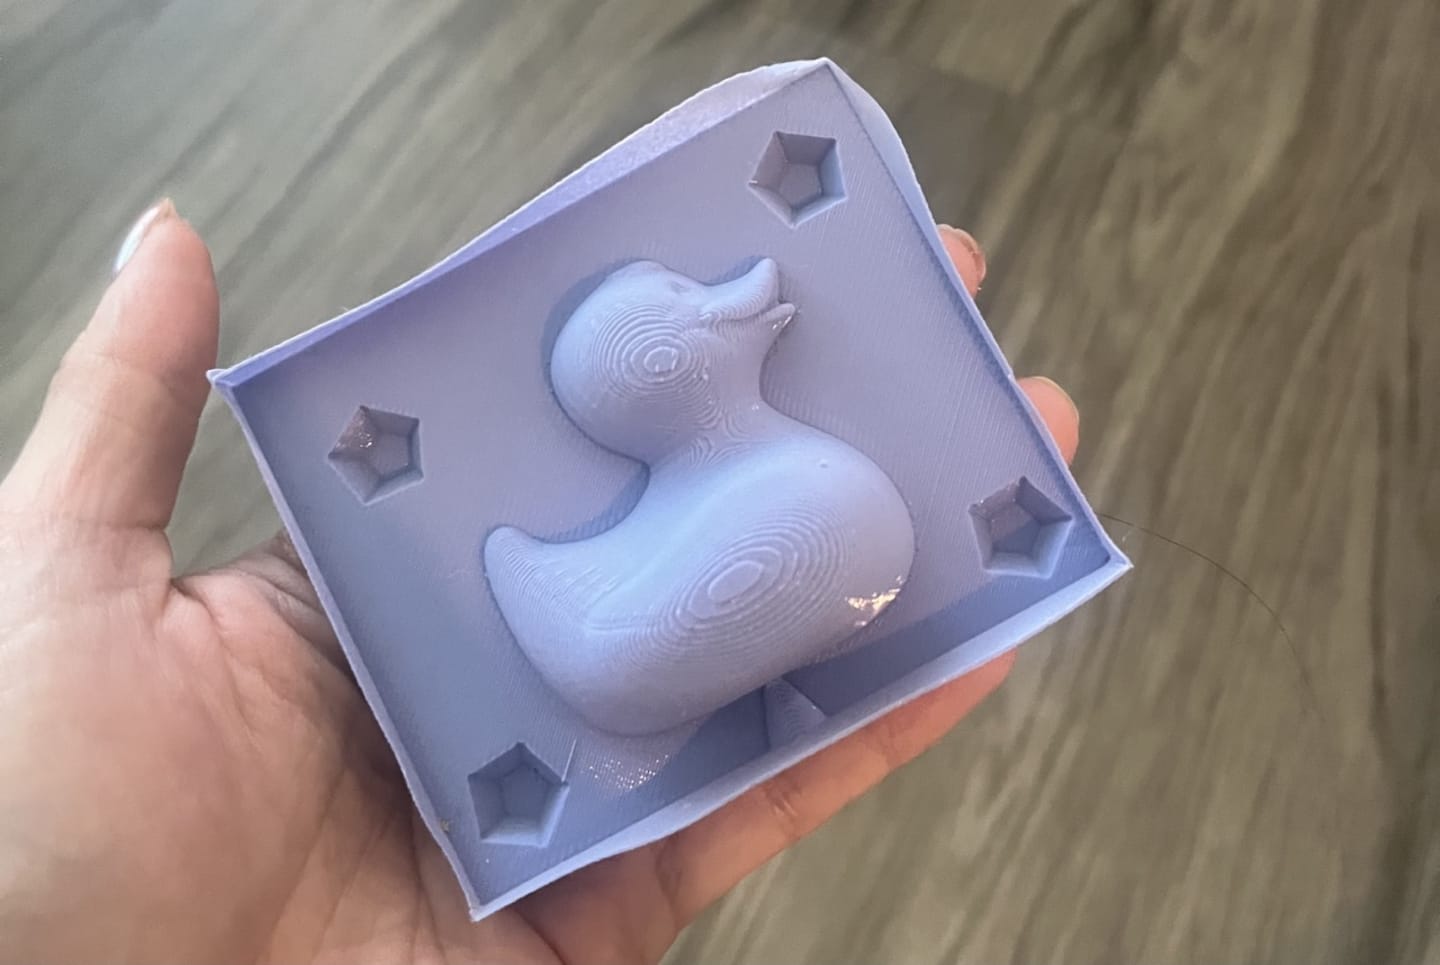
First mold
RIP duckie

Oops… printed a mold instead of a mold of molds.
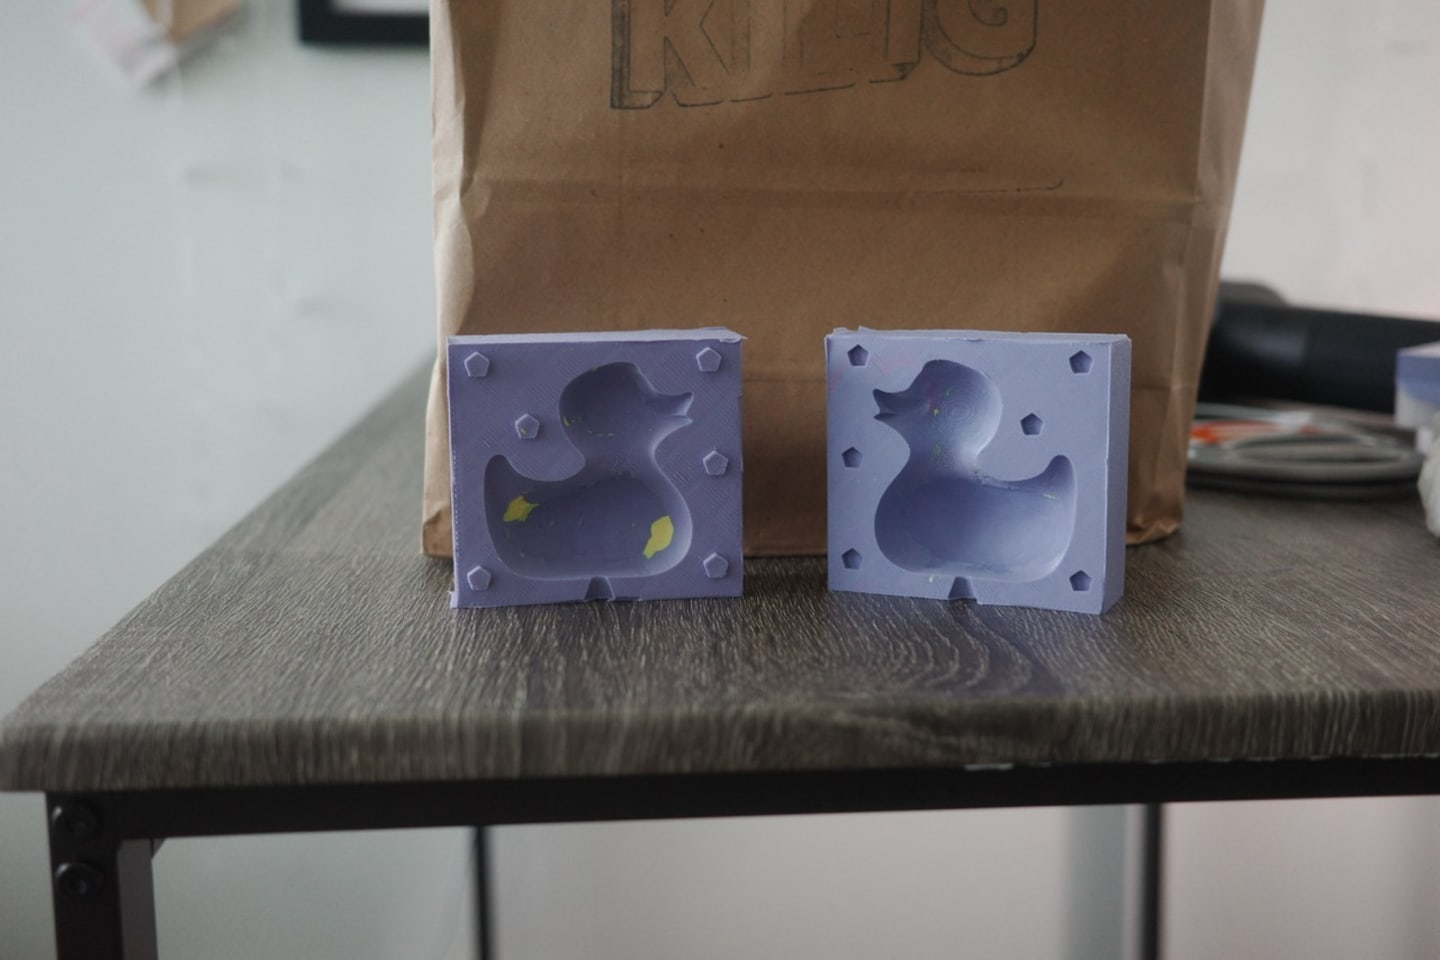
Second mold
Tools
Mold came out nice! I decided to print a box for casting based on Mold Box by Classic 2.5 where I changed the scale in the slicer to fit my mold box.
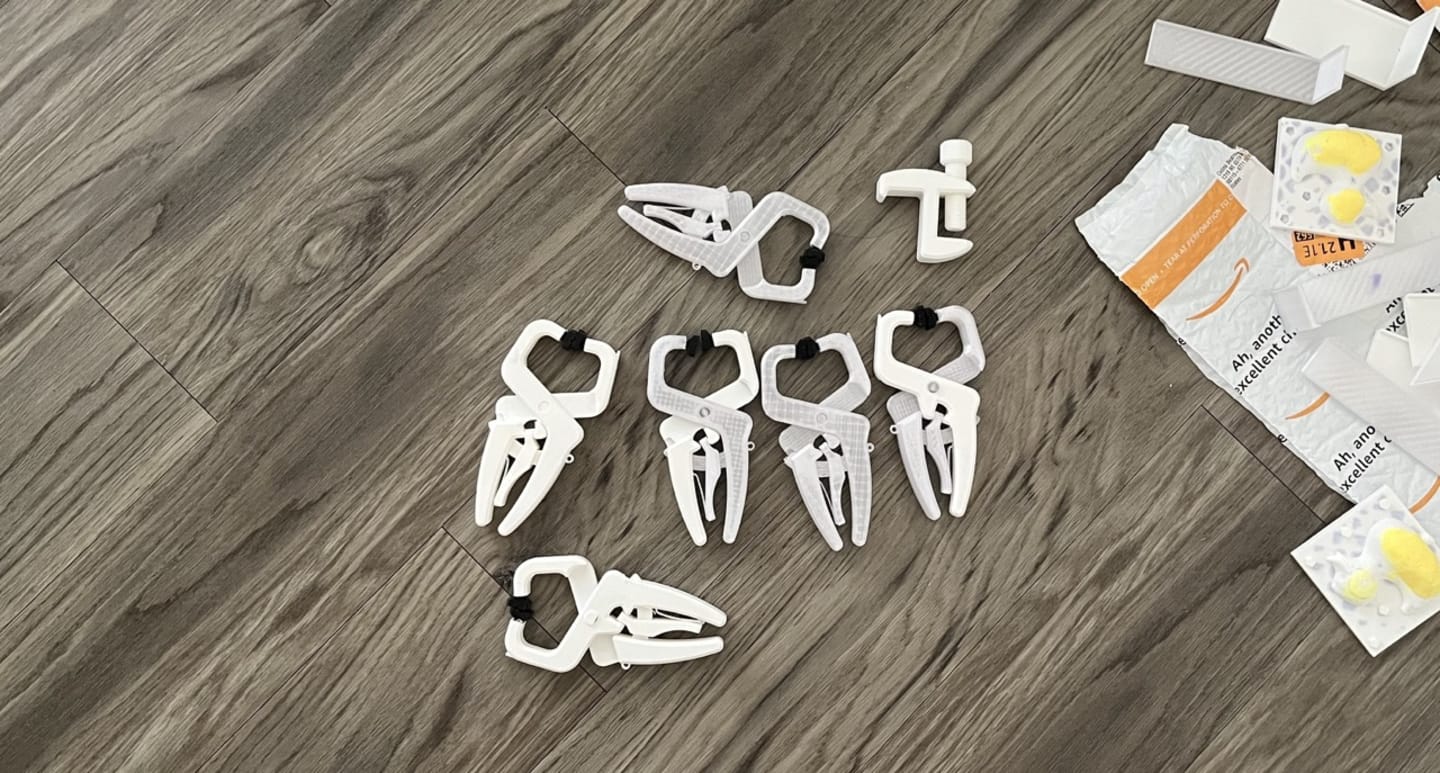
I also printed these very functional handi clamps to hold everything together. The body was printed in PETG and the top attachments from TPU. (To be honest, I probably spent more time printing these clamps vs. my mold, but it was fun and useful)
Casting
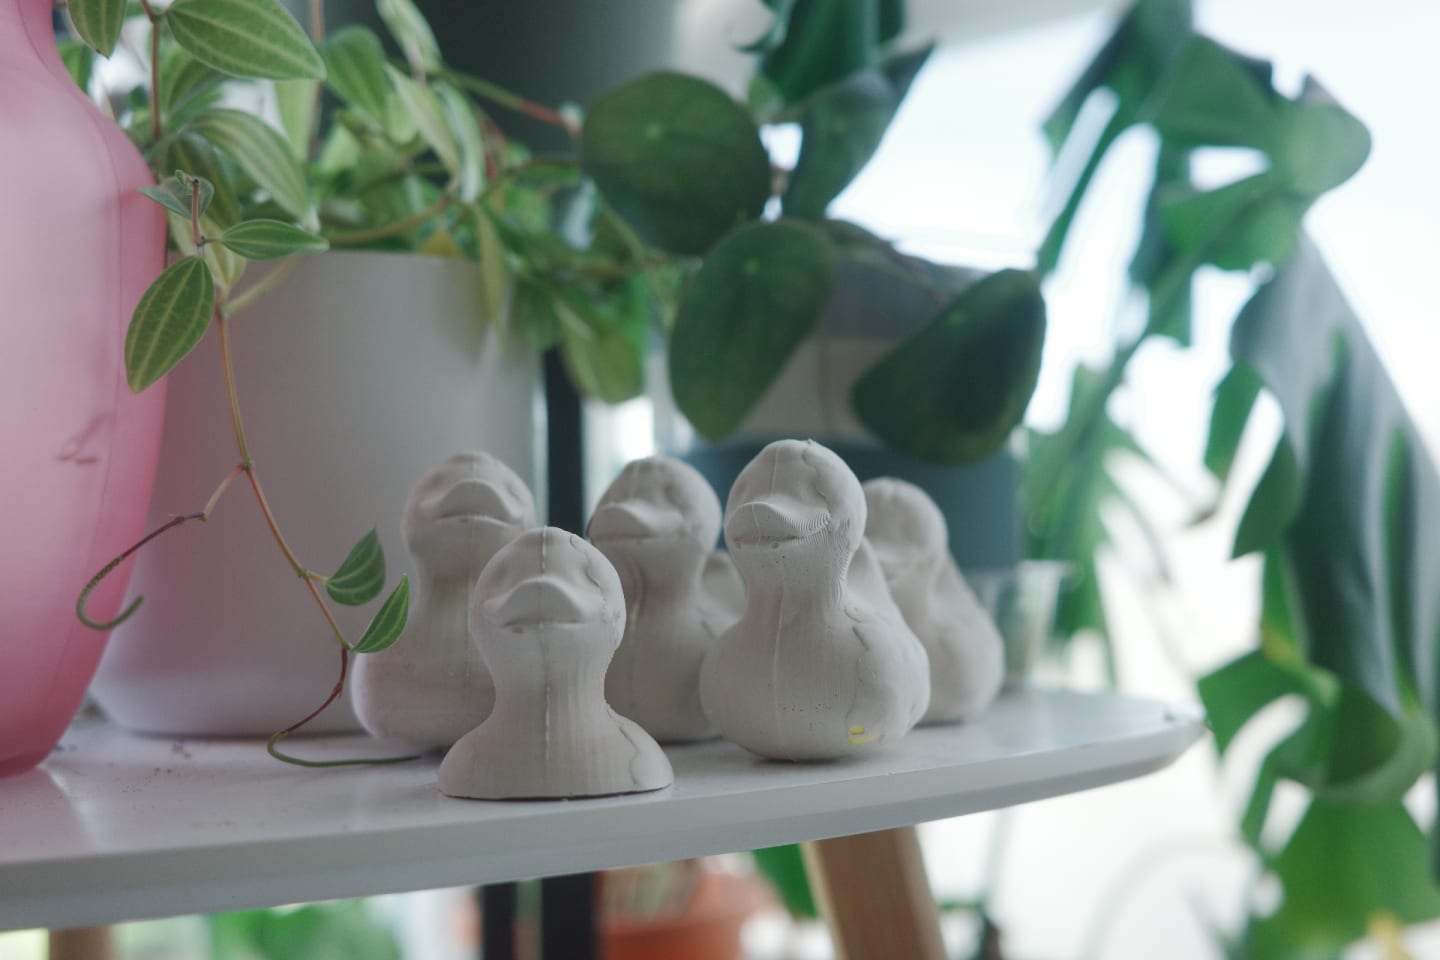
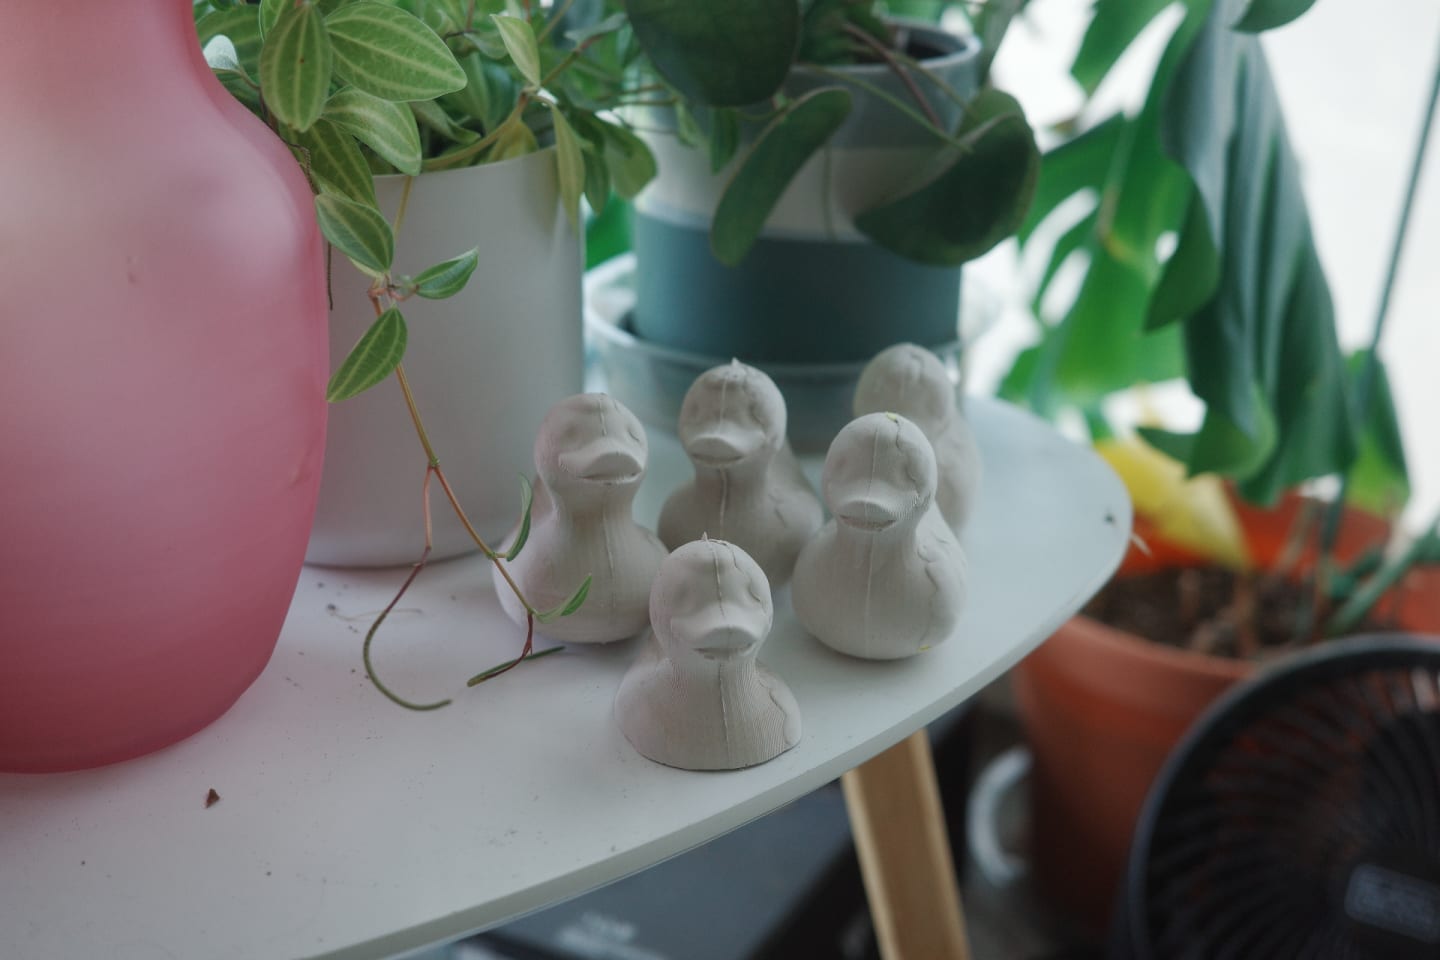
Messier than expected. The clamps came in really handy. The duck I printed, I forgot to change the infill from 2% so it did end up having some holes in the mold. I didn’t have time to reprint so I used leftover clay to fill the hole (which is why it looks uneven). No regrets! I guess casting really perfectly gets every mistake.


Final design