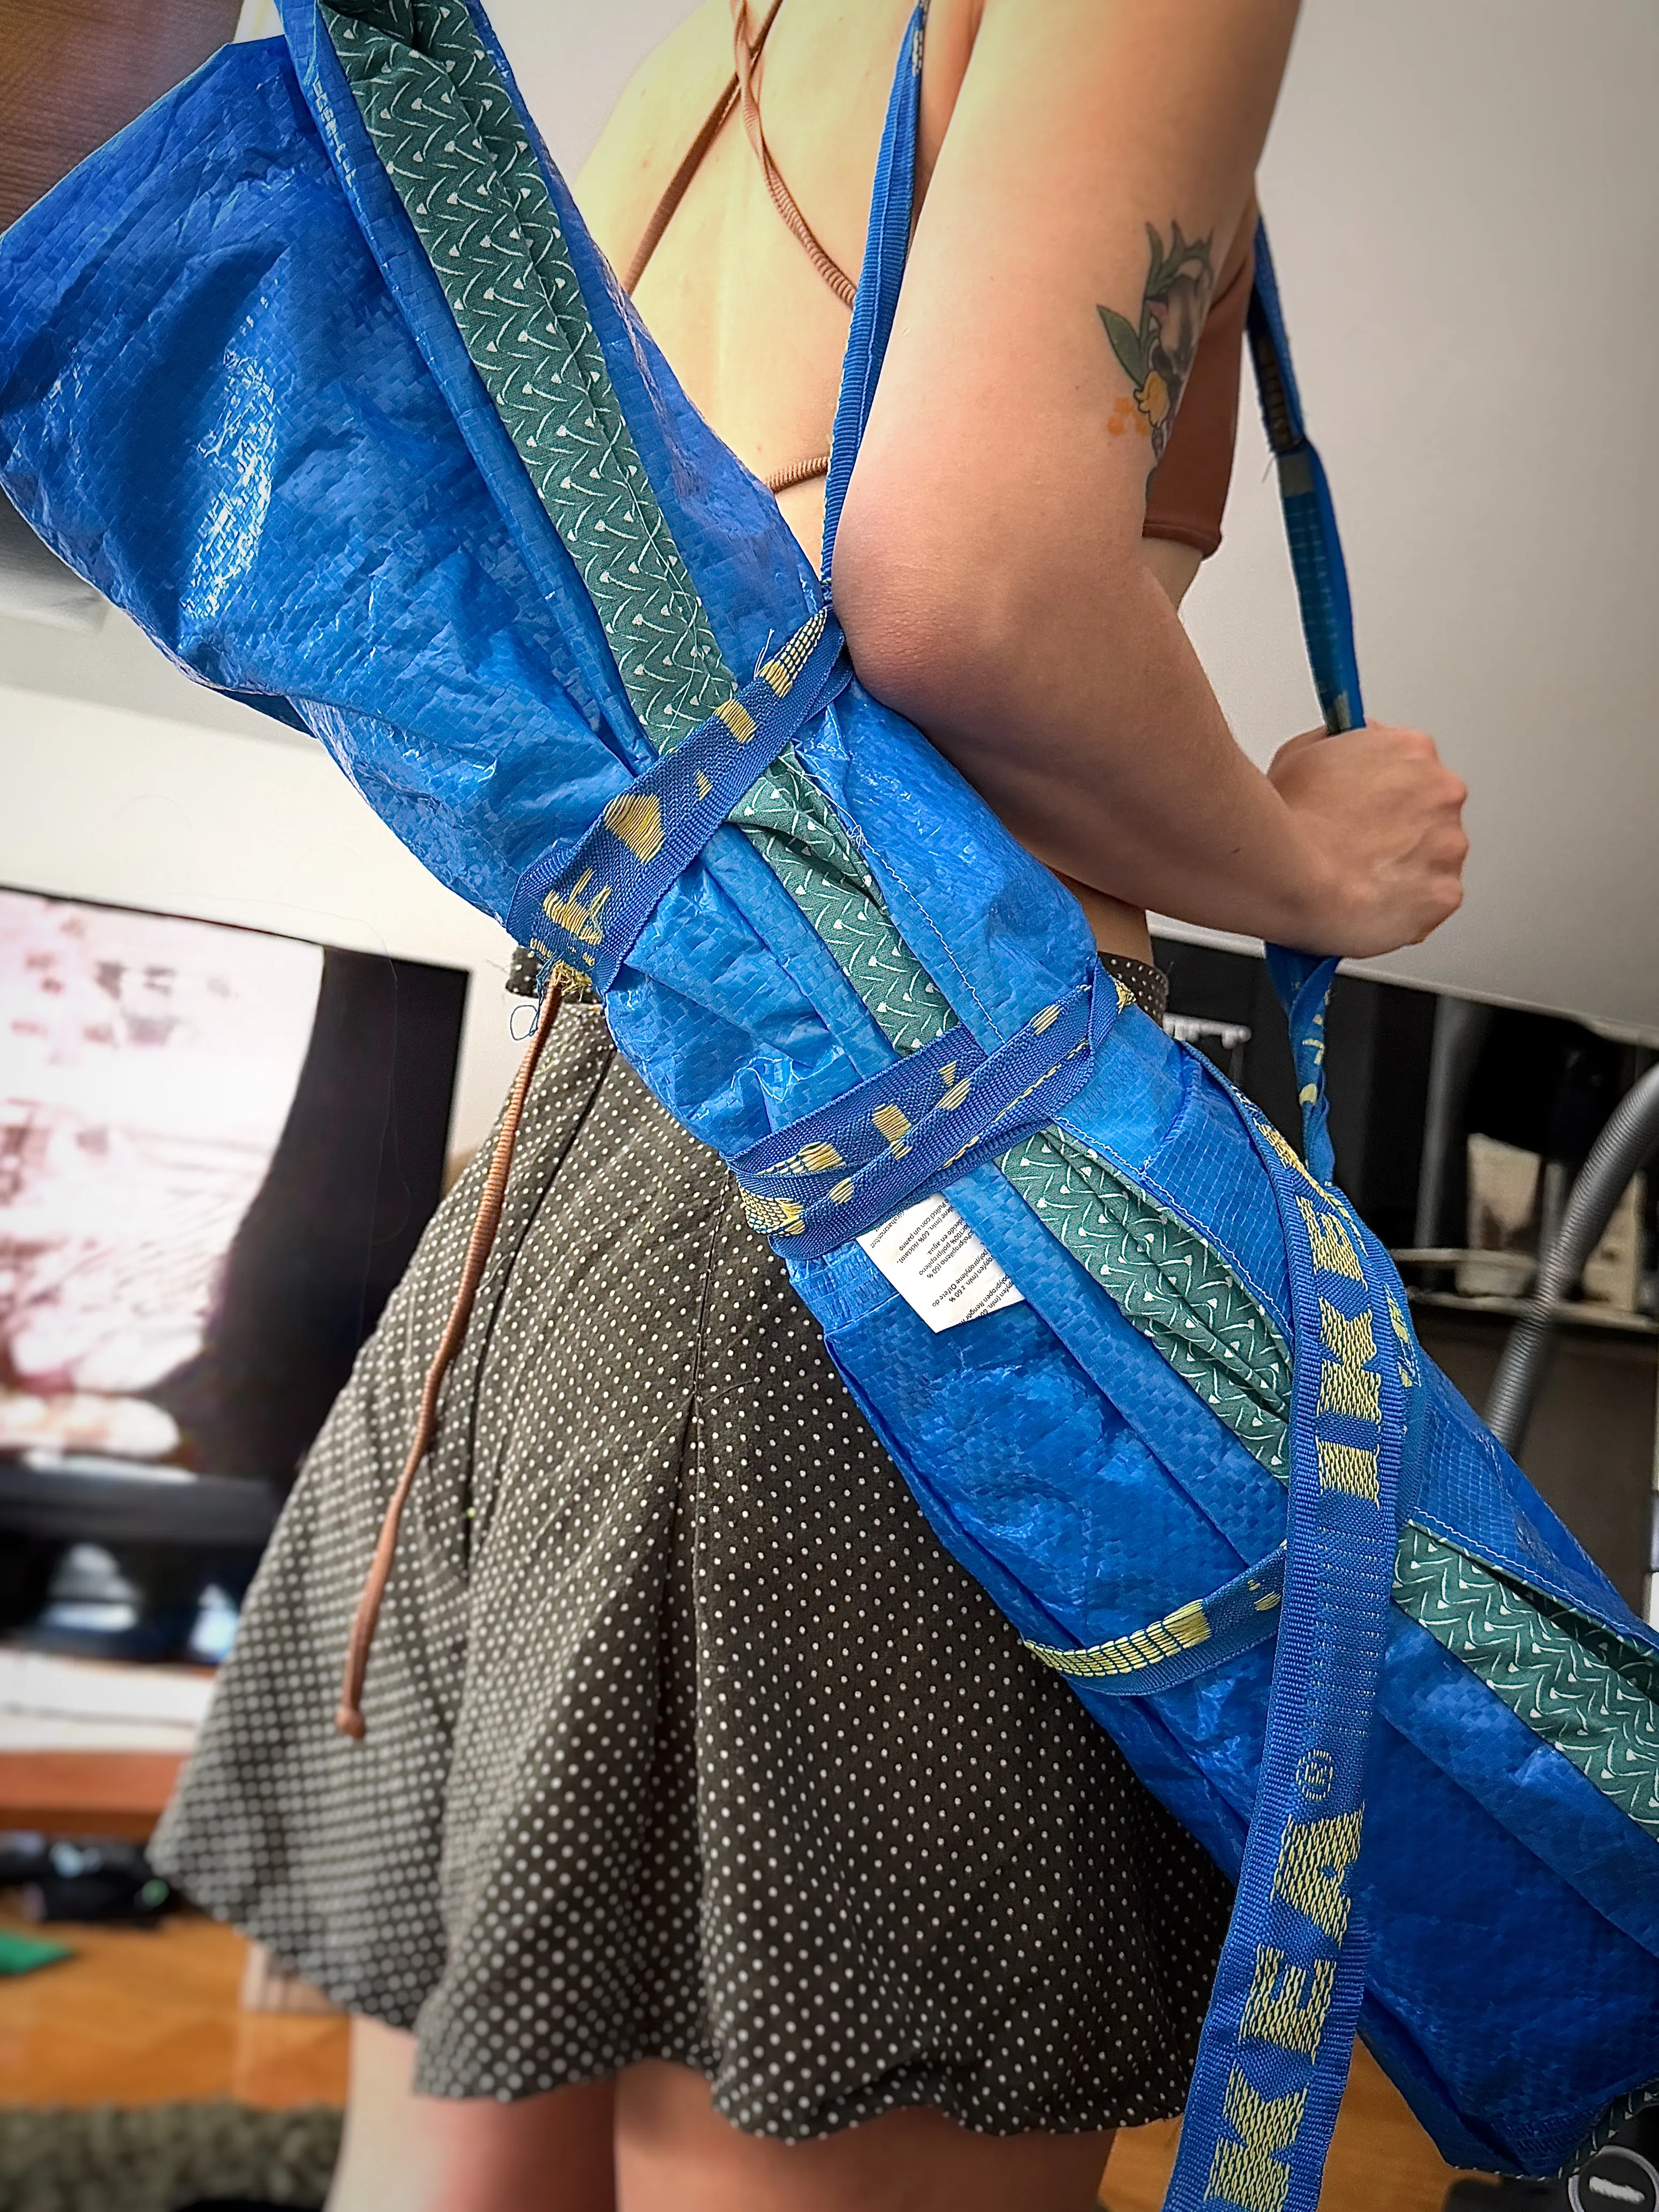
project finished created updated
An ikea bag and a dream (picnic blanket)
My flat is boiling me alive and I want to lay in the park in the shade. Lets spend a few hours making a blanket instead of buying one for really cheap!
Pattern: self - drafted (it’s a rectangle)
- Size: 107cm x 145cm (roughly)
- Status: completed
The UK heatwave is upon us. My flat tends to run much hotter than outside even with the reflectix placed on the windows, so I decided to rush sew a picnic blanket with two ikea frakta bags and remnants from my stash. All in all it was a quick sew and my first ‘self drafted’ project (aka a rectangle). I’d never quilted anything before, and I wouldn’t count this project as quilting with how badly I did, but I’m super happy with the outcome.
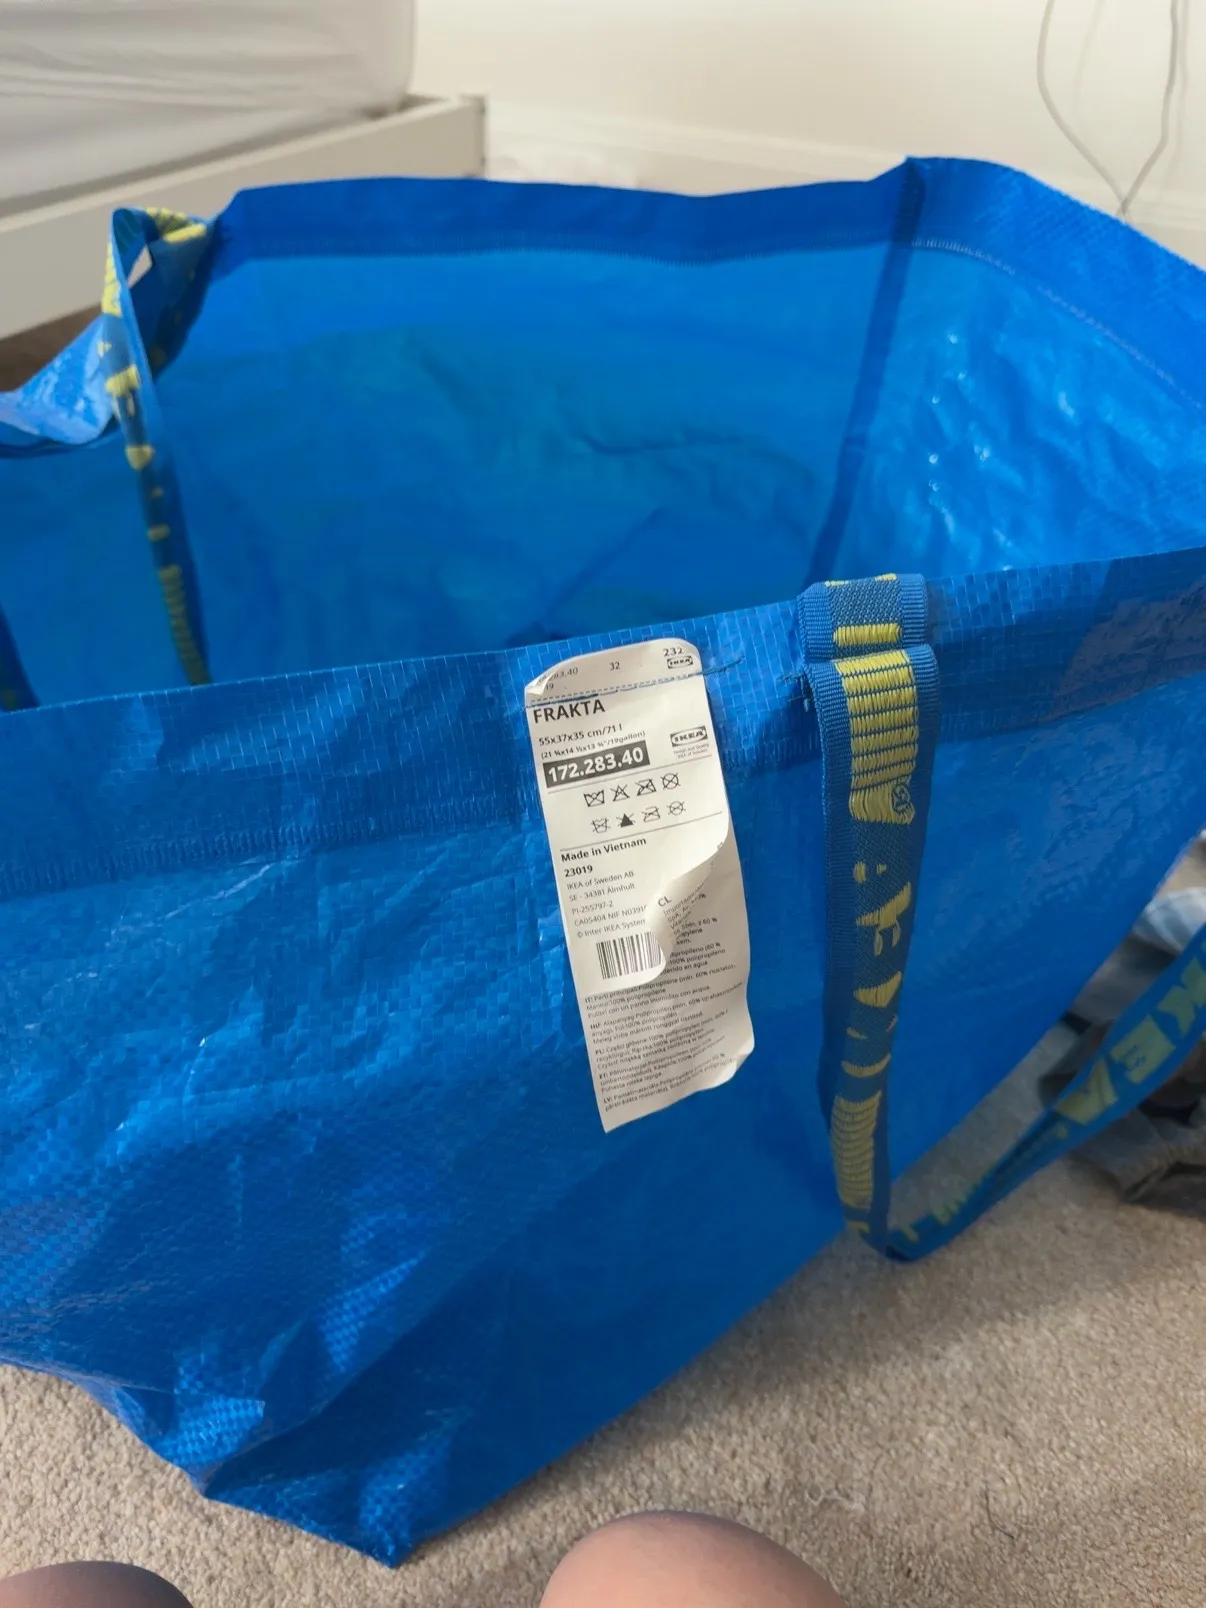
The only requirement for this picinic blanket was that it had to be finished quickly (before I melt away), that it had a dirty side I could wipe off easily, and a clean side I could lay on comfortably. I know people use ikea bags to make things waterproof, but it was not a priority for me in this sew, so I was fine using the extra fabric to make the blanket a bit longer and sewing holes into the ikea bag fabric.
Caution: I sewed this while it was boiling hot and I didn’t even measure any seam allowances, no knowledge of proper quilting. You could call it an ikea bag and a dream.
bom
- 2 ikea frakta bags
- Straps detached from frakta bags with seam ripper
- Thermal batting
- Fabric to lay on
- Microtex needle (MUST FOR IKEA BAG)
Aboard the Sewing Struggle Bus
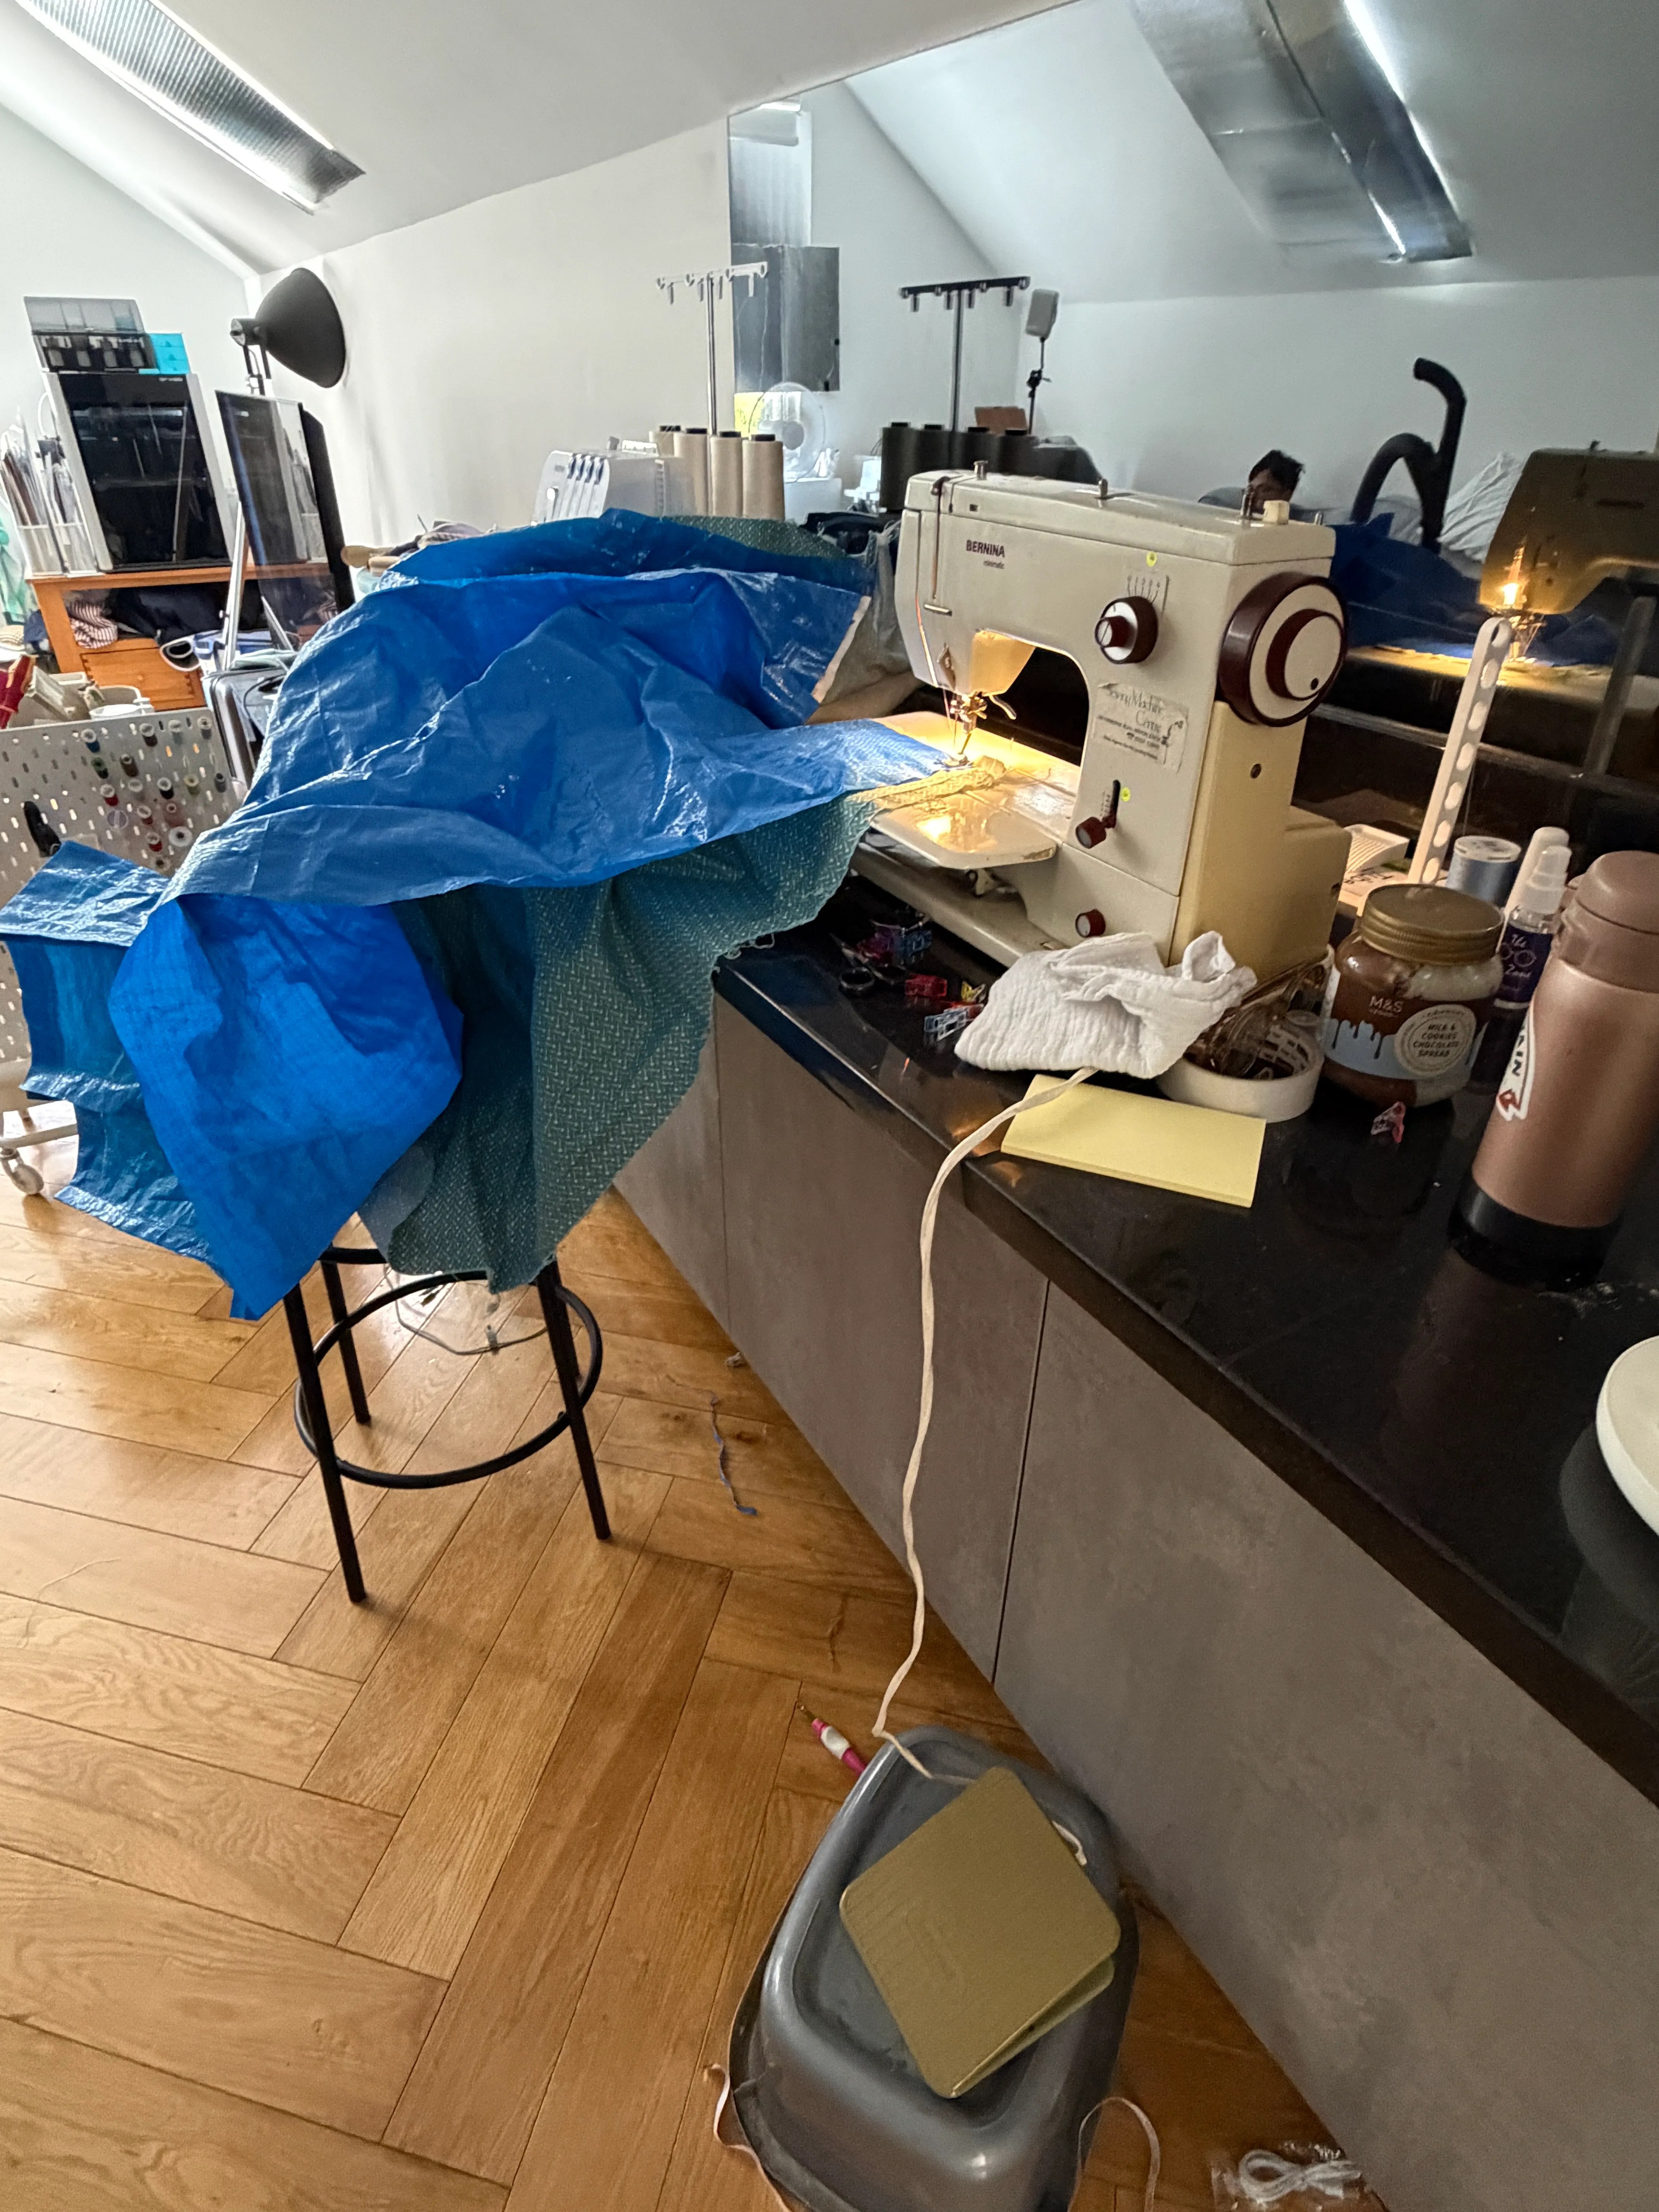
I was clearly not thinking when I started this project. If I had sewn this when my head wasn’t boiling, I would have planed out the project nicely, with proper sized batting, research on what needle to use for sewing on ikea bag fabric (which I had never done before), and I would ahve tried and sewn on the floor or something, because I did not expect how hard it would be to sew a large rectangle on my narrow sewing shelf.
Luckily I had a mircotex needle in my stash, and it sewed perfectly on the ikea bag! I didn’t even attempt a scrap piece - I sent all my energy to my lovely vintage machine and urged it to work. Honestly, the fabric wasn’t too hard to handle if I had a large flat table, but it was definitely a struggle to do it in this narrow space. I ended up giving up the seat I sewed on to rest the weight of the fabric, and I sewed standing up. I had to sew the rectangle in bits - especially the long pieces. It was too difficult to sew the long side all in one go with the space I had, but if the table were bigger it wouldn’t have been too bad I think.
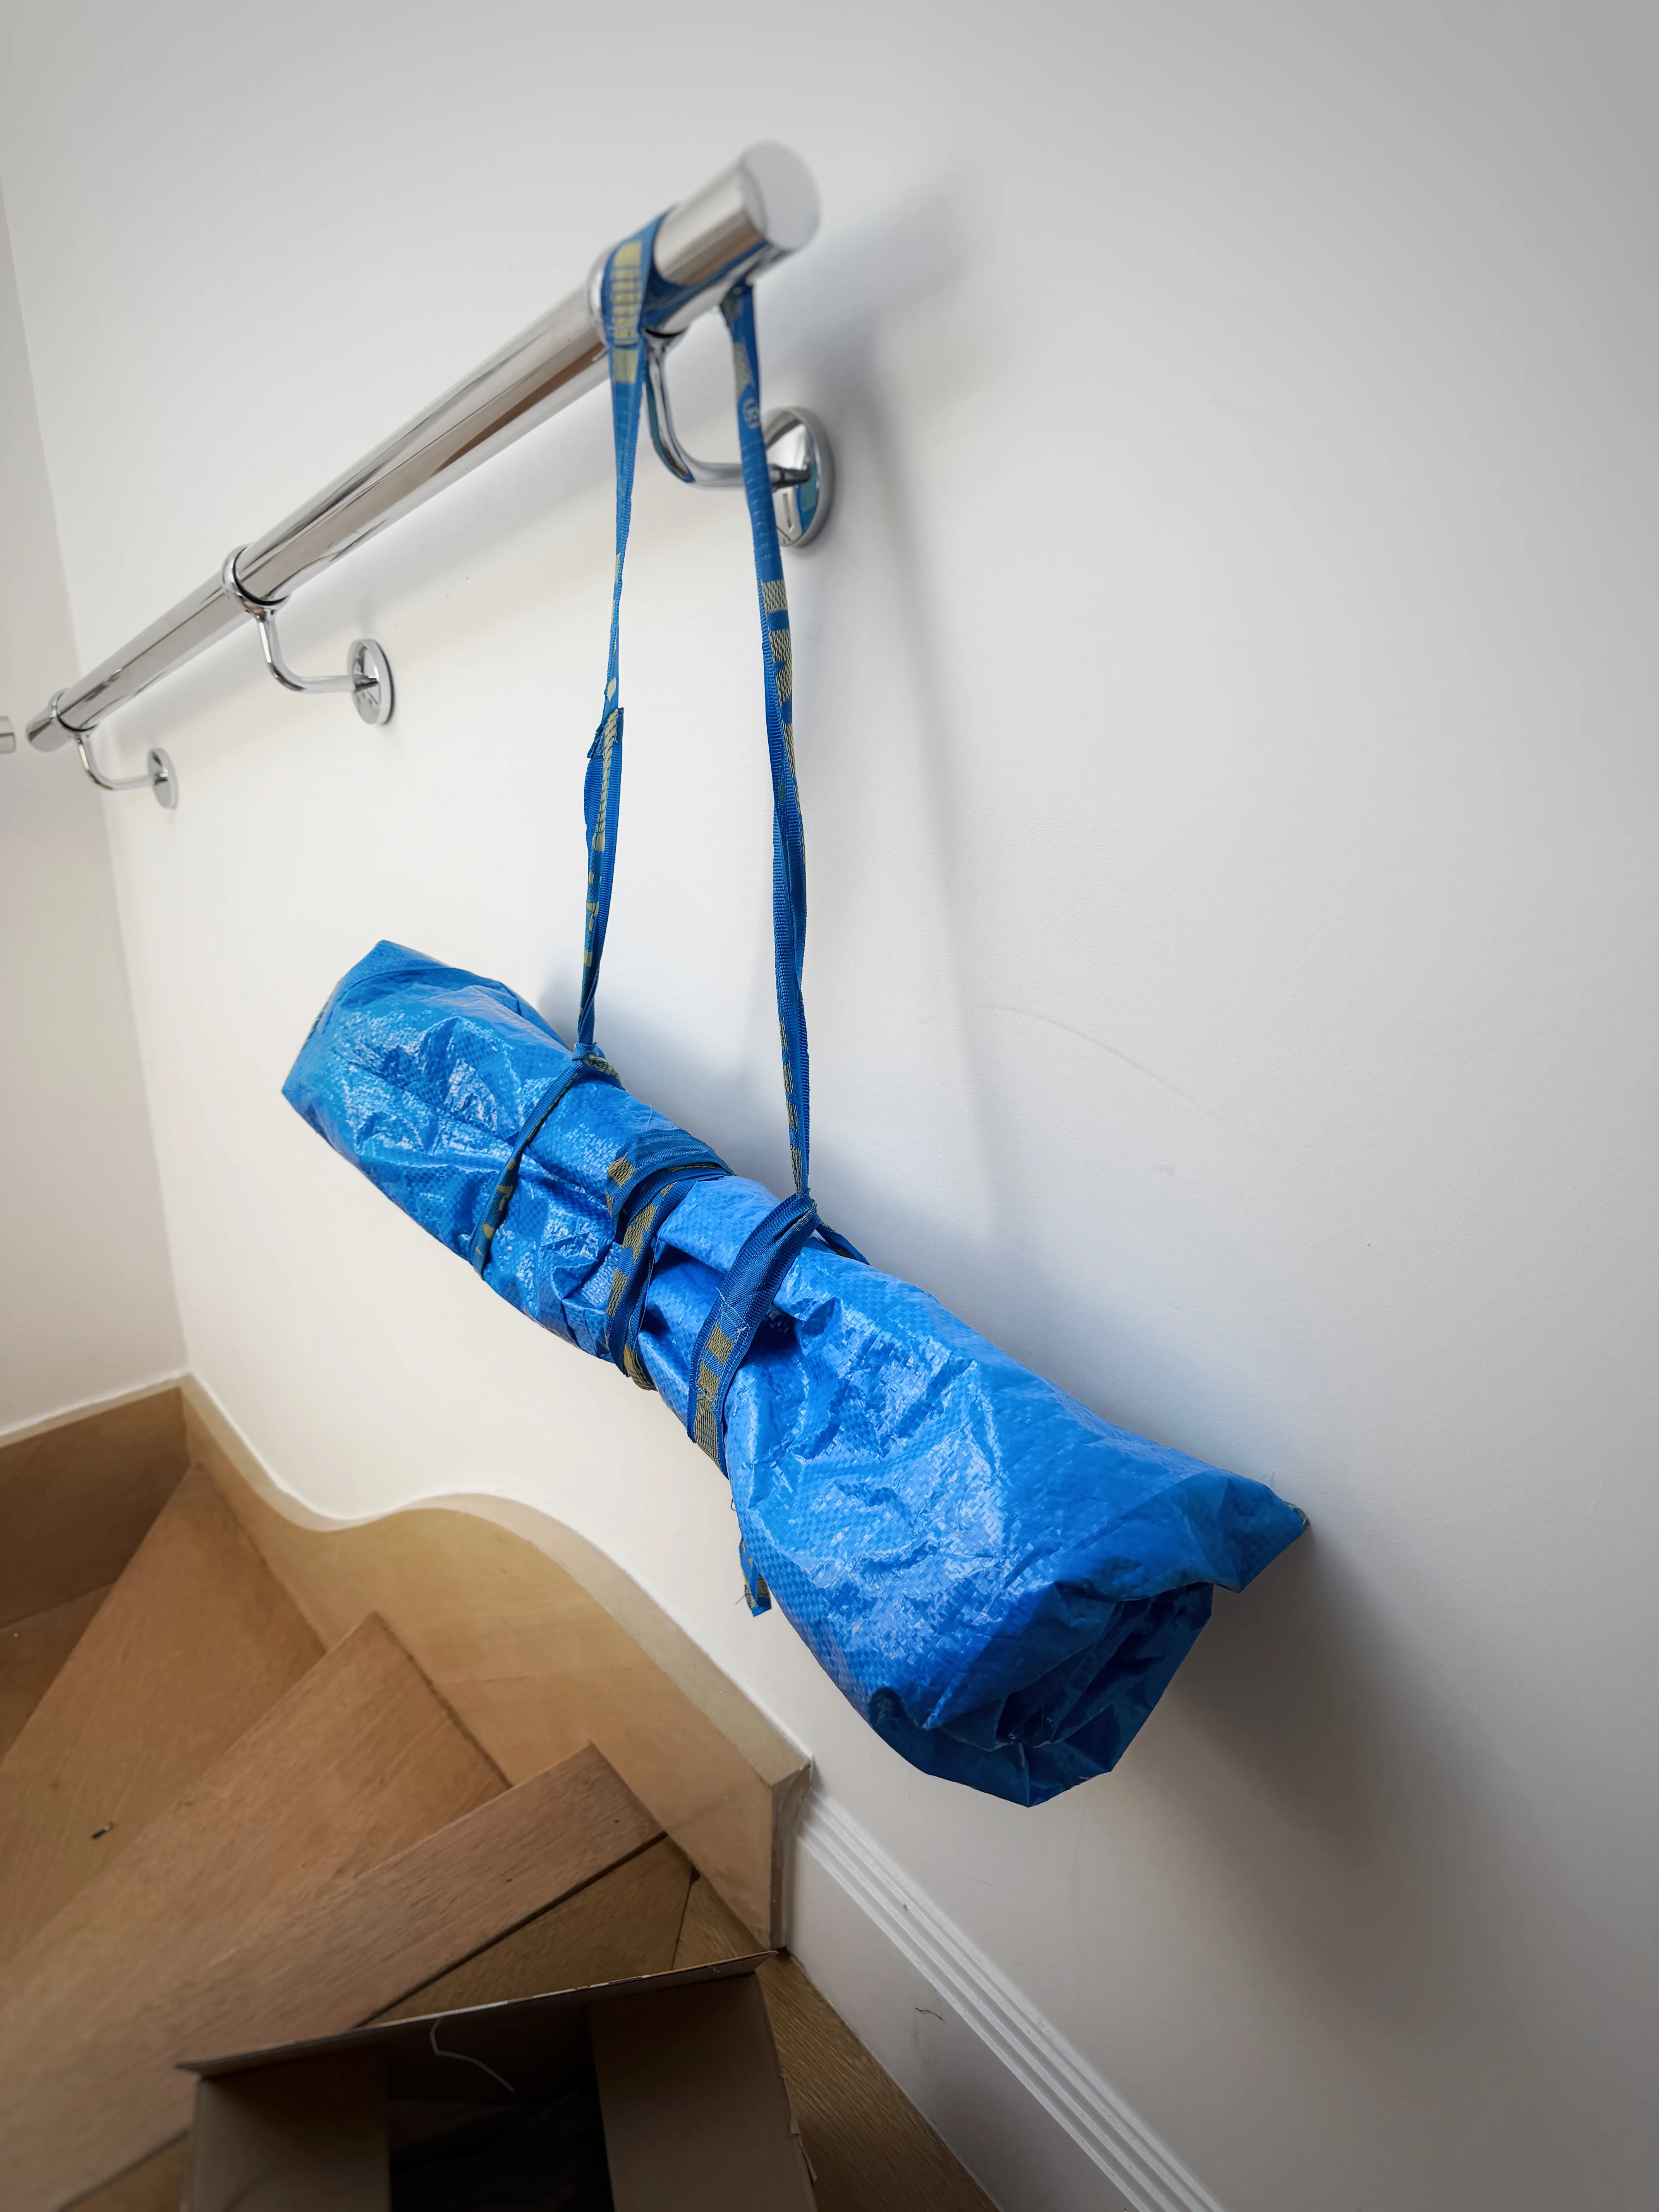
I felt like a madman sewing this, and turning it out once all the sides were sewn felt like birthing my sewing blanket. Would I do this again? Yes, but not on this tiny table. Like most projects, I tried to slip in some 3d printing, but the printer was having a bad day in the humidity and I abandoned it as soon as the nozzle clogged. Instead, I sewed and adjustable strap inspired by my old yoga mat strap carrier that didn’t need any hardware.
make details
-
Get two frakta bags and cut where the side seams are attached. A flat bag looks like a capitalised letter ‘I’.
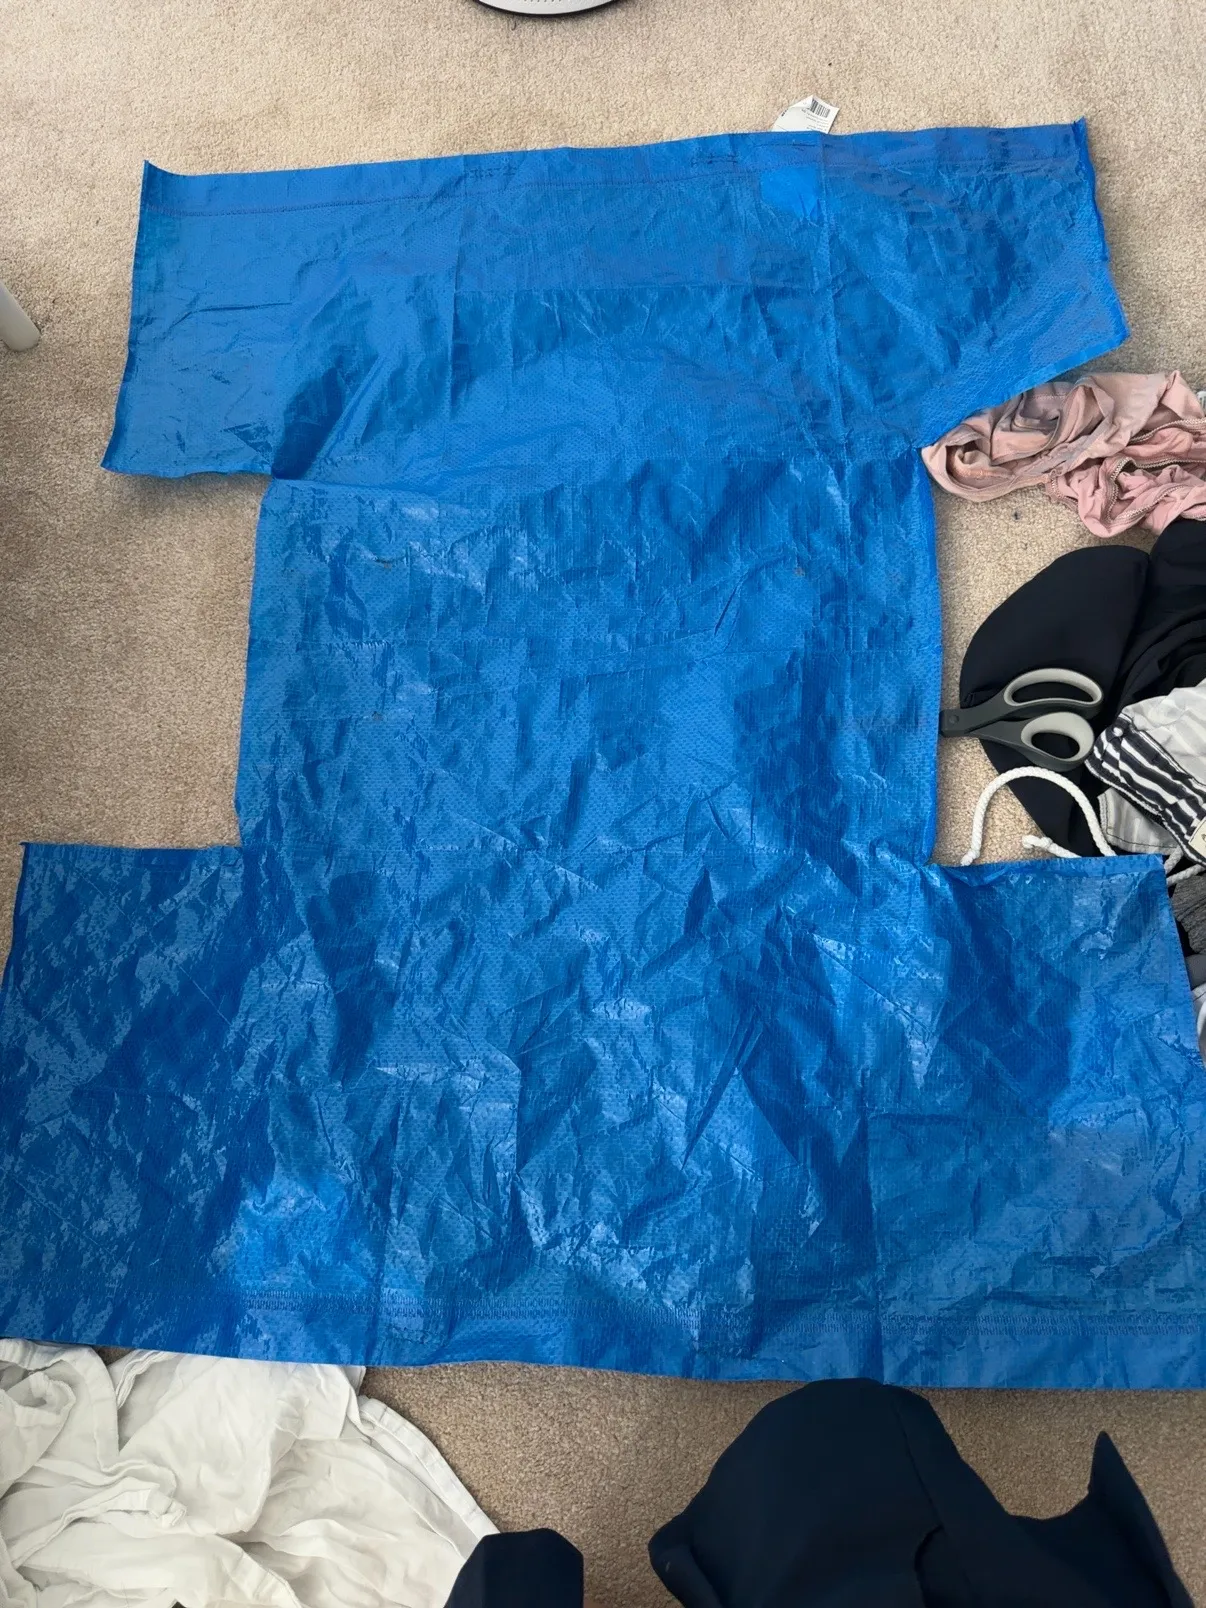
-
Cut off the top and bottom side pieces. Lay rectangles large rectangles together. Piece together the cut off side seams at the bottom.
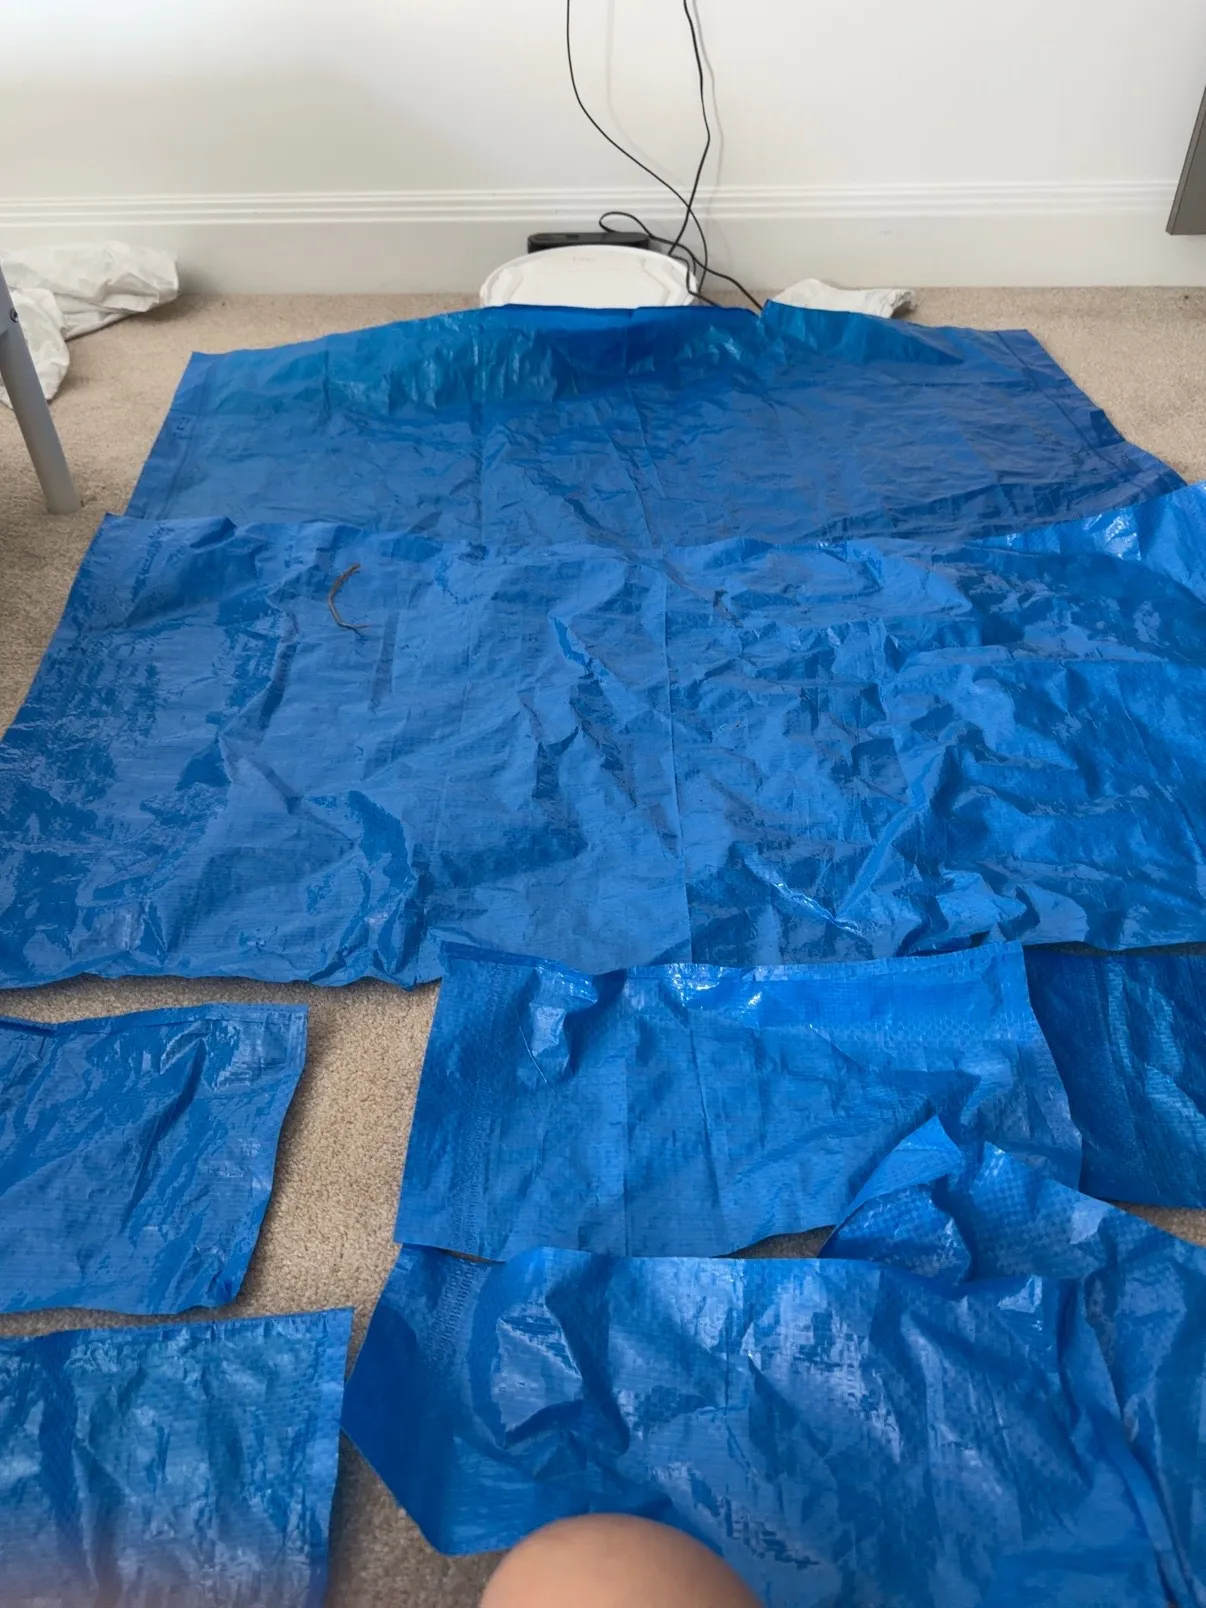
-
Sew the pieces together. I used. a big seam allowance (~3cm) and I wasn’t very strict. I also trimmed off the extra at the bottom left to make it more rectangular.
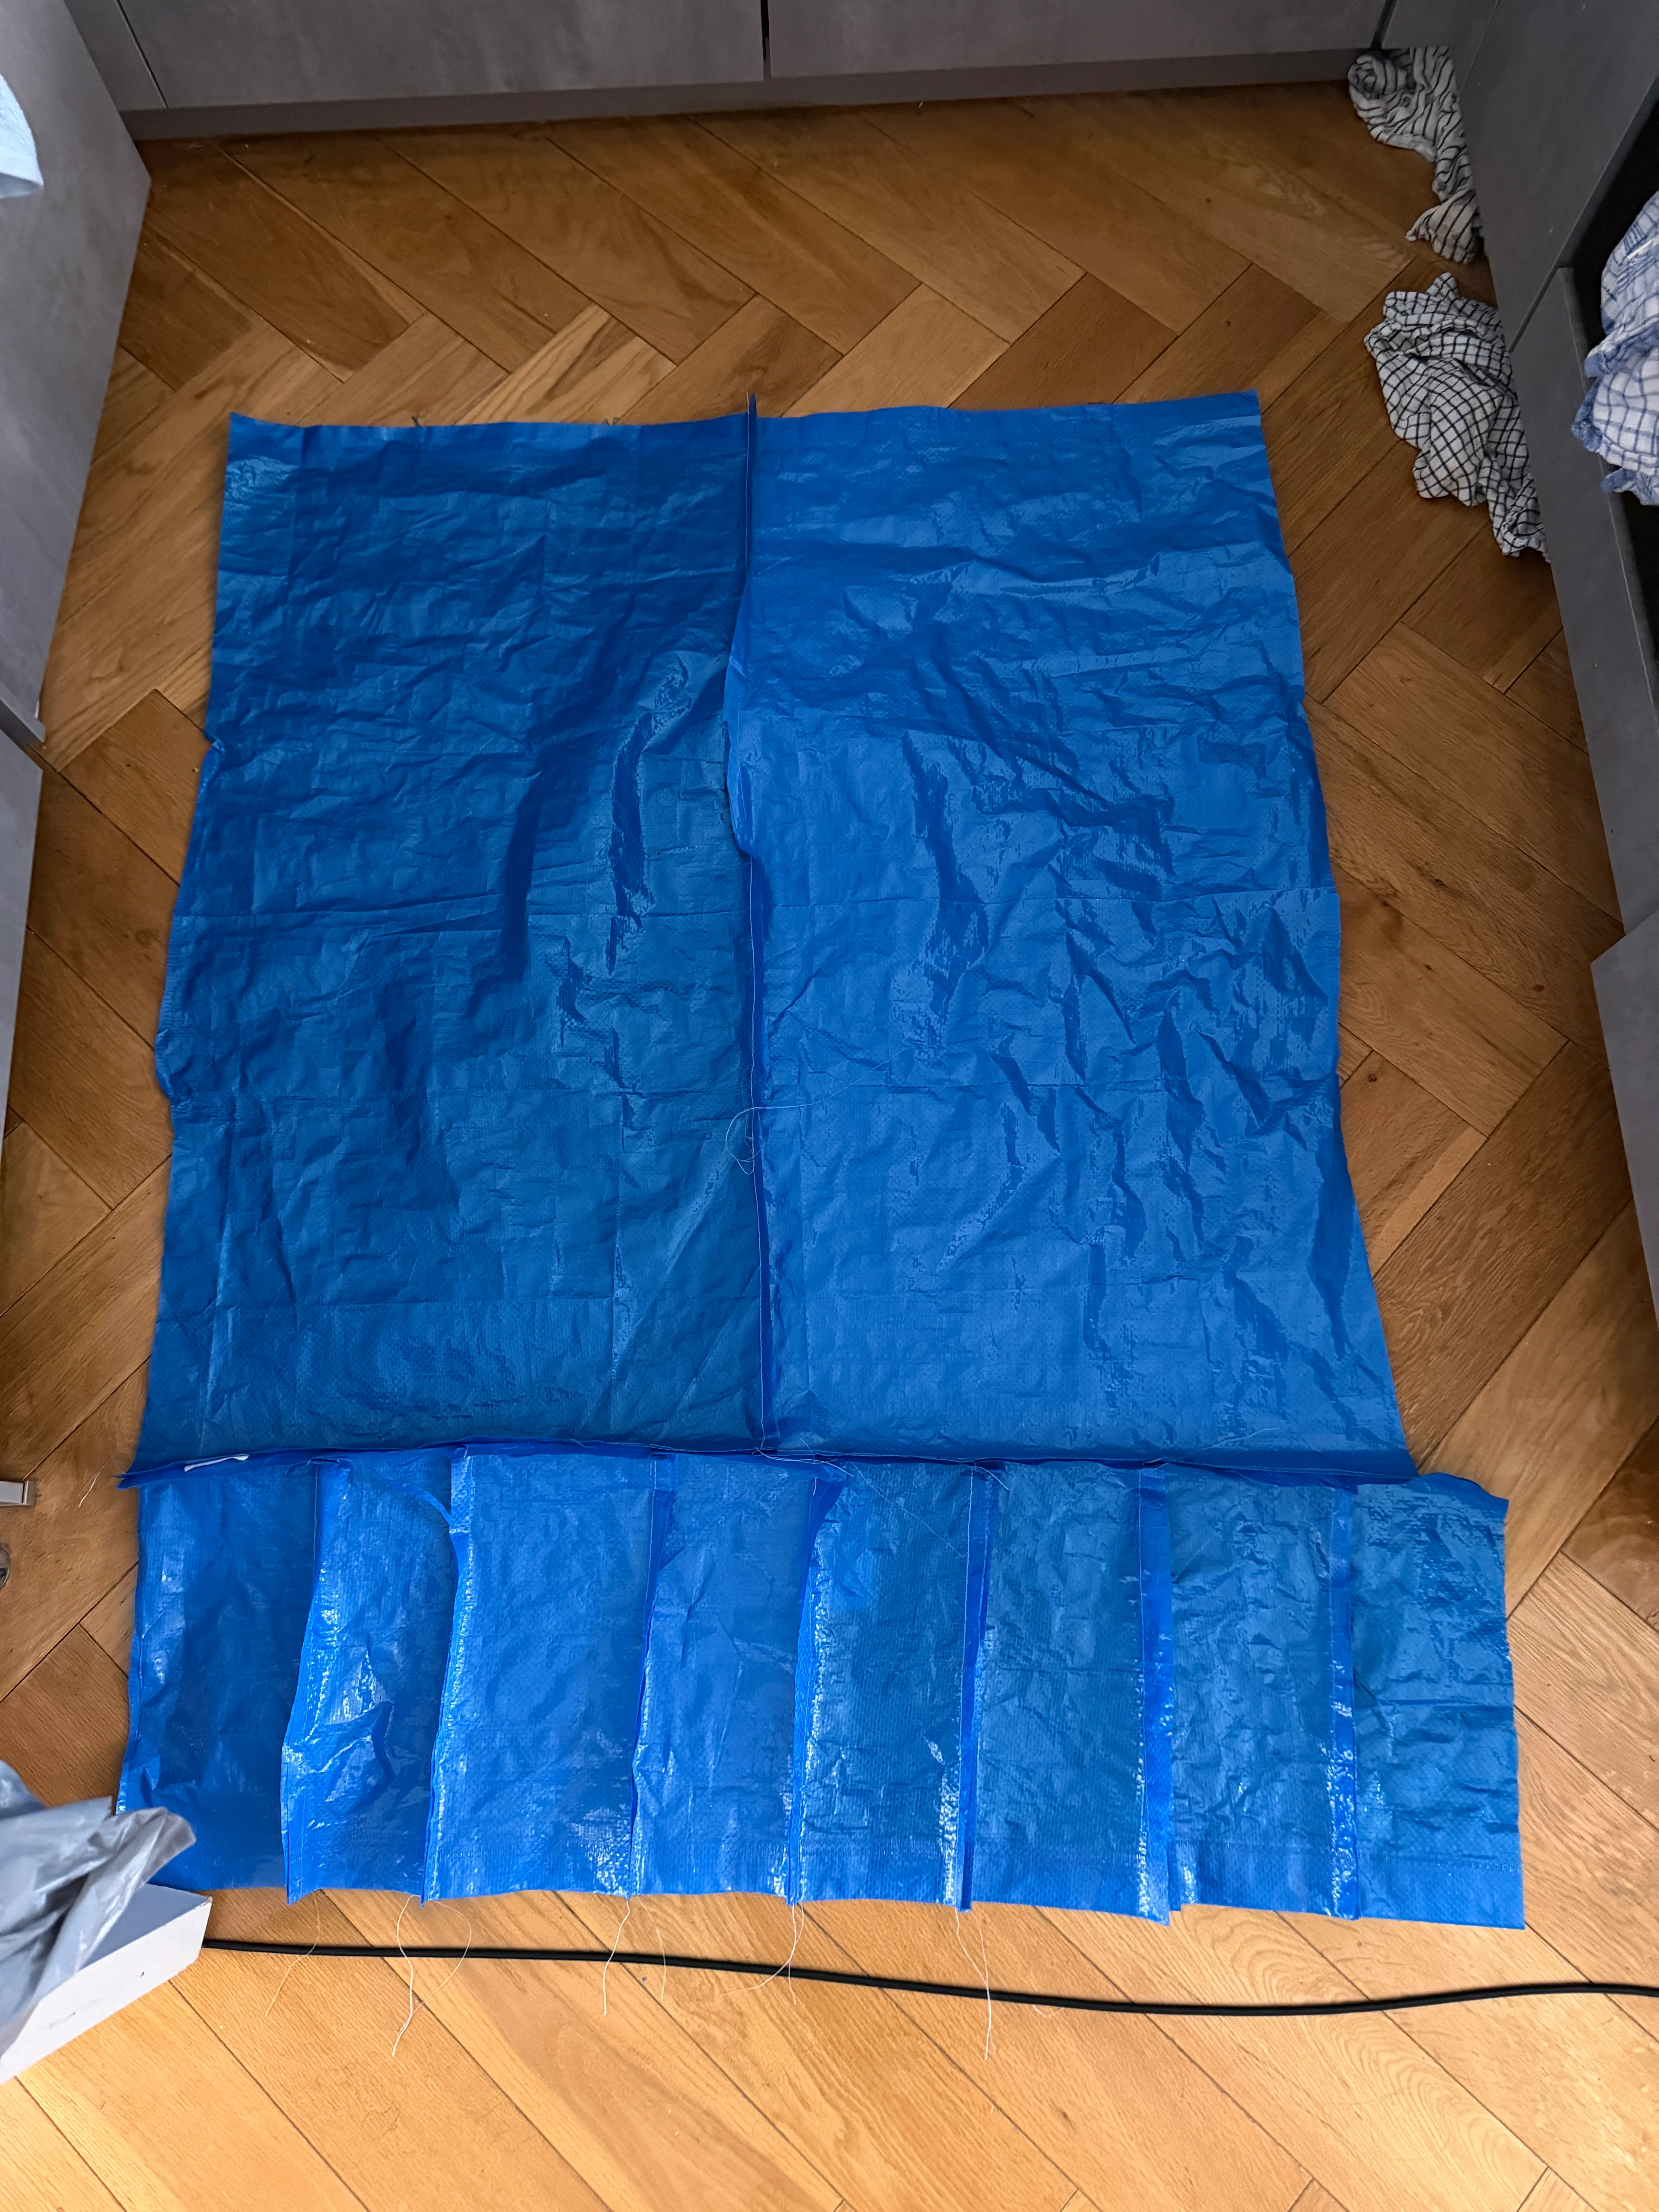
-
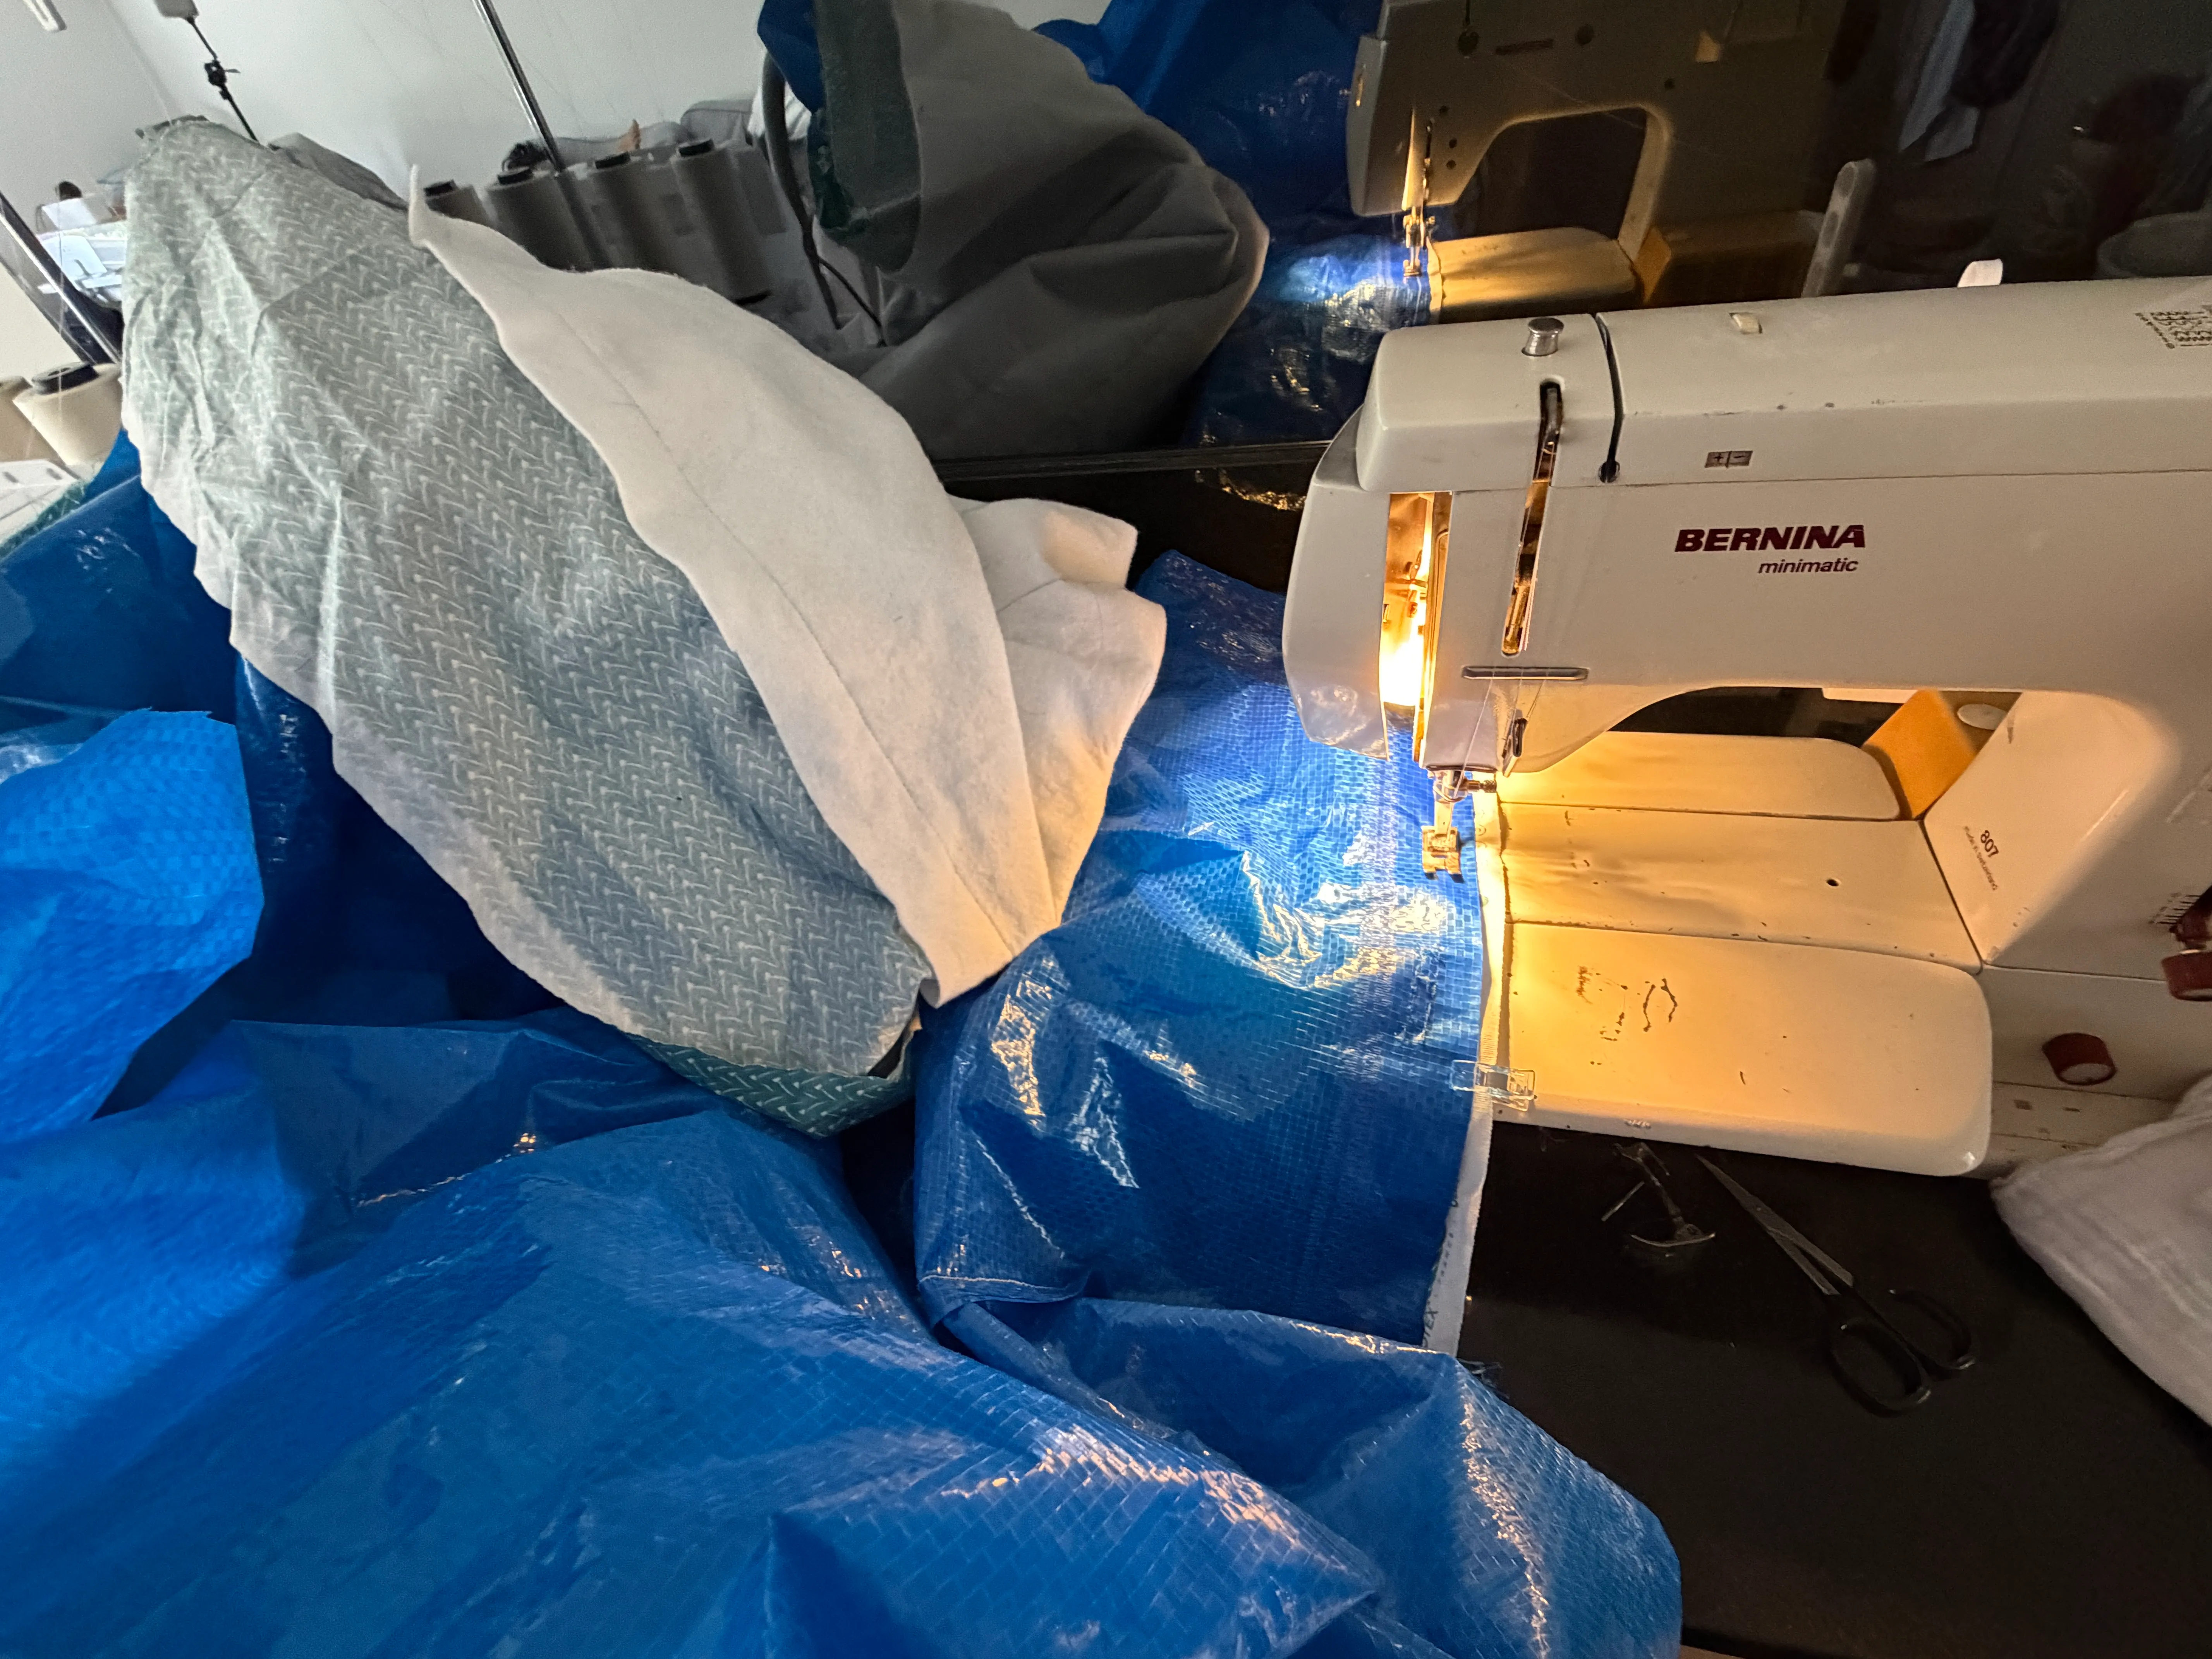
Measuring time - I placed my thermal batting remnant over the bags, then placed my cotton fabric on top of it. My thermal batting didn’t completely fill the blue panel, but I figured it was fine.
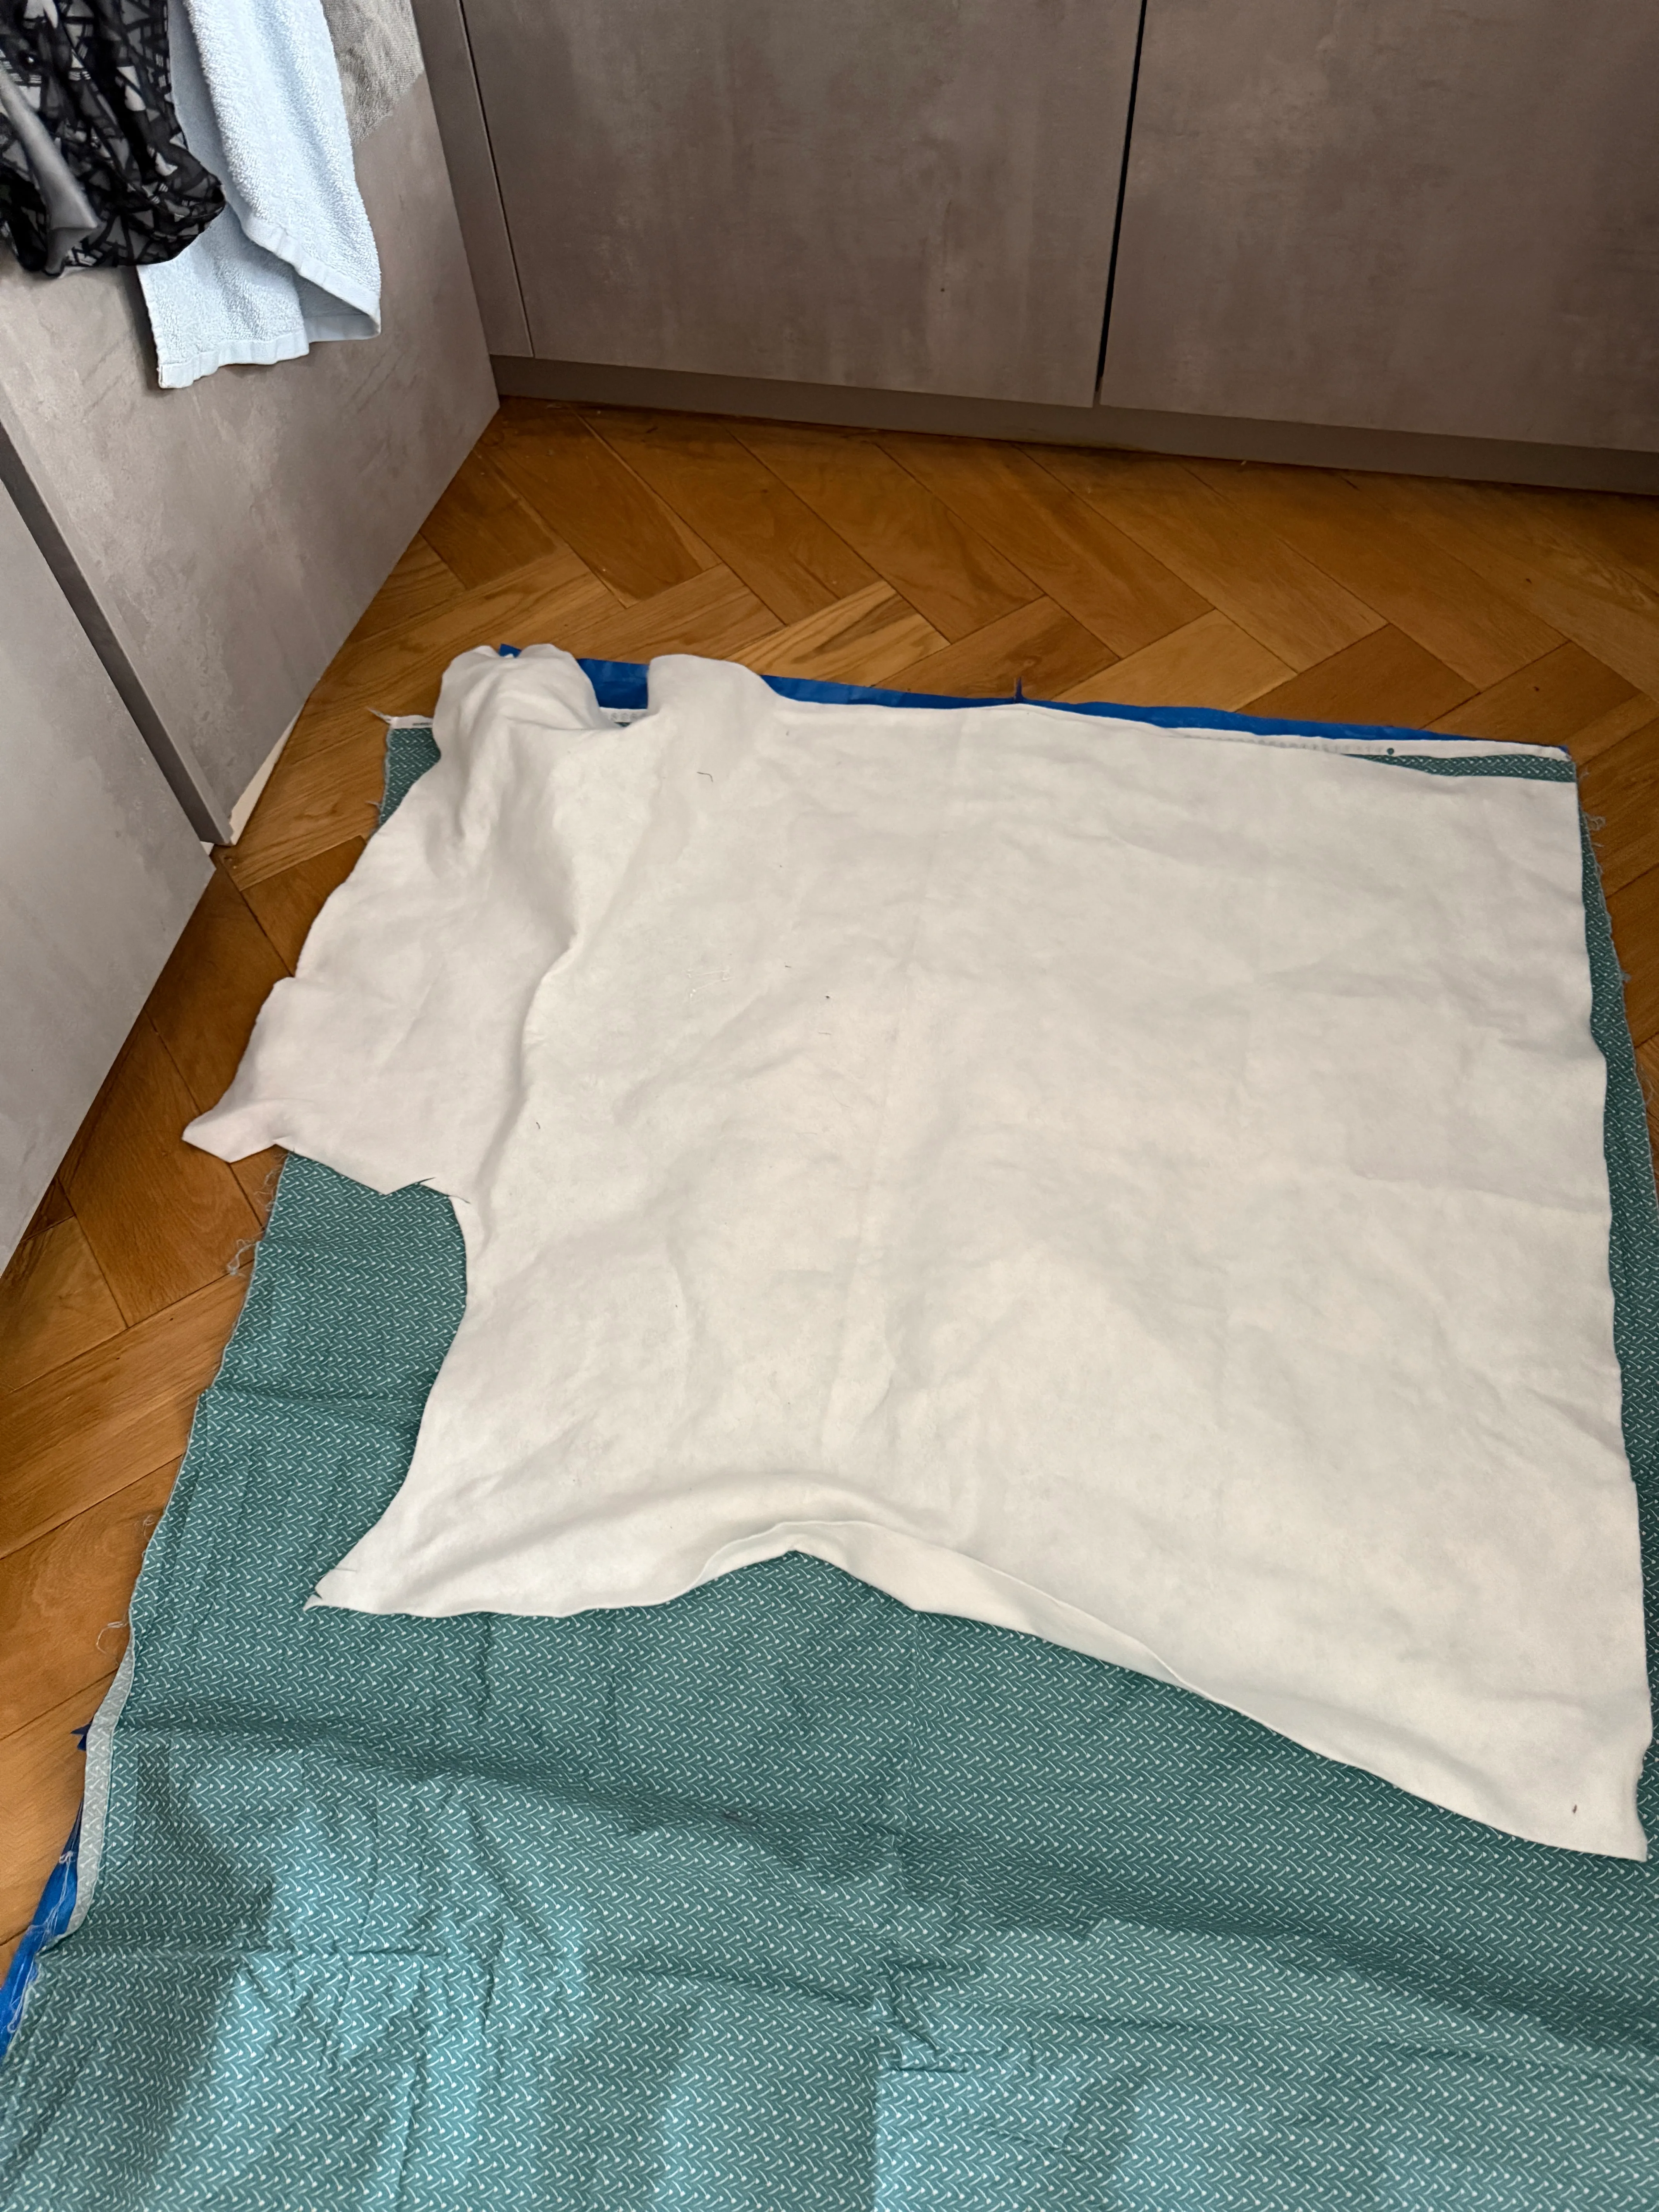
-
Sew the batting onto the main fabric. I sewed some “quilting” lines in the middle to keep it in place.
-
Sew the main fabric to the blue panel right sides together, leaving a large hole somewhere on the long side for turning it over.
-
Once it’s sewn together, turn it out so the wrong sides are together and the right side of the fabric is facing up.
-
I folded my blanket together matching the short sides first, with main fabric touching on the inside. Then, roll the blanket up on the short side until it looks like a hot dog.
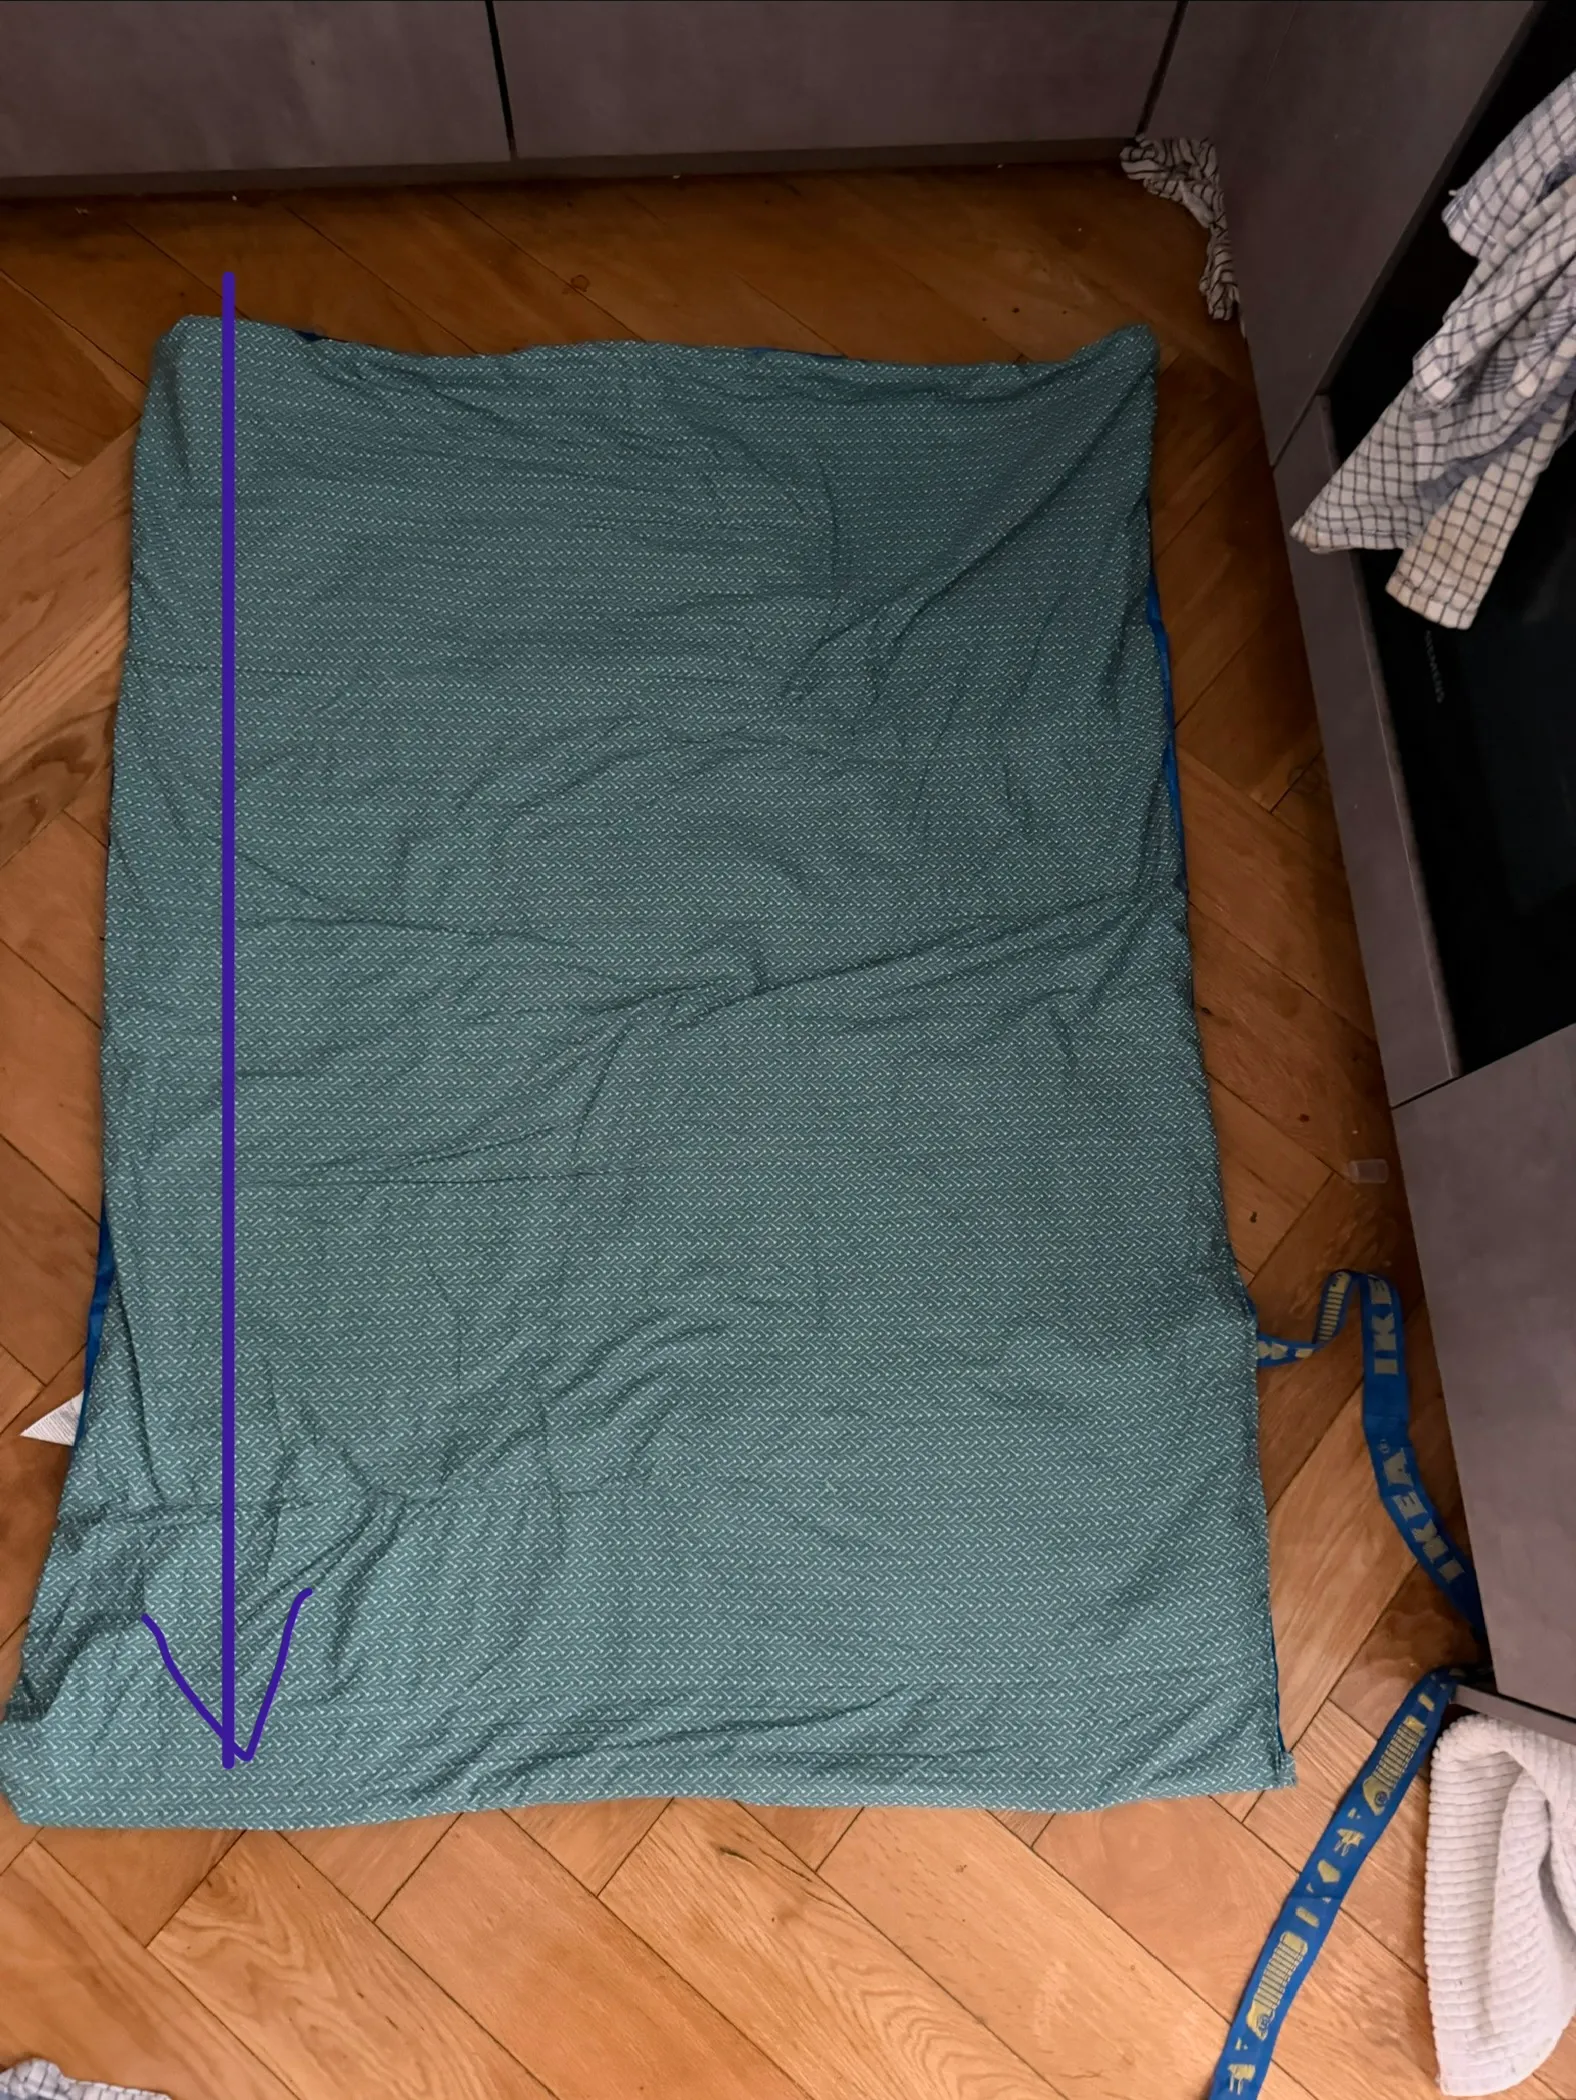
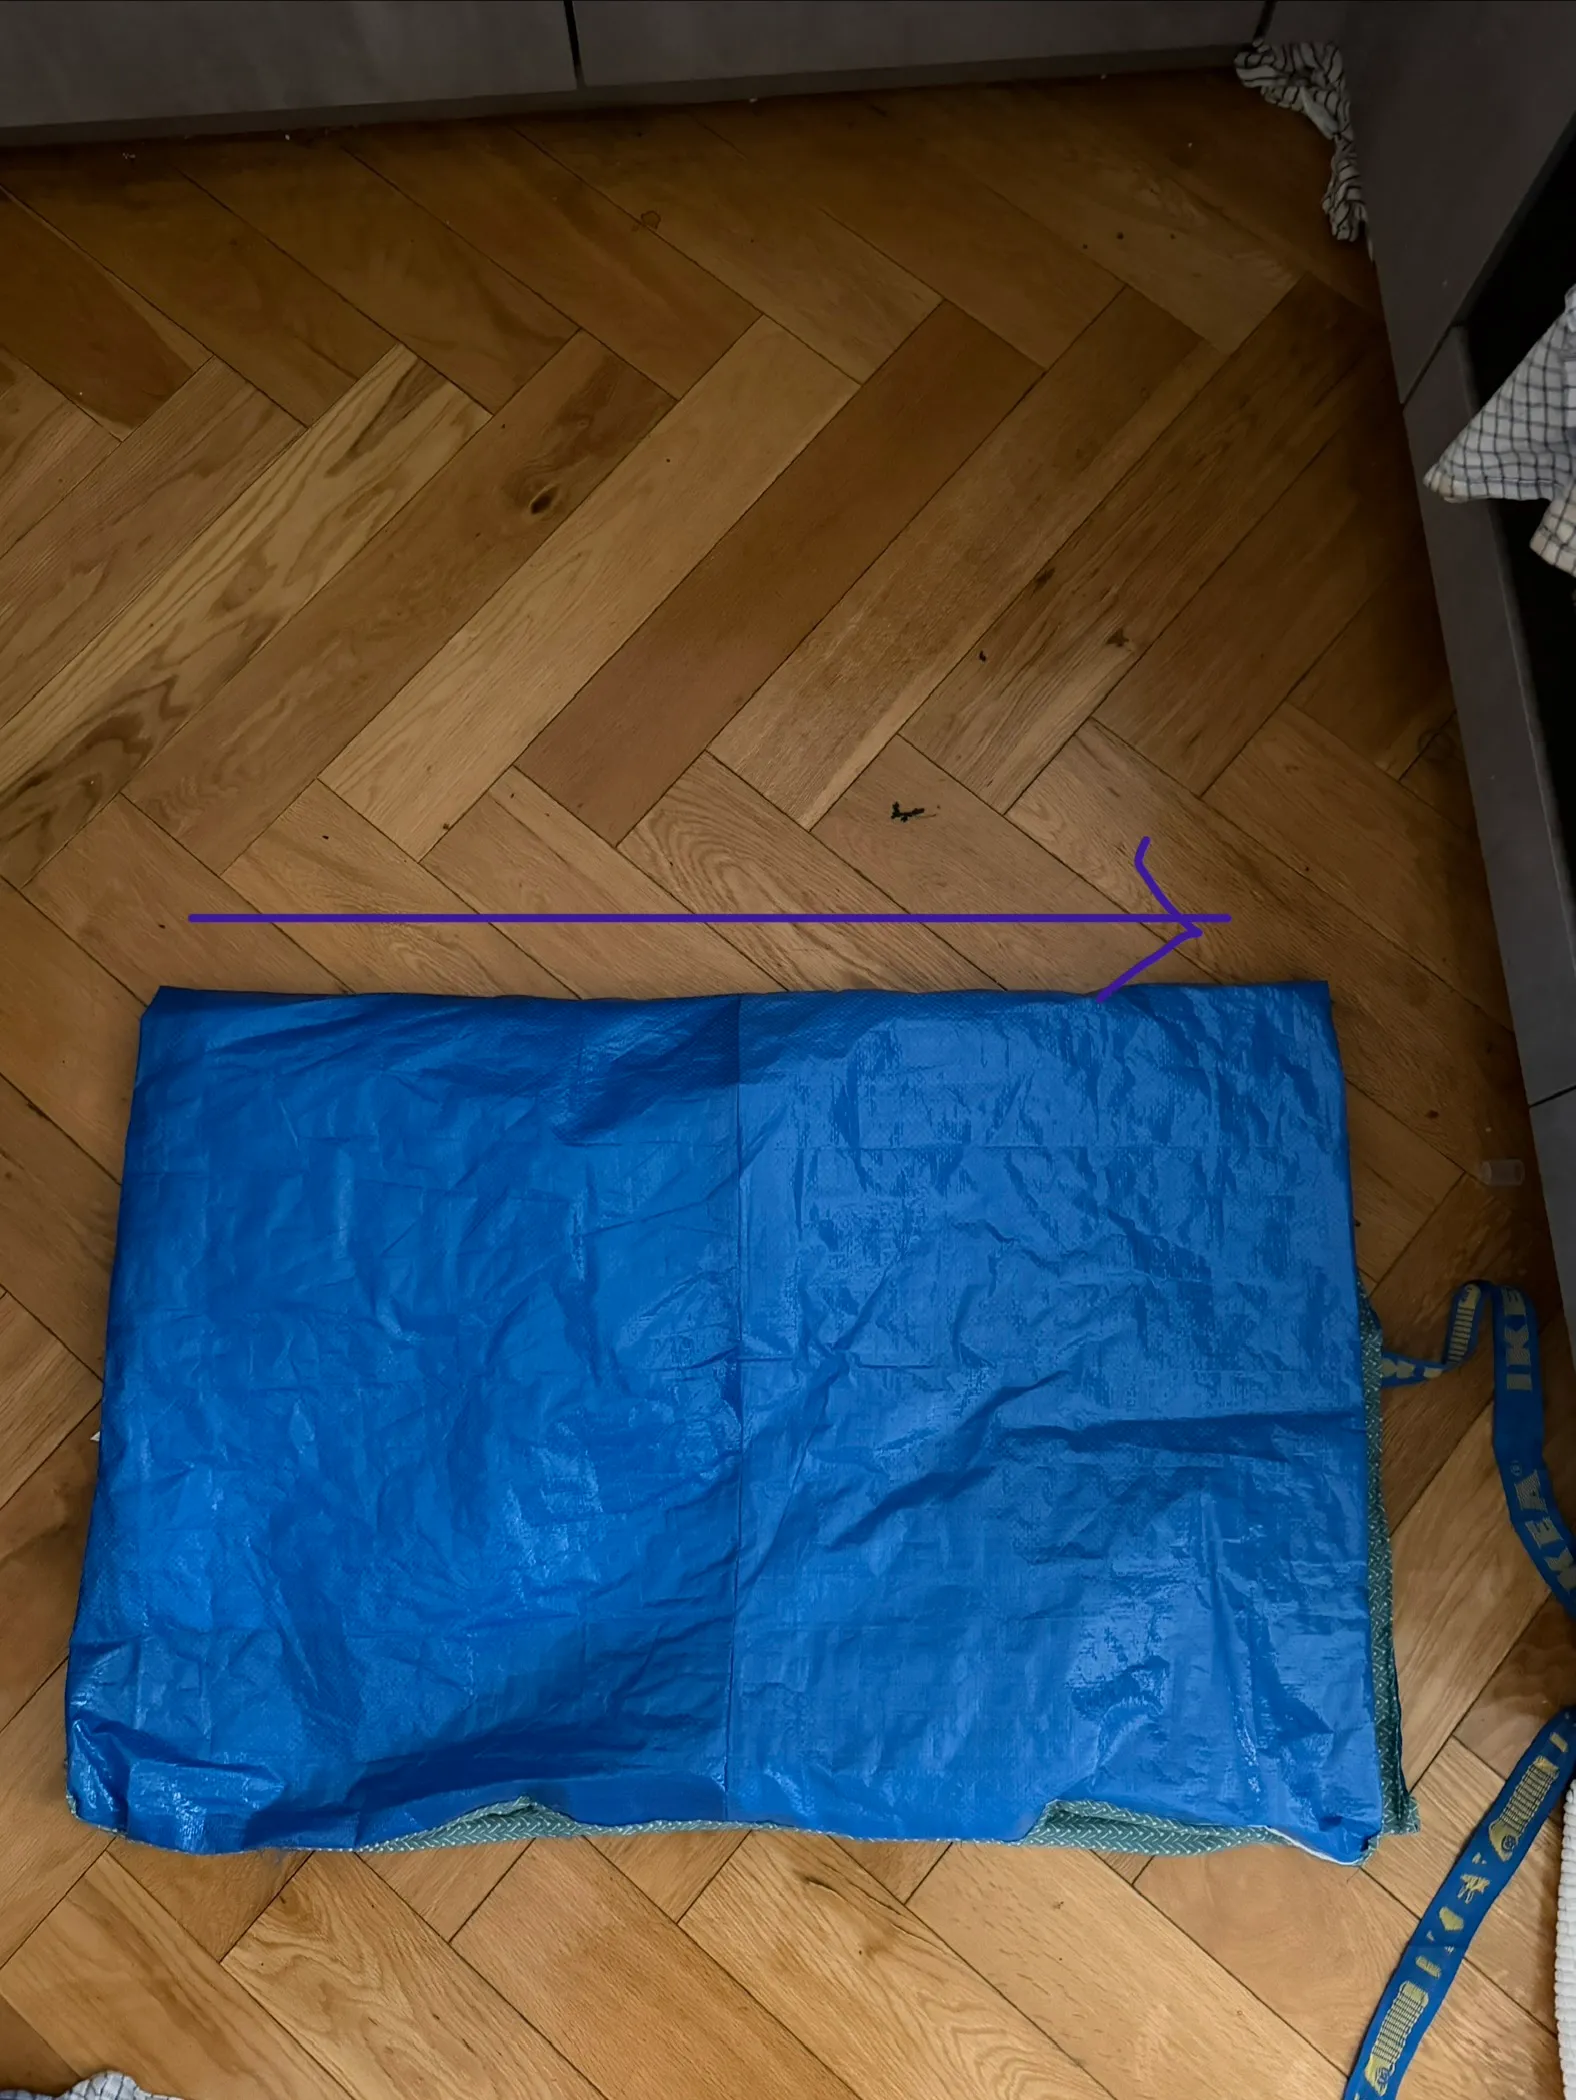
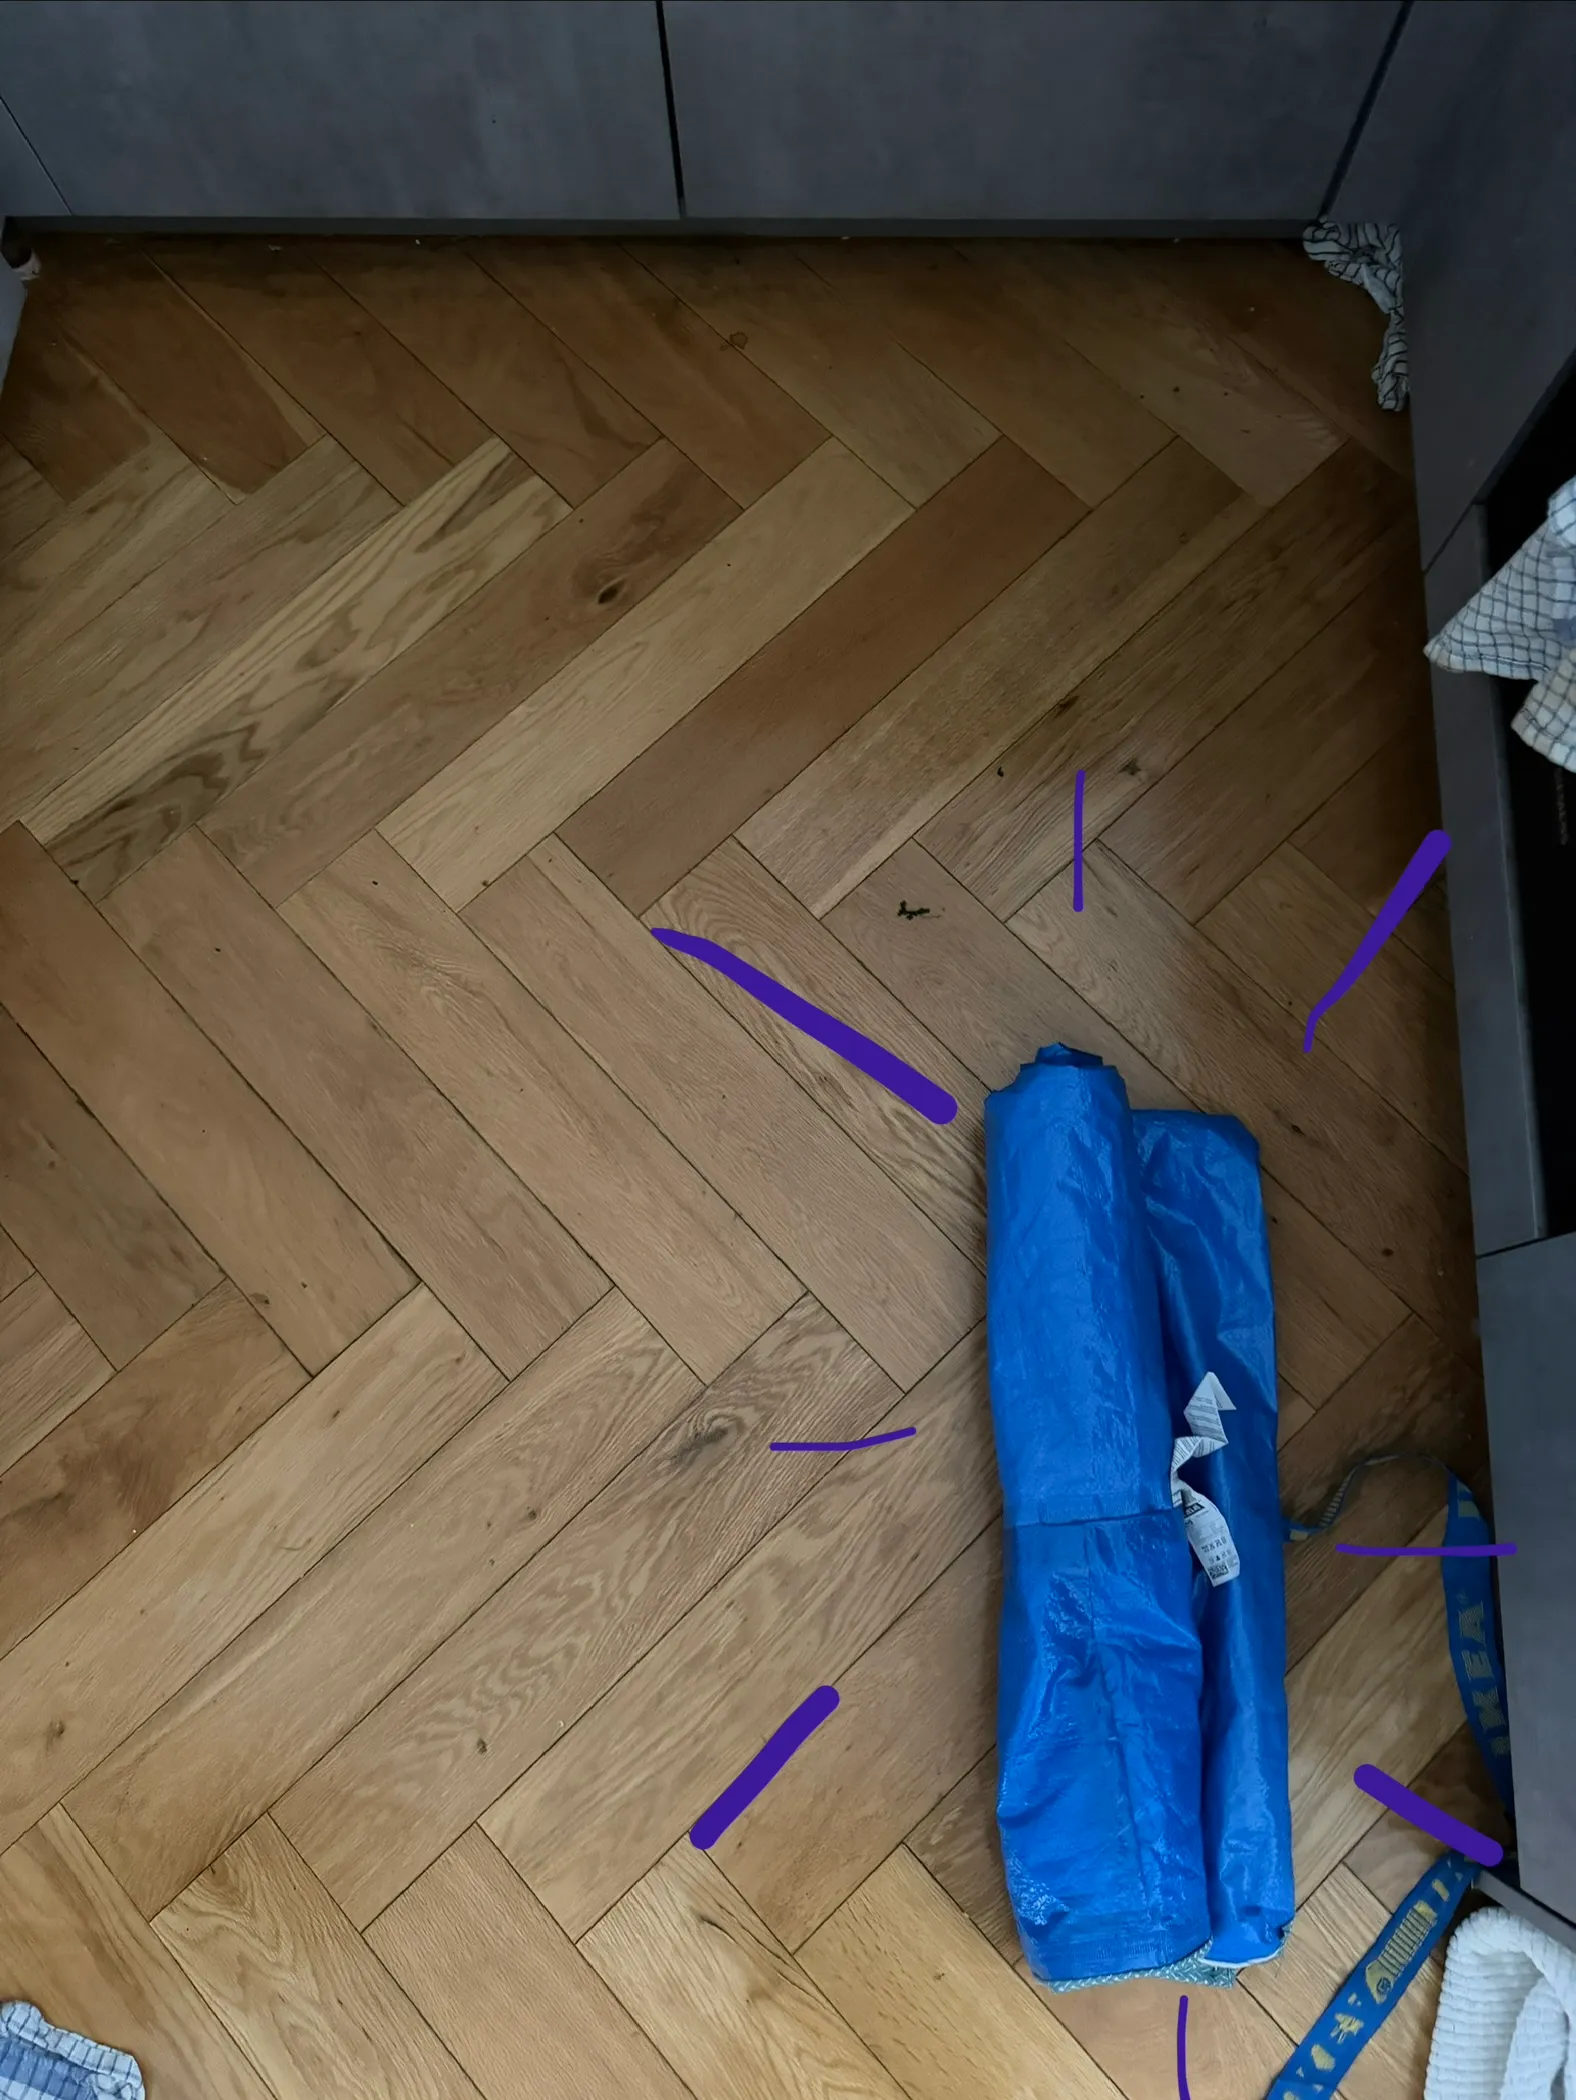
-
Place the strap in the area that is still open, choosing where you want the strap to sit. I chose to place mine in the middle.
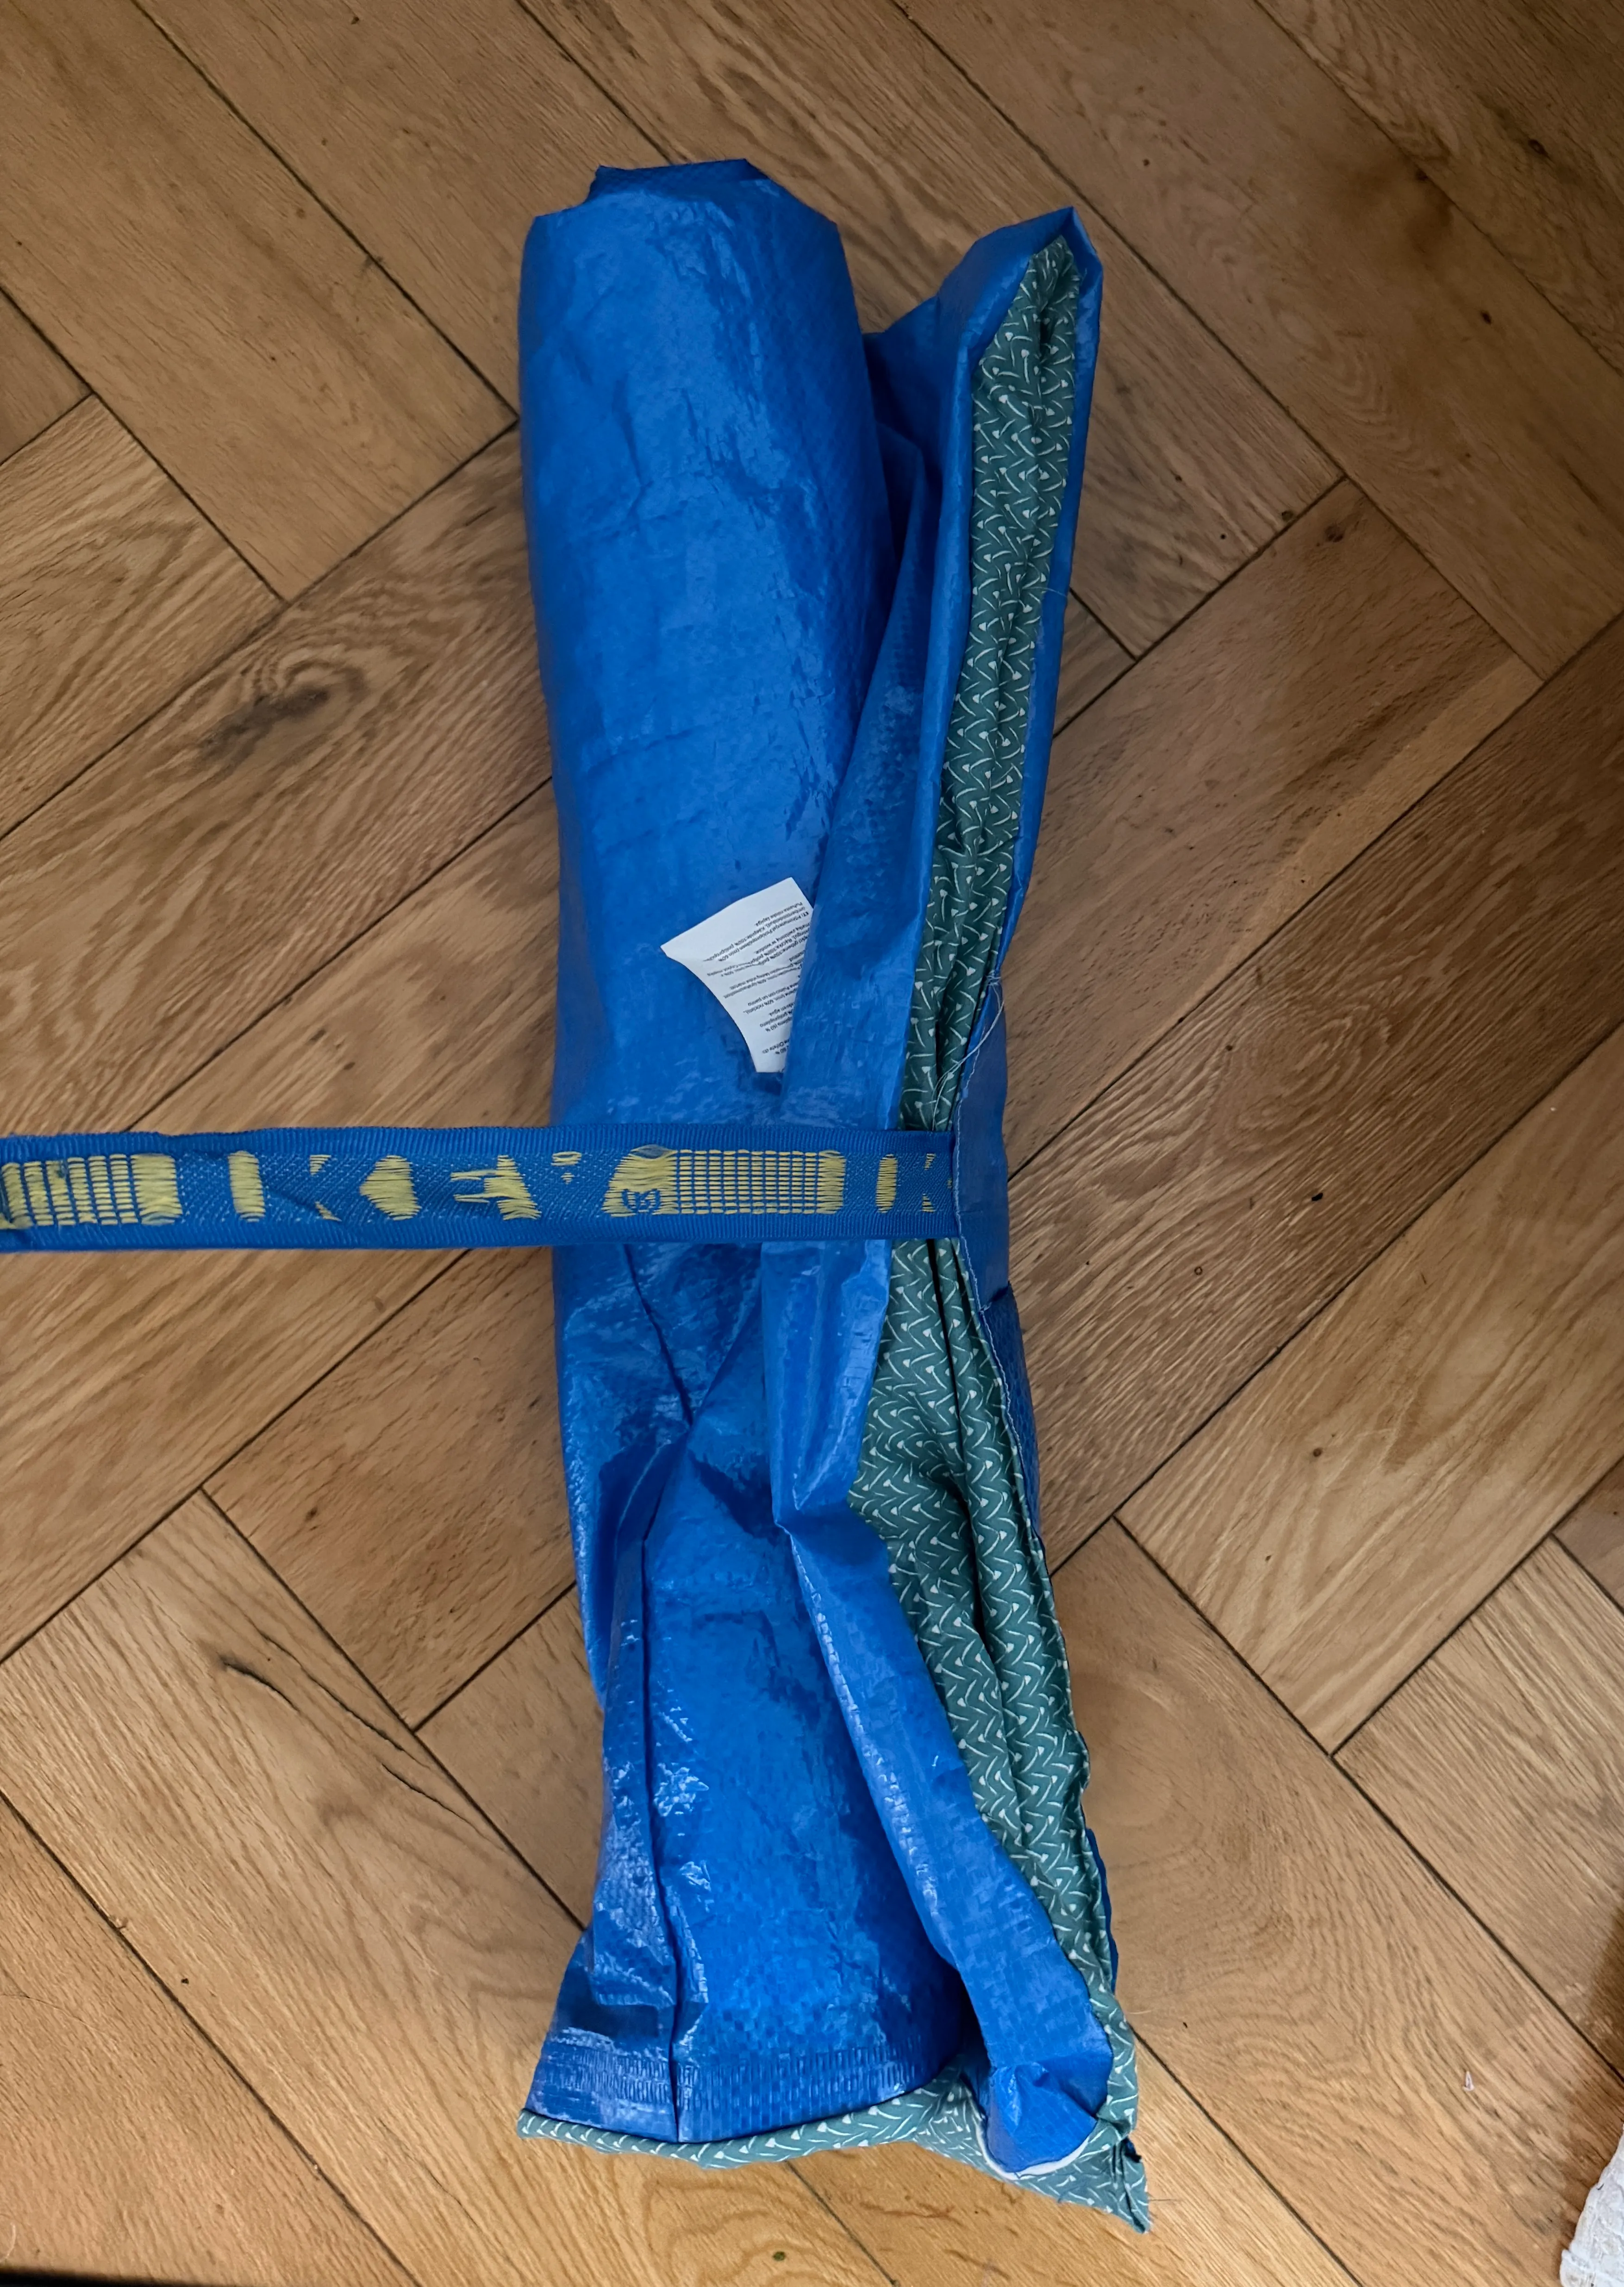
-
Fold the raw edges to wrong side and sew together.
-
Sew optional strap.
-
Ta da!
new techniques / learning
- quilting lines (though not very good)
- sewing through ikea fabric
- sewing a large rectangle
- my first ‘self drafted’ item! it’s just a rectangle but I’m quite proud of it
I have yet to bring it outside
For some reason I thought maybe laying on this outside in a park might be cooler than my apartment, but I didn’t want to risk it with this red warning for the heatwave. Perceived temperature is different from actual temperature! It can feel cooler in the shade in a park, but the UV rays still slip past the trees and in my opinion, is more dangerous than boiling at home. I’m prone to migraine and medication makes me very sensitive to heat so I haven’t brought it outside yet.
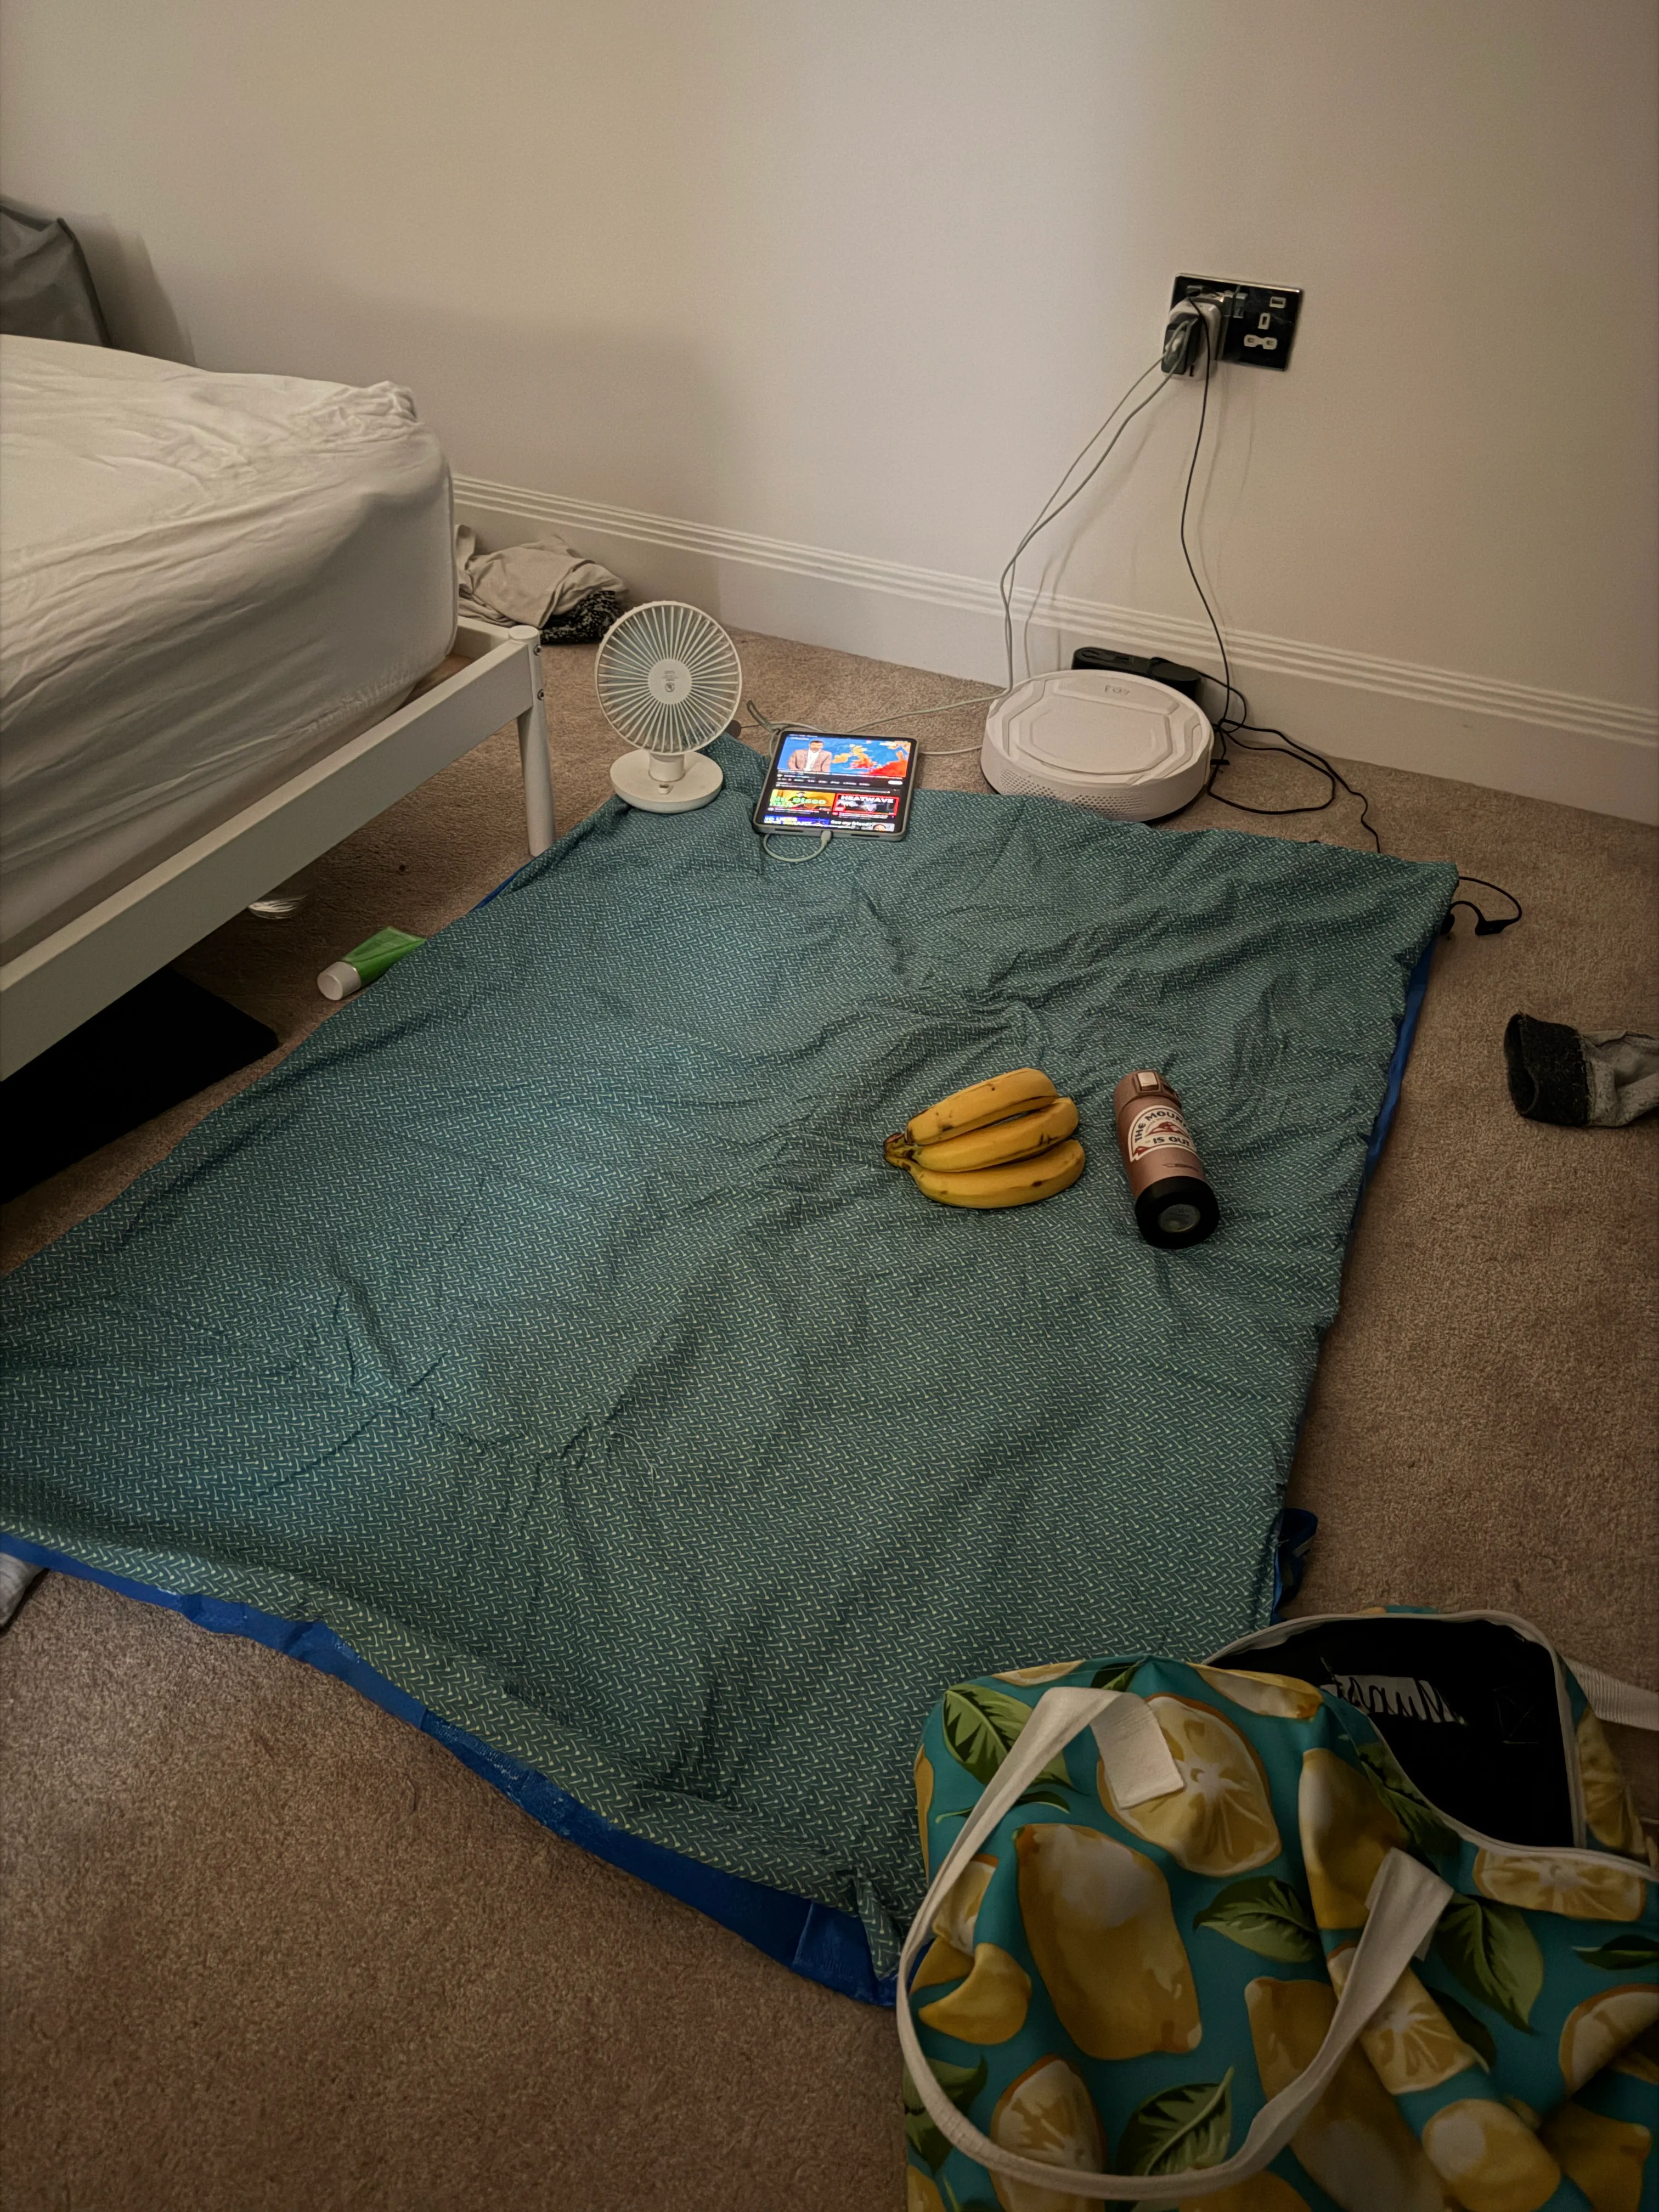
It still turned out useful though! I have set myself up a picnic area where i’m hiding out in my room with the blinds closed and a mini fan. I jump in and out of a cold shower to keep my temperature low, so this mat still helps me keep my carpet from getting wet. Very happy I didn’t try and over engineer or overthink this.
nearby